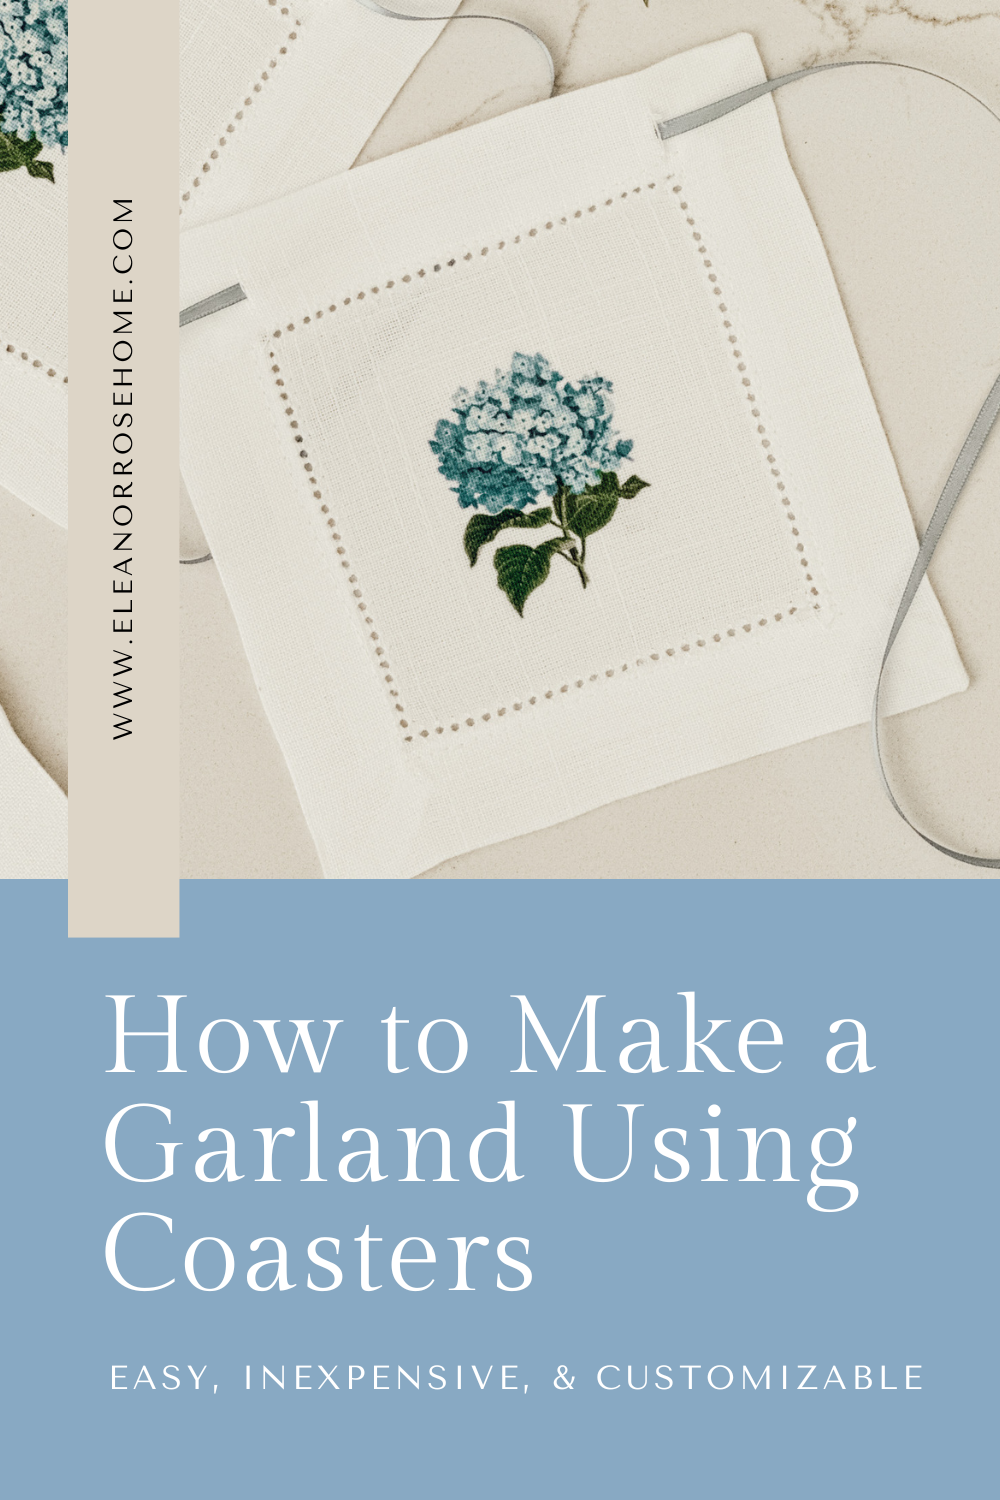
How to Make a DIY Garland Using Fabric Coasters
Make a beautiful DIY garland using fabric coasters with this simple no-sew tutorial. It’s a creative way to repurpose coasters into budget-friendly home decor.
If you’ve ever come across a set of fabric coasters that were too pretty to set a drink on, you’re not alone.
That’s exactly how this DIY started.
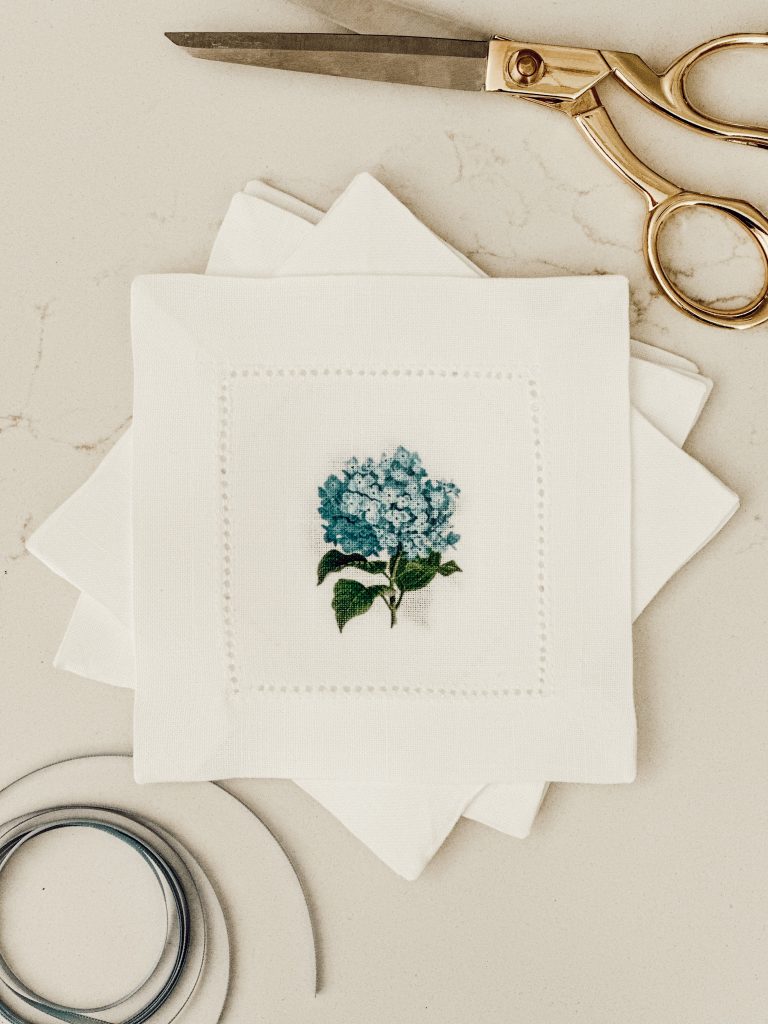
I was recently doing a little online shopping and found the sweetest square fabric coasters with blue hydrangeas printed on the front.
There were charming and had that perfect mix of old-fashioned and cottagecore that made my vintage loving heart, skip a beat.
I knew they needed to be seen.
Not stacked in a drawer somewhere or used under a mug.
So I got to thinking, what if I turned coasters into a hanging garland?
And as it turns out, it was one of the easiest DIYs I’ve ever done (and one of my favorites).
No sewing, no glue, and no fancy supplies needed.
Which I might add, is how we roll here at Eleanor Rose Home.
All you need is a little creativity, a soft satin ribbon, and less than ten minutes of your time.
If you’re looking for a budget-friendly way to add a handmade touch to your home, this DIY garland using fabric coasters might just be the project you didn’t know you needed!
What You’ll Love About This DIY
Supplies You’ll Need
Gather these materials to make your own DIY garland using fabric coasters…
NOTE: The number of coasters and length of ribbon you’ll need will depend on how long you want your garland to be. Measure your space first, then you can adjust the materials accordingly for a perfect fit.
supplies you’ll need

*If you make a purchase using one of these links, I may receive a small commission. This does not add any cost to you, but helps me to continue to create & share meaningful content. Thank you for supporting my small business!
I’m Heidi, the heart and hands behind Eleanor Rose Home.

I’ll show you that your home can become a place of warmth, comfort, and style with practical tips, creative ideas, and my own journey to help you create a space that feels like you…welcoming, personal, and full of charm.
How to Make a Simple No-Sew Garland
Here’s how you can make a no-sew garland in a couple of easy steps…
01
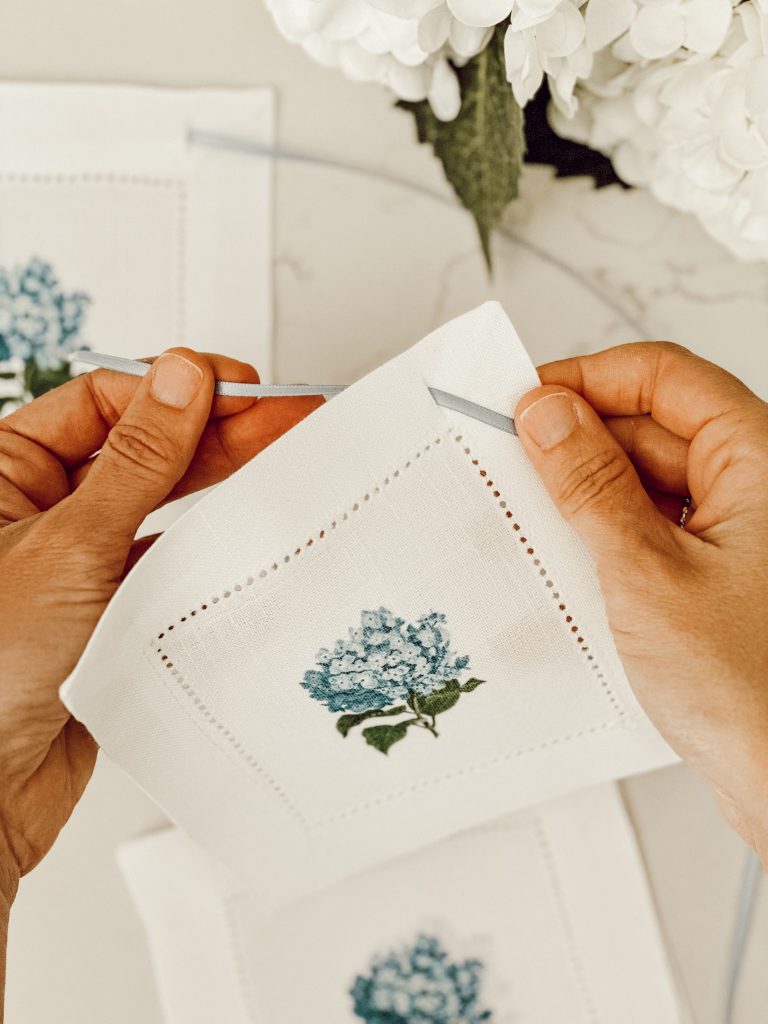
Cut Slits in Coasters
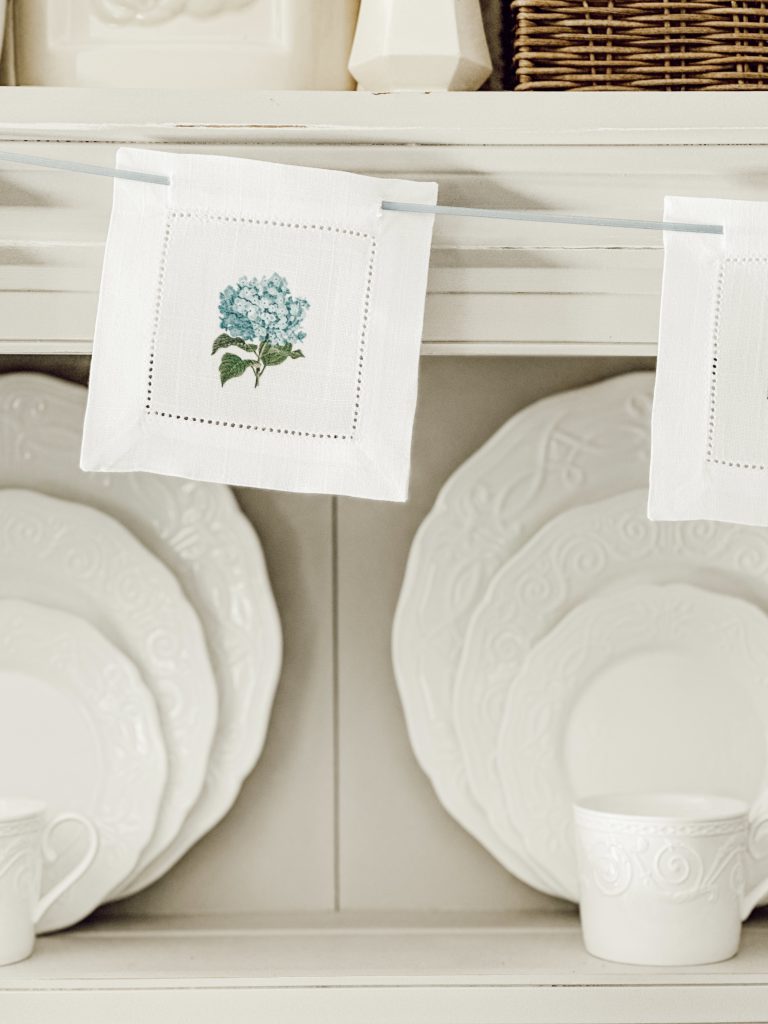
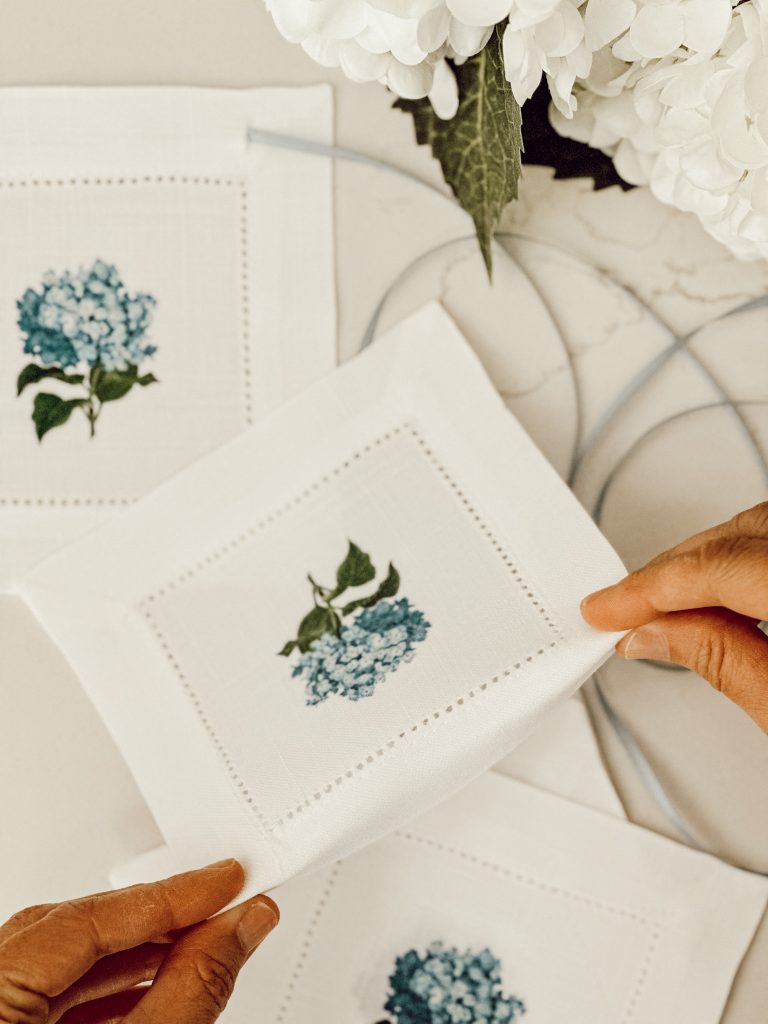
Using sharp scissors, cut two small vertical slits near the top edge of each coaster. Make sure they’re evenly spaced so the coasters hang straight.


NOTE: If you’d rather not cut into your coasters, you can use hot glue instead. Just glue the ribbon to the back of each coaster.
02
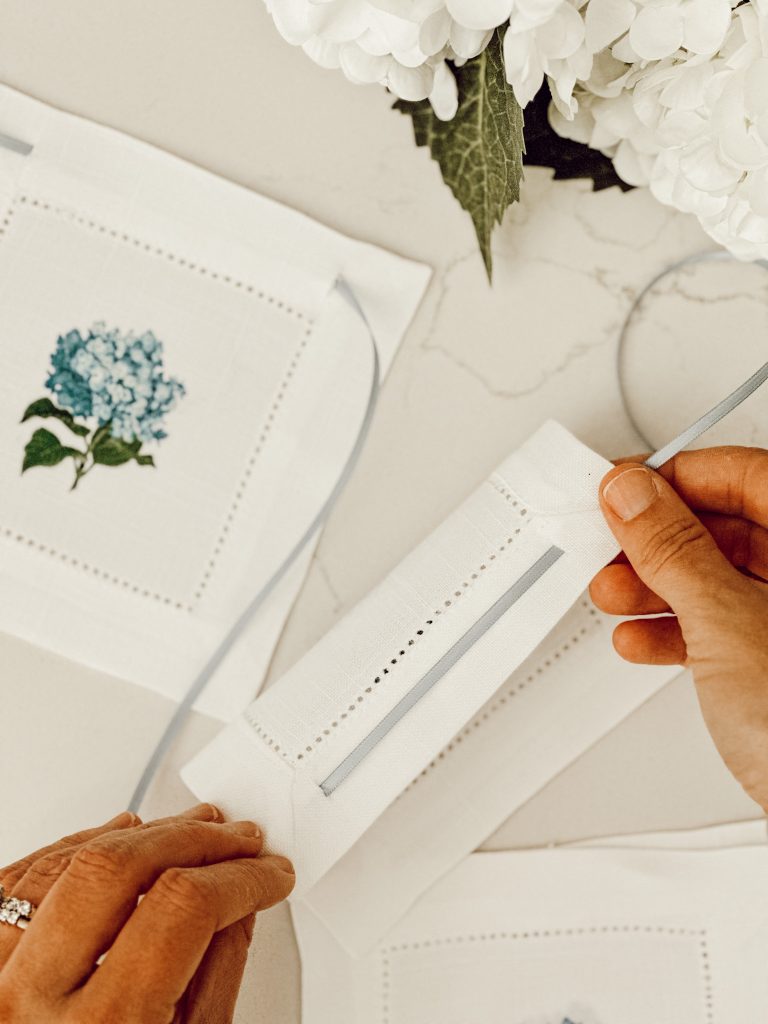
String Ribbon Through Coasters
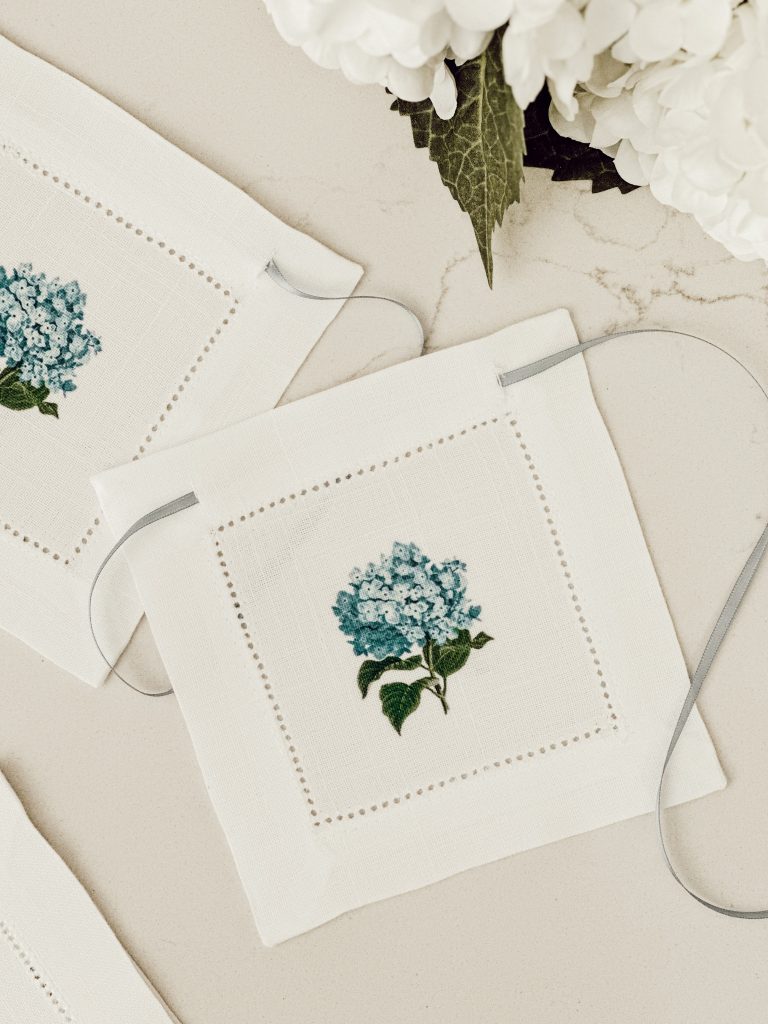
Gently weave the ribbon through the slits on each coaster. I used a satin ribbon in soft blue that matched the hydrangeas. Leave extra ribbon on each end for hanging.
03
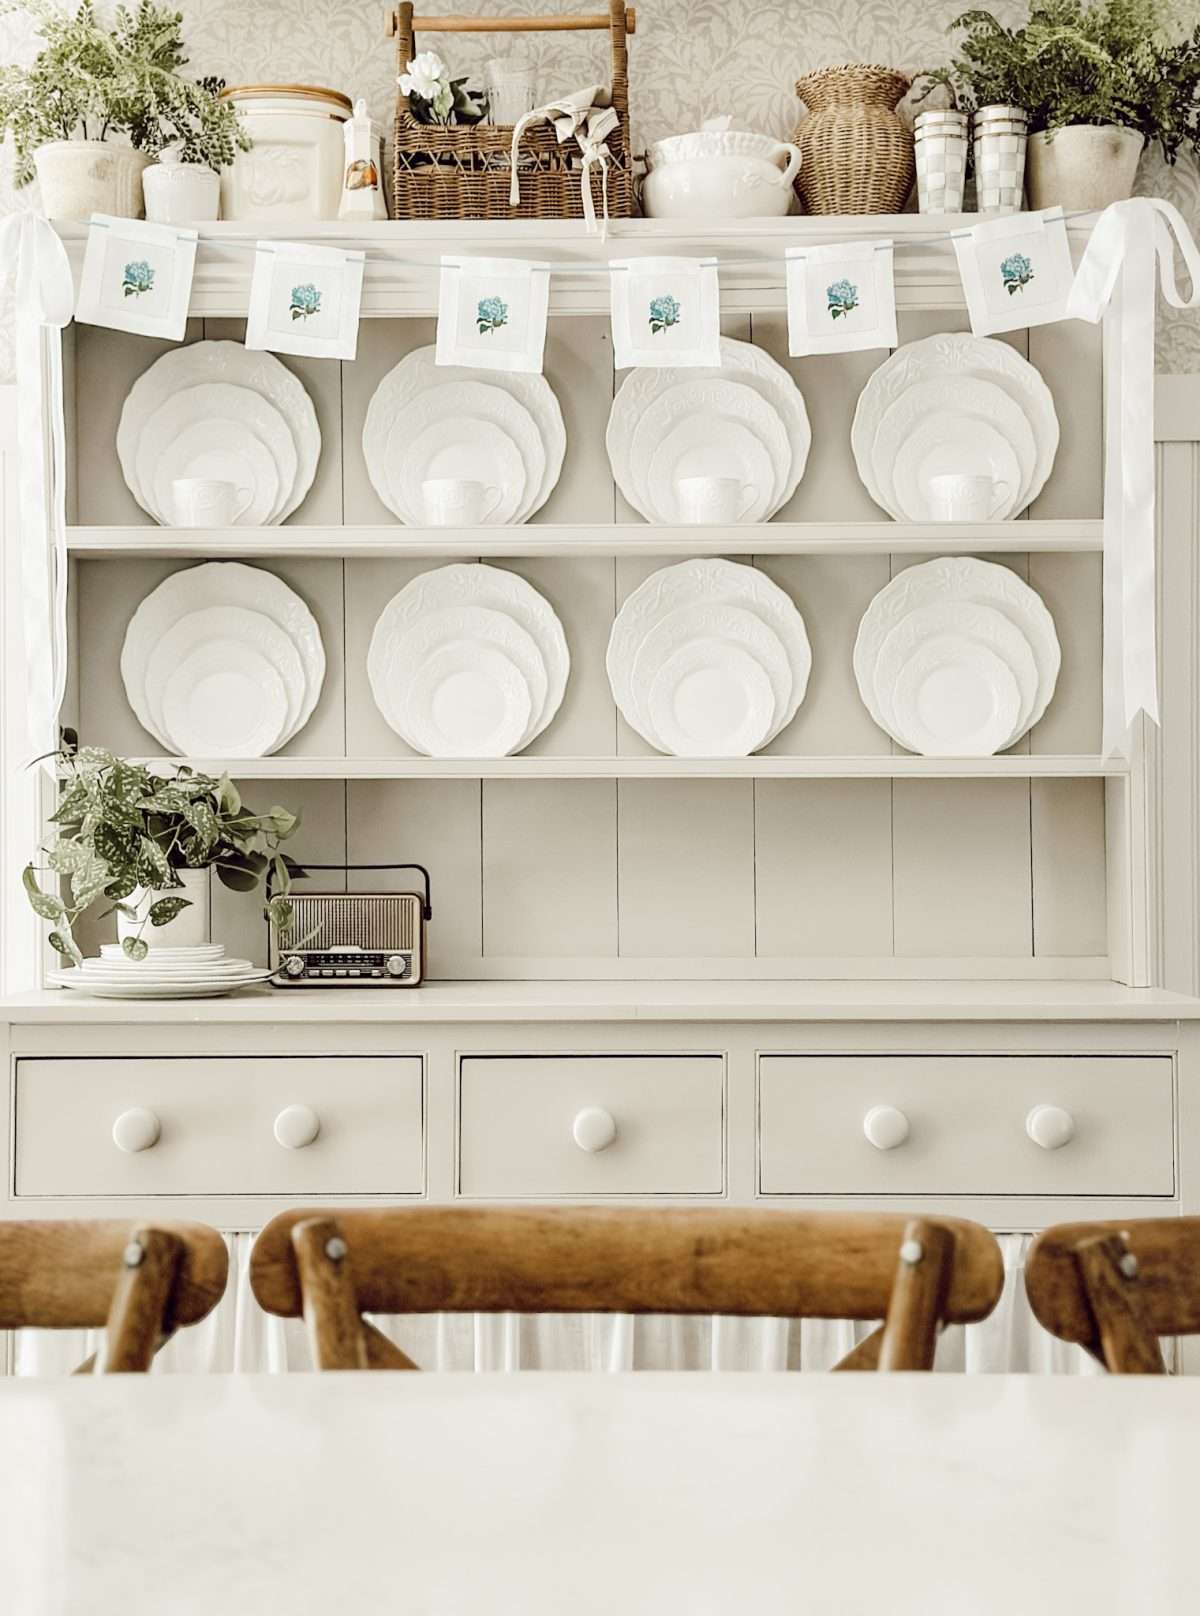
Hang the Garland
I strung mine across our kitchen hutch, but it would look beautiful on open shelving or mantel. Move the coasters so they are spaced evenly apart. Then, tie two floppy bows using the same (or different) ribbon on either end of the garland.

Tips & Tricks
- Use a ruler or eyeball (that’s what I did) equal spacing between each coaster to give your garland a balanced look.
- Swap out the color or texture of the ribbon to match your seasonal decor.
- If you don’t want to cut your coasters you can use hot glue to attach the ribbon to the back instead.
- It’s super simple to make a longer garland, just use more coasters on a longer piece of string.
Where can I hang my homemade coaster garland?
This garland is so versatile that it can be styled just about anywhere!
Hey friend! What can I help you find?
Search our entire site!
Here are a few cozy spots to think about…
- Across a Hutch or China Cabinet: Just like I did! It adds instant charm.
- On a Mantel: Drape it over the front for a seasonal touch.
- Along Open Shelves: Weave it between your decor for an extra layer of texture.
- On a Staircase Railing: Oh how I wish I had a staircase railing I could decorate!

Frequently Asked Questions
Will cutting the coasters ruin them?
Not necessarily. The slits are small and discreet, but if you want to preserve the coasters for future use, I would choose hot glue instead of cutting.
What’s the best way to store the garland?
Lay the garland flat in a shallow box or gently roll it with tissue paper between the coasters to prevent creasing or damage.
Can I customize this garland DIY for other seasons or holidays?
Absolutely! Just swap out the coaster designs and ribbon colors to match any theme like hearts for Valentine’s Day, florals for spring, or plaid for Christmas.
Final Thoughts on Creating a Garland Using Coasters
Who knew a simple set of fabric coasters could become something so charming for your home?
Let this project be proof that decorating your home doesn’t have to be expensive or complicated.
All you need are a few everyday items to create something that feels personal, cozy, and totally one-of-a-kind.
Maybe this inspires you to look at other things you already own in a new way!
You May Also Like
-
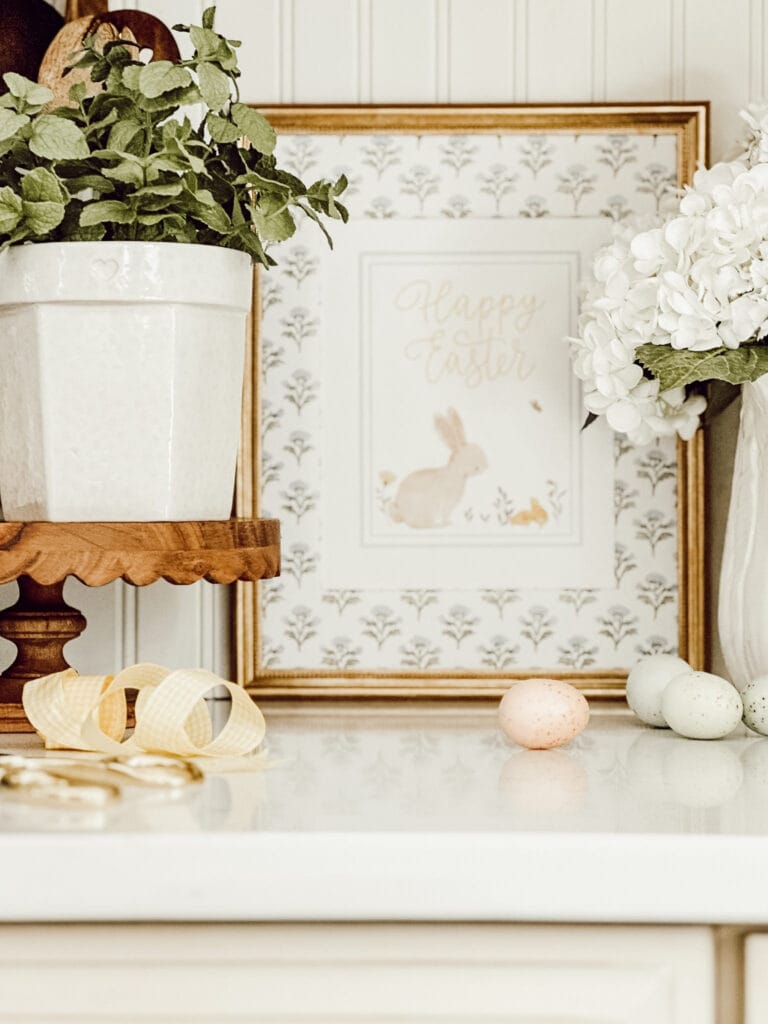
DIY Easter Candy Jar for Gifts, Decor, and Spring Treats
Create a DIY Easter candy jar with this easy spring craft idea. Perfect for filling with treats, decorating your home,…
-
Easy DIY Stenciled Flower Pots You Can Make in 10 Minutes or Less
Easy DIY stenciled flower pots made with this simple tutorial. Perfect for customizing pots for spring, patios, or indoor plants….
-
DIY Stenciled Tea Towels: Cozy Craft for the Kitchen
Learn how to make DIY stenciled tea towels with acrylic paint. This cozy kitchen craft is simple, affordable, and beginner…


Shop My Favorite Products
Shop my favorite home decor & lifestyle products, my LTK sources, and my Amazon Storefront.
By making a purchase with one of my affiliate links, I earn a small commission which helps me continue to create meaningful content for you!
I look forward to sharing more of my home with you and inspiring you to have a well loved home!
Follow me on Facebook, Instagram, Pinterest, and LIKEtoKNOW.it.
xoxo, Heidi


Don’t forget to pin this for later!
Shop this post


