Mini Cherry Pies With Canned Filling: Easy to Make Recipe
 Shop This Post

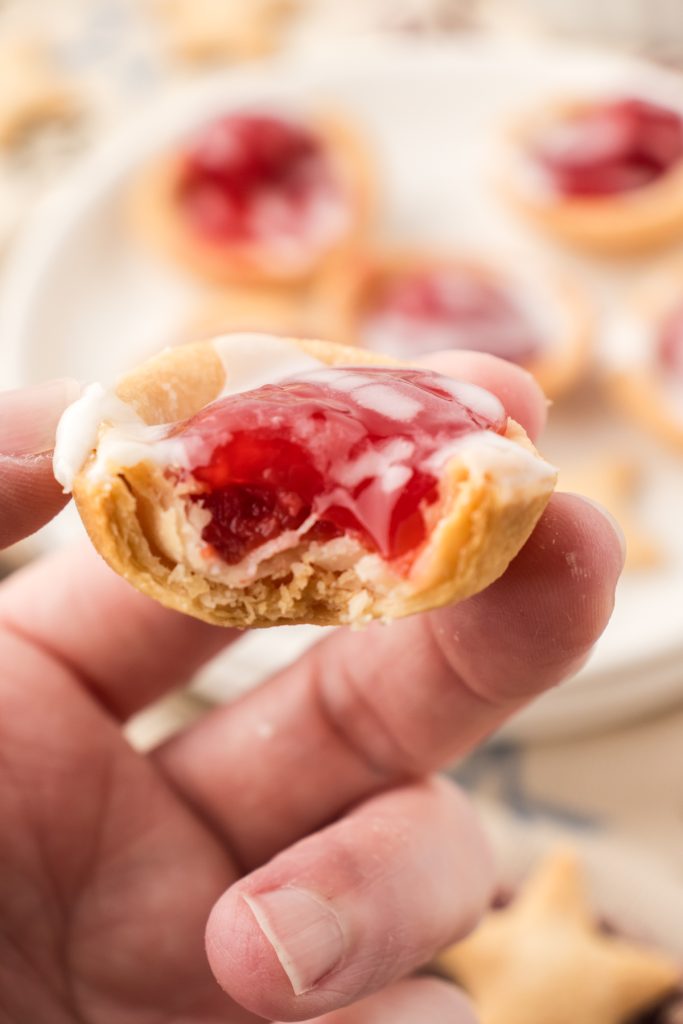
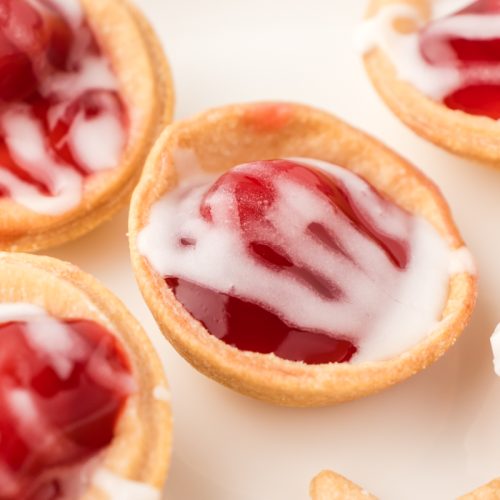
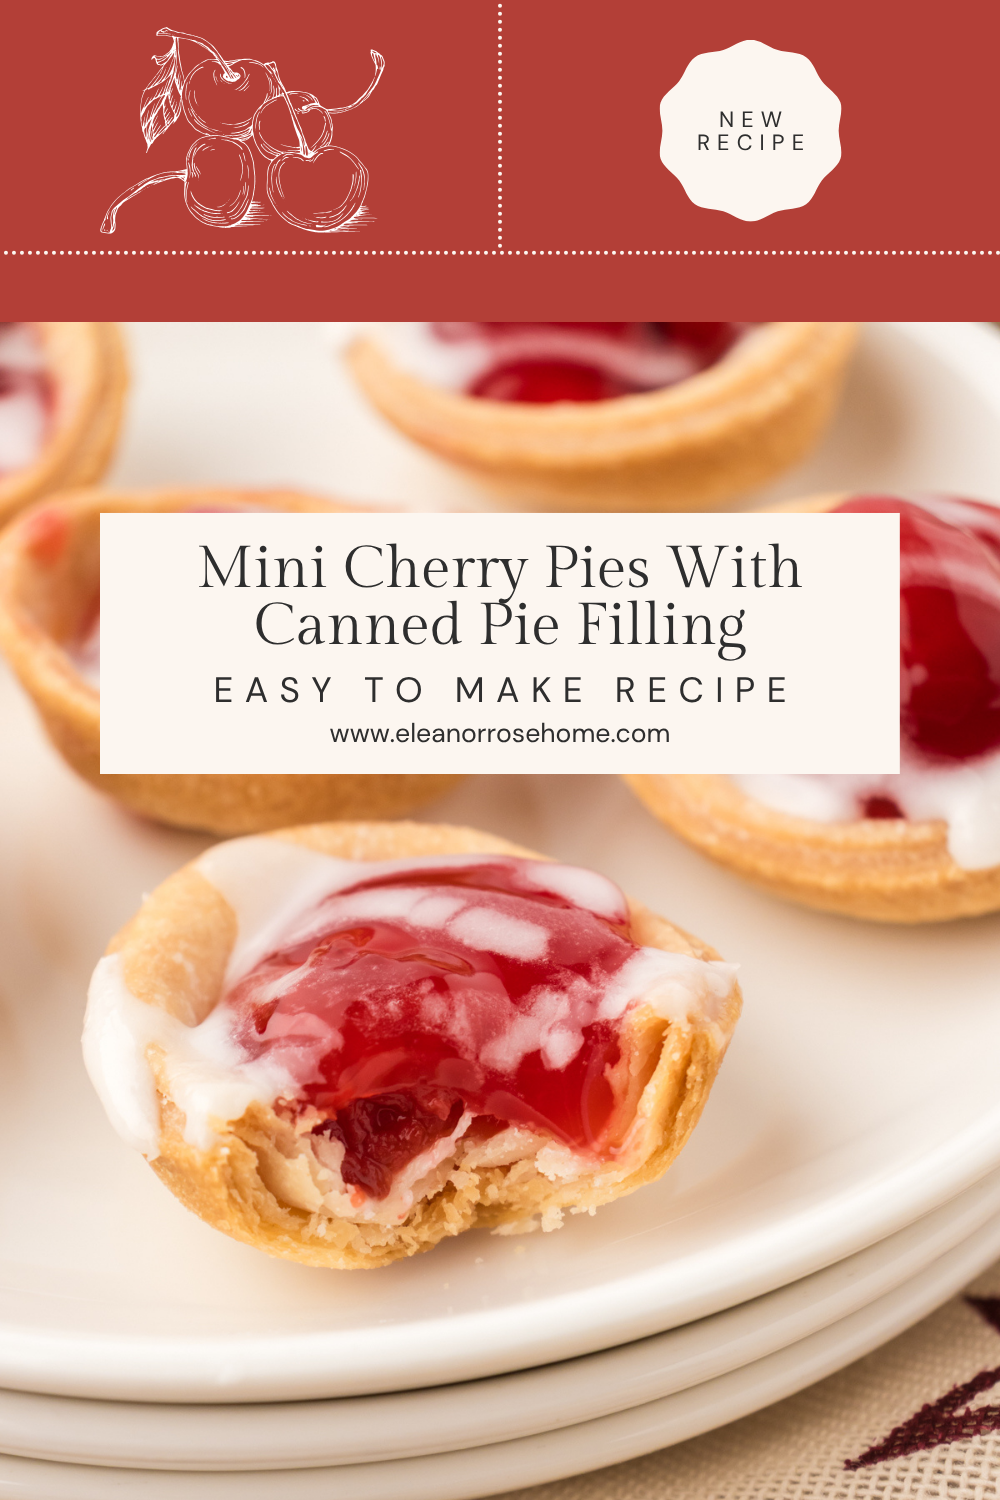
These mini cherry pies with canned filling are an easy, bite sized dessert made with store-bought pie crust and a simple glaze. Perfect for parties, holidays, or a quick sweet treat!
There’s something so cozy and nostalgic about a delicious cherry pie.
Don’t you agree?
Maybe it’s the deep red filling, that balance of sweet and tart, or the way it reminds us of old fashioned summers and grandma’s kitchen.
What if told you that you could capture all of that cherry pie goodness in a bite sized treat that’s ridiculously easy to make?
Well you can!
These mini cherry pies with canned filling are about as simple as they come.
There’s no fancy ingredients.
No complicated steps.
Just store-bought pie crust, a can of cherry pie filling, and a quick powdered sugar glaze to tie it all together.
It’s the kind of recipe that feels homemade, but with a little help from the grocery store.
And if I’m being completely truthful, I’m all about taking the help when I can get it.
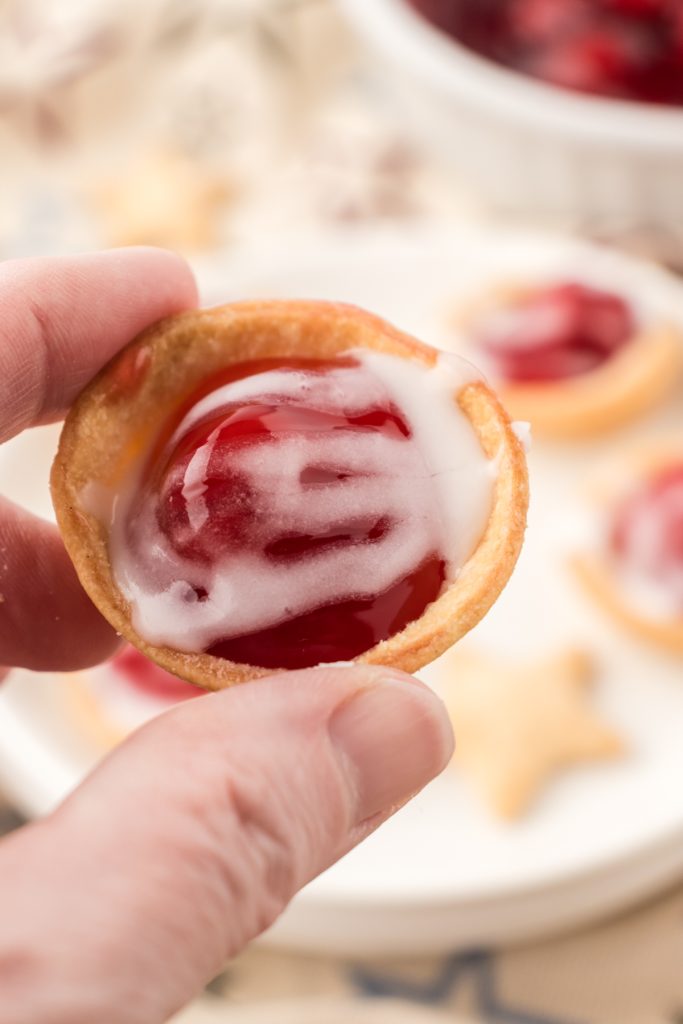
These mini pies are a win-win whether you’re looking for something quick to bake for a party, putting together a sweet treat for a charcuterie board, or just craving something nostalgic.
They look charming, taste delicious, and come together in under 30 minutes. (If your house is anything like mine, they’ll disappear just as quickly.)
Ready to make a batch?
Let’s get baking!
Why Canned Cherry Filling
The short answer…why not?!
Using a canned cherry pie filling takes the guesswork out of making a classic dessert.
It’s sweet, reliable, and packed with that bright cherry flavor we all know and love, plus there’s no pitting or cooking required.
Quite simply, canned filling lets you enjoy the comfort of cherry pie without the extra effort.
Trust me, no one will know (or care) that you’re using pie filling from a can.
What you’ll love about this recipe:
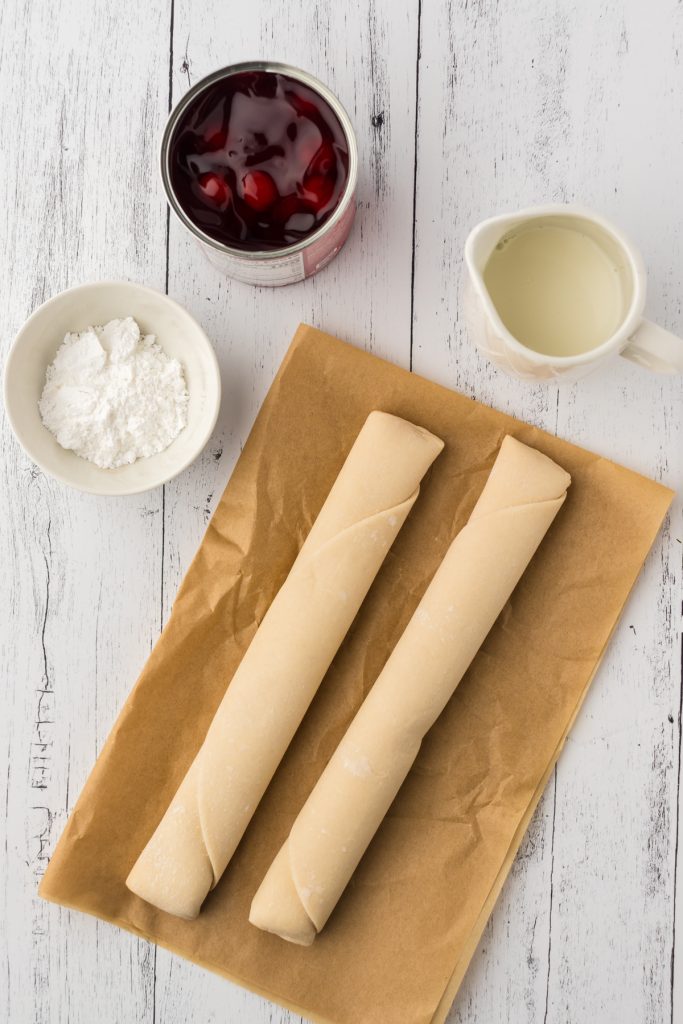
Homemade Mini Cherry Pie Ingredients
tools you’ll need
*If you make a purchase using one of these links, I may receive a small commission. This does not add any cost to you, but helps me to continue to create & share meaningful content. Thank you for supporting my small business!
I’m Heidi, the heart and hands behind Eleanor Rose Home.

I’ll show you that your home can become a place of warmth, comfort, and style with practical tips, creative ideas, and my own journey to help you create a space that feels like you…welcoming, personal, and full of charm.
How to Make Mini Fruit Pies
Making these cherry pies is so much easier than you might think.
recipes delivered to your inbox
When you join our newsletter!
Just a few simple steps stand between you and a tray of tasty, adorable treats!
01
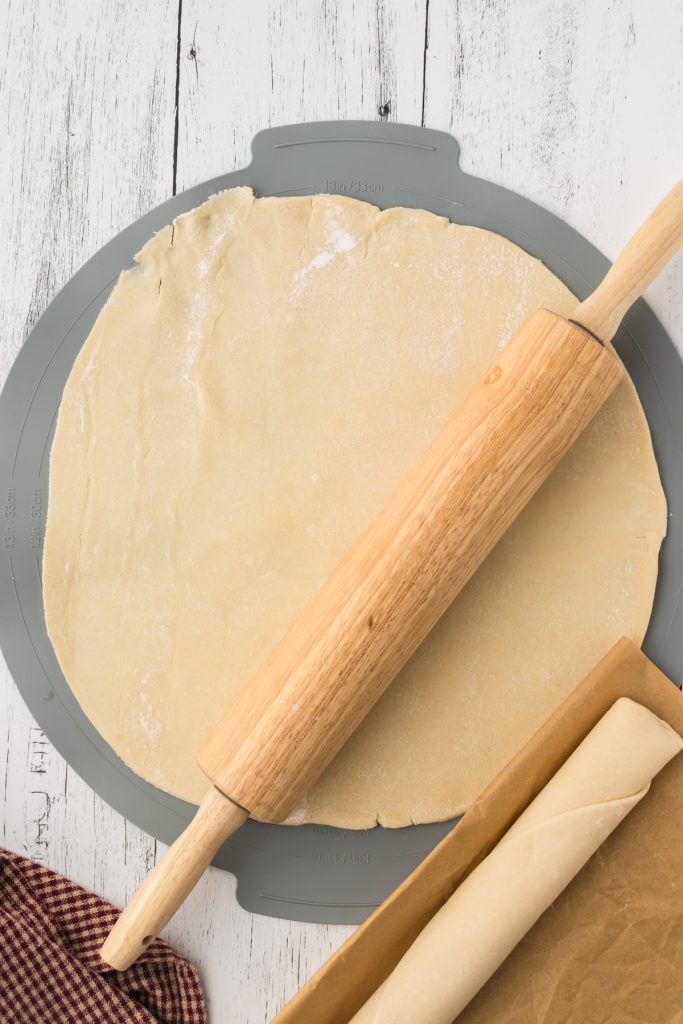
Roll Out Pie Crusts
On a silicone mat or lightly floured surface, roll out the pie crusts to make them a little thinner. This will help create a more delicate crust that crisps up nicely.
02
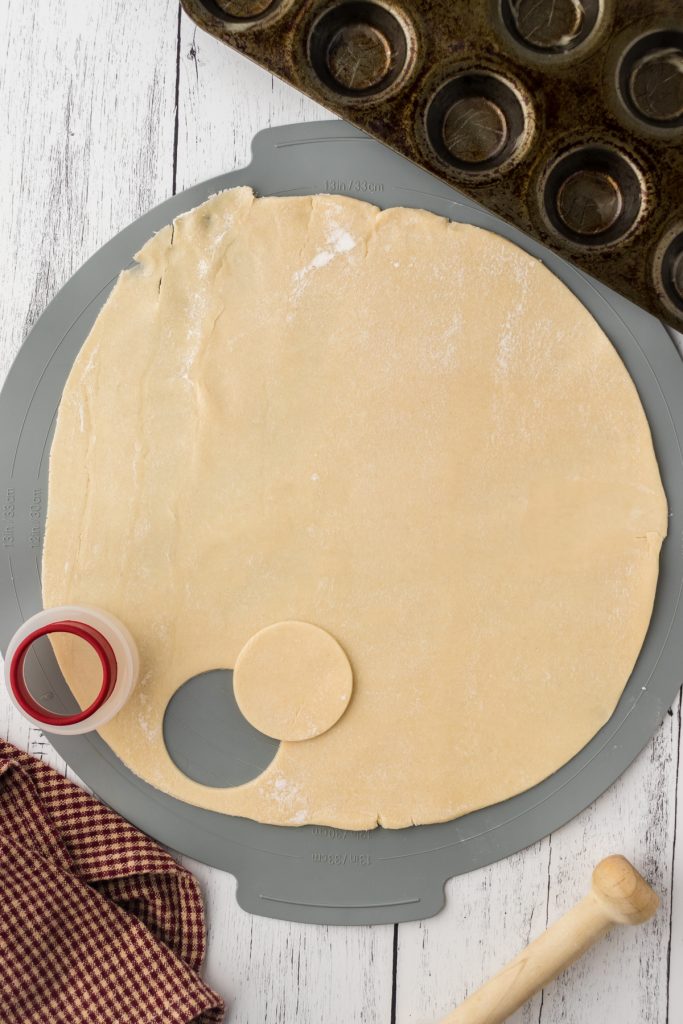
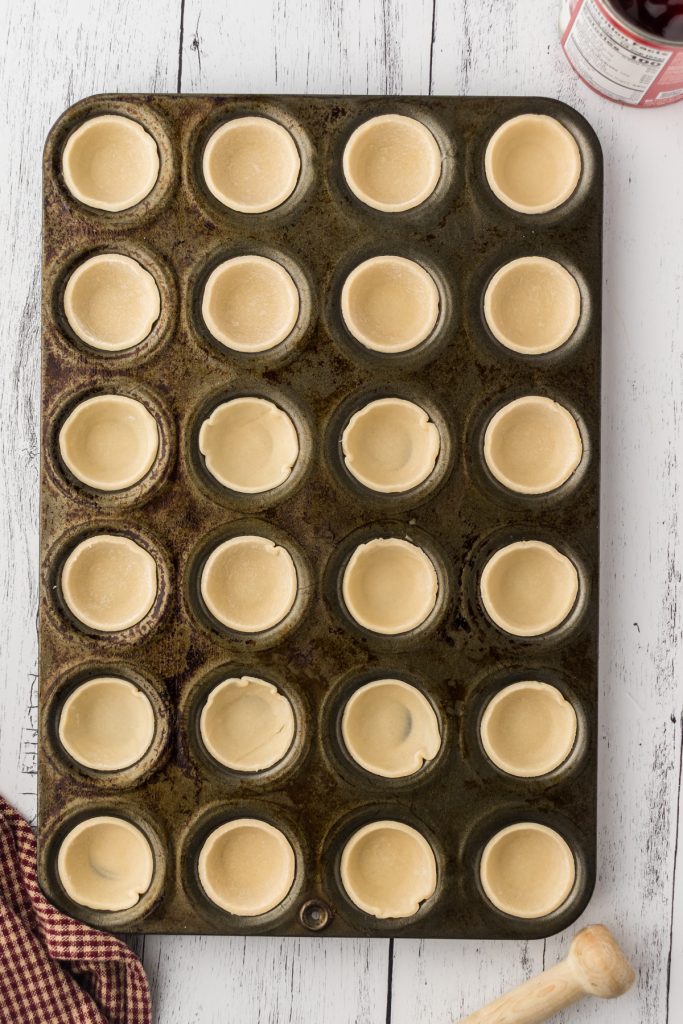
Cut Out Pie Dough Circles & Place in Muffin Pan
Cut out 2 1/2″ circles of dough. Gently press each dough circle into lightly greased muffin tin wells to form little pie shells.
03
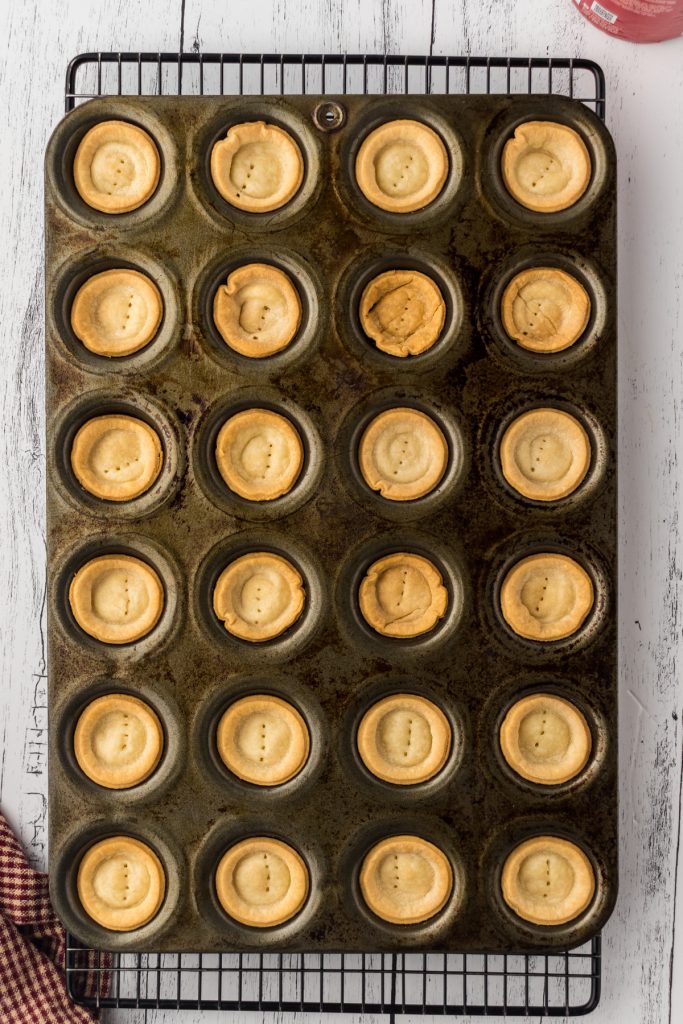
Bake the Crusts
Bake the crusts alone for about 8–10 minutes or until lightly golden. Remove from oven and let cool slightly on a wire rack.
04
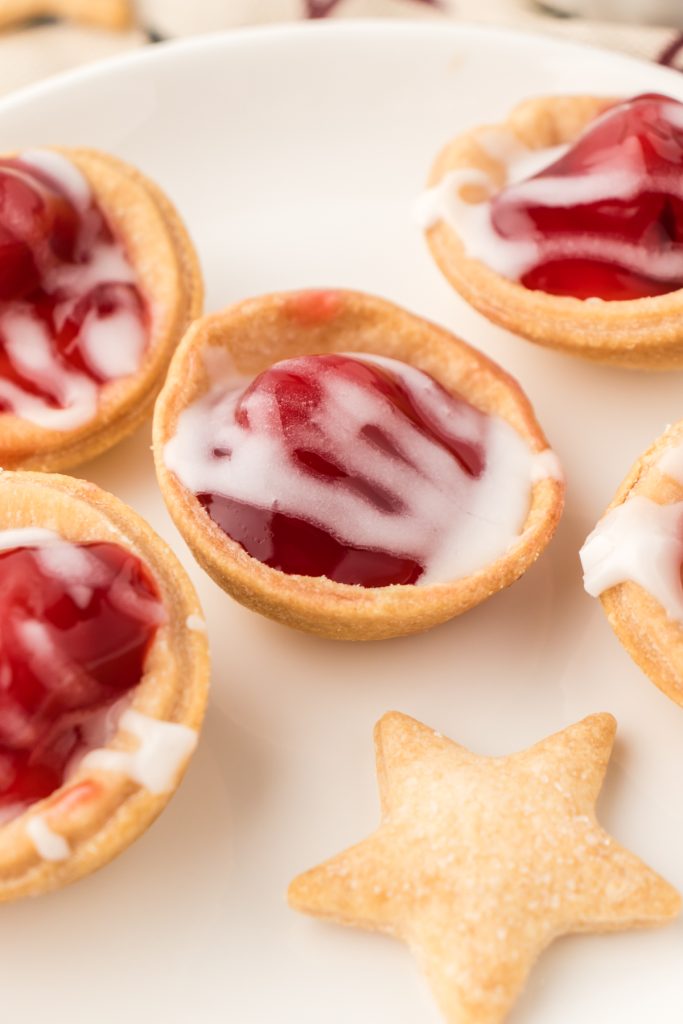
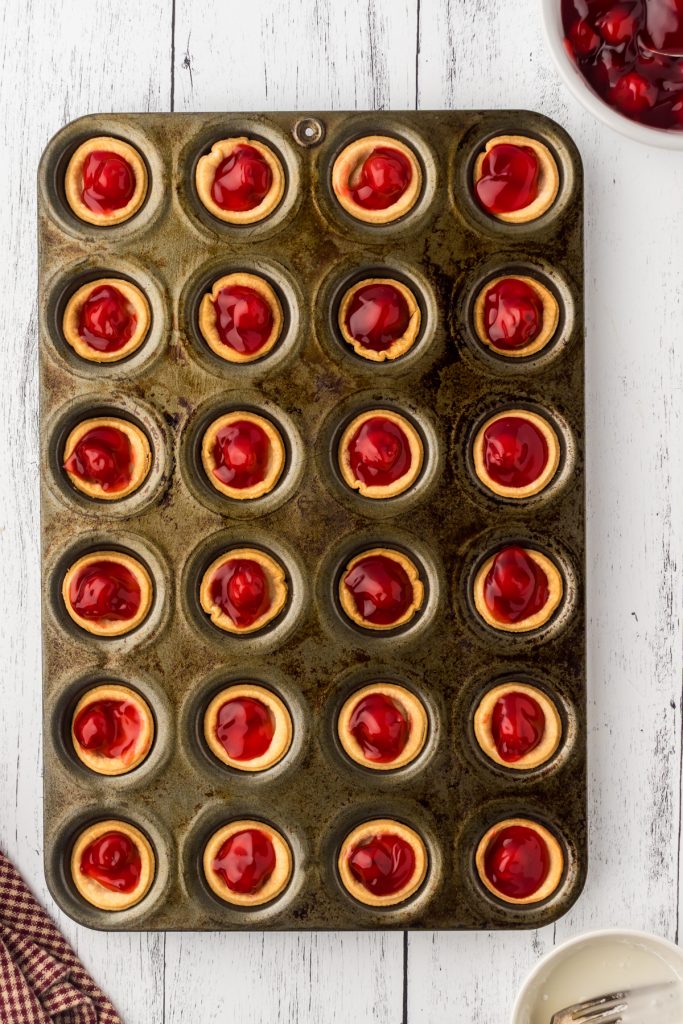
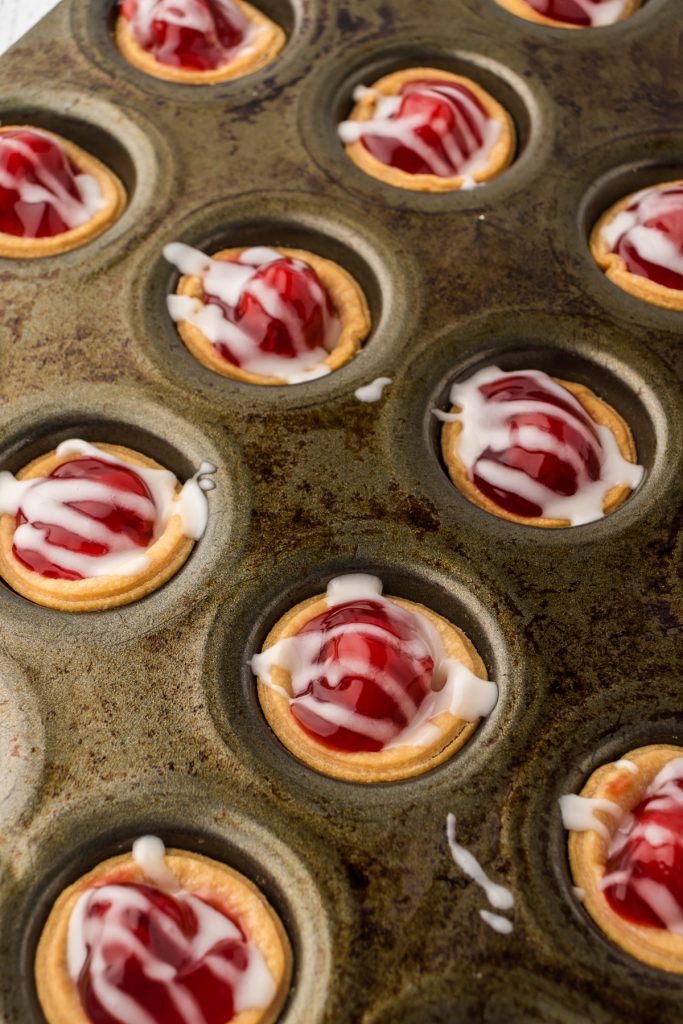
Add the Cherry Filling to Pie Shells
Spoon the cherry pie filling into each pie shell. You want them nicely filled but not overflowing.
05
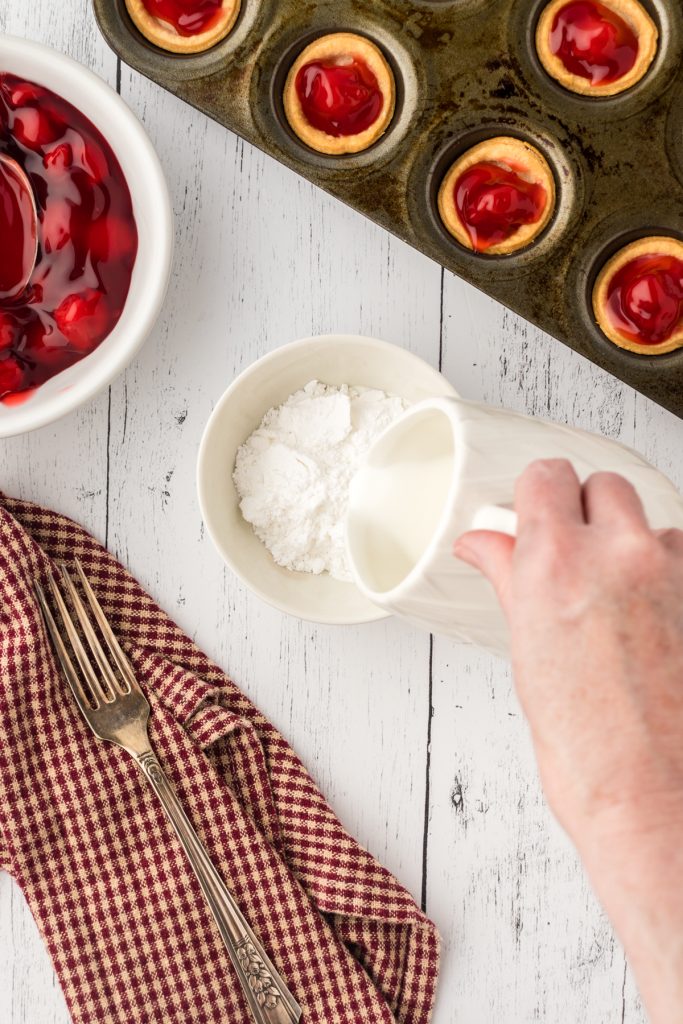
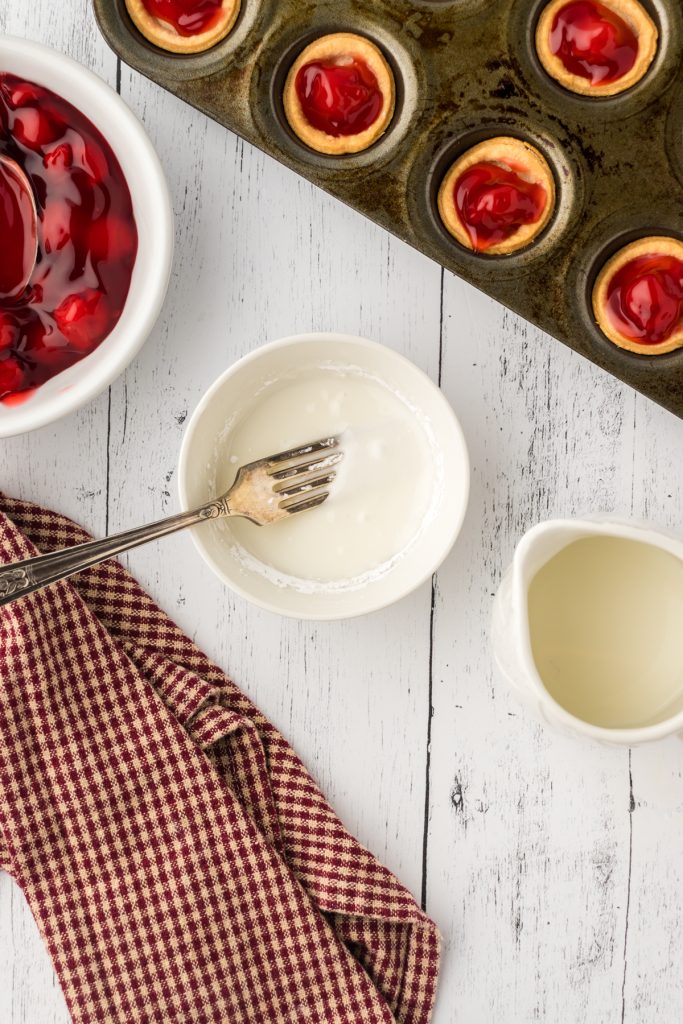
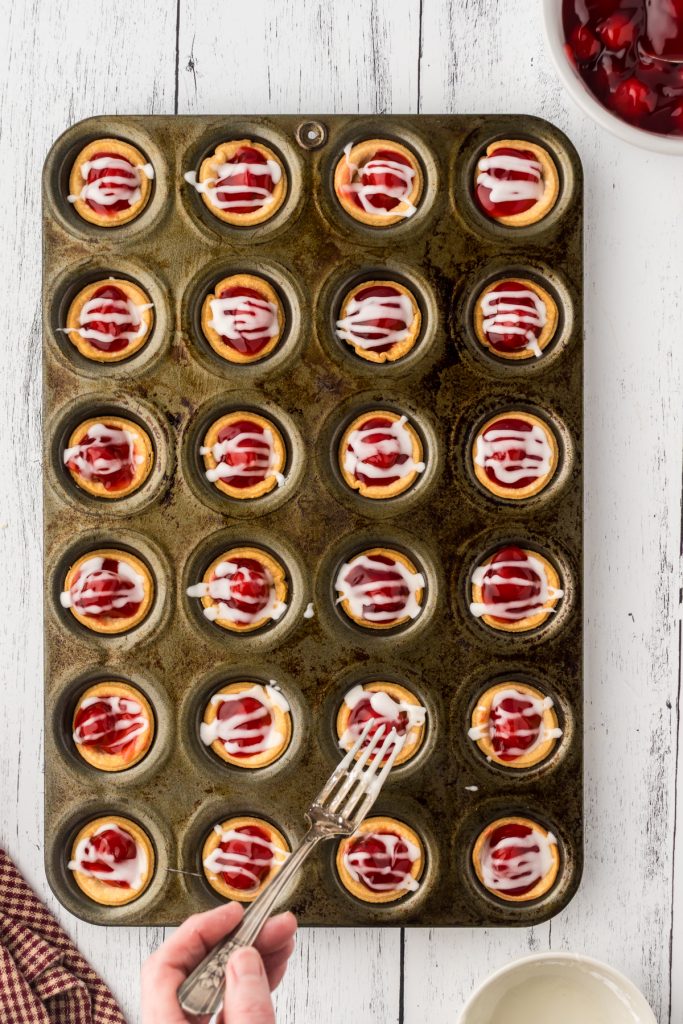
Make the Glaze
Stir together the powdered sugar and milk until smooth. Drizzle the glaze over the cooled pies using a fork, spoon, or piping bag. Serve and enjoy!
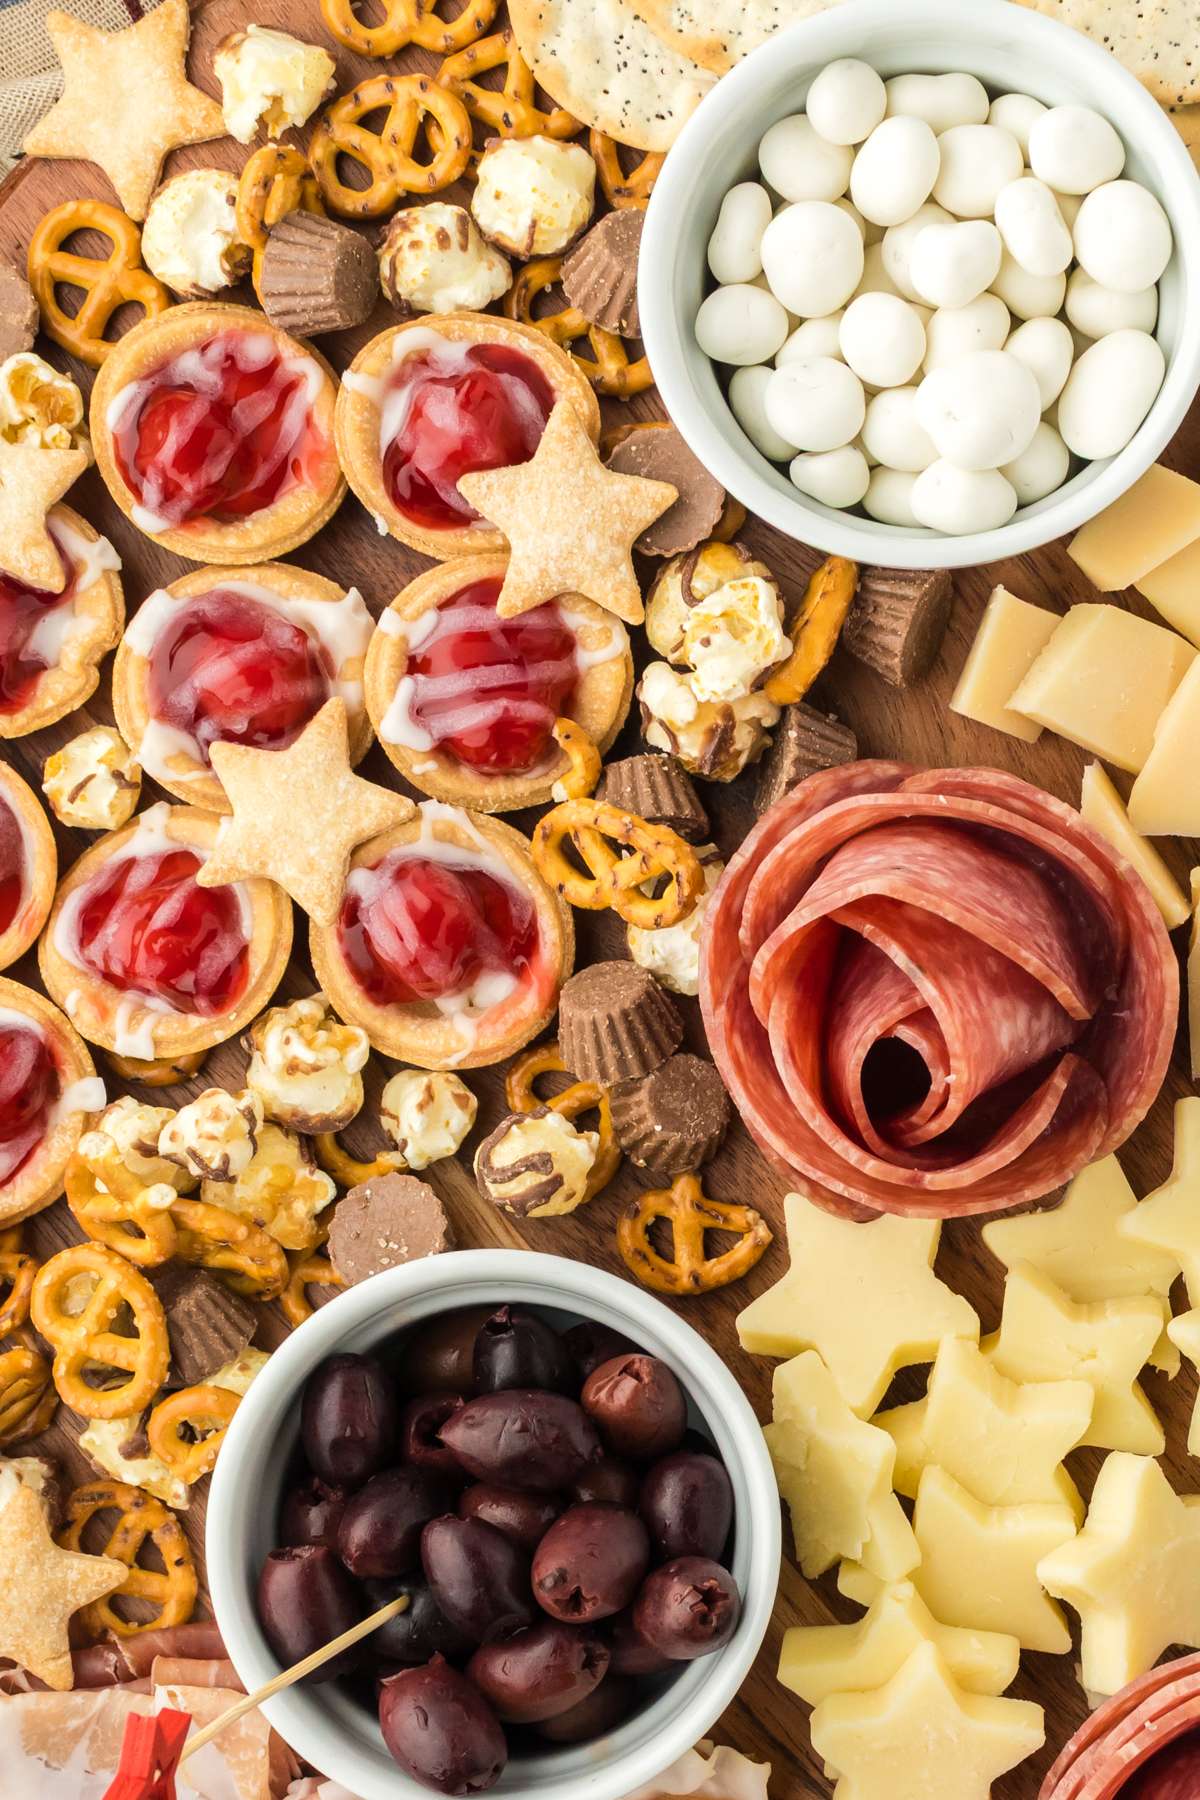
4th of July Charcuterie Board
These mini cherry pies are the perfect addition to a charcuterie board…fun, bite-sized, and bursting with flavor!
Tips & Tricks
- A mini muffin tin is perfect for making bite-sized pies. You can use a standard muffin pan too, but you’ll get fewer, larger pies.
- Roll the pie crusts slightly thinner than they come out of the package. This helps the crust bake evenly and gives you more dough to work with.
- Don’t overfill the crusts with cherry filling, about one tablespoon is usually plenty.
- Let crusts cool slightly before adding the filling to prevent sogginess.
- Customize the glaze with a splash of almond or vanilla extract.
How to Store Cherry Pies
Once cooled, these mini cherry pies can be stored in an airtight container at room temperature for up to 2 days.
You can place them in the refrigerator where they’ll stay fresh for up to 4–5 days.
Hey friend! What can I help you find?
Search our entire site!
If you end up stacking the pies, make sure to place a sheet of parchment paper between the layers to prevent sticking.
To enjoy warm, simply pop them in the microwave for 10–15 seconds or put them in the oven to bring back that freshly baked texture.
Tip:
Freeze these mini pies by placing them on a baking sheet, freezing until solid, and then transferring to a freezer-safe bag or container. They’ll keep for up to 2 months. Thaw overnight in the fridge and warm up before serving.
FAQs
Did you make this recipe?
Mention us @eleanorrosehome or tag us using #eleanorrosehome so we can see your creations. You can also leave a comment below!
More Dessert Recipes
-
Best Copycat Crumbl Pumpkin Pie Cookie Recipe
Make thick, chewy, bakery style cookies at home with this Crumbl pumpkin pie cookie recipe topped with a creamy pumpkin…
-
Mini Loaf Zucchini Bread Recipe: A Delicious Family Favorite
A mini loaf zucchini bread recipe that’s quick to bake, tastes delicious, and an easy way to use up fresh…
-
Easy Copycat Williams Sonoma Peppermint Bark Recipe
Save money with this easy copycat Williams Sonoma peppermint bark recipe made with simple ingredients like semi-sweet chocolate, white chocolate,…


Shop My Favorite Products
Shop my favorite home decor & lifestyle products, my LTK sources, and my Amazon Storefront.
By making a purchase with one of my affiliate links, I earn a small commission which helps me continue to create meaningful content for you!
I look forward to sharing more of my home with you and inspiring you to enjoy simple cozy living!
Follow me on Facebook, Instagram, Pinterest, and LIKEtoKNOW.it.
xoxo, Heidi
Mini Cherry Pies
Ingredients
- 1 box Refrigerated Pie Crusts 2 crusts total
- 1 21 oz can Cherry Pie Filling
- ½ cup Powdered Sugar
- 2 tbsp Milk
Instructions
- Preheat oven to 375°F.
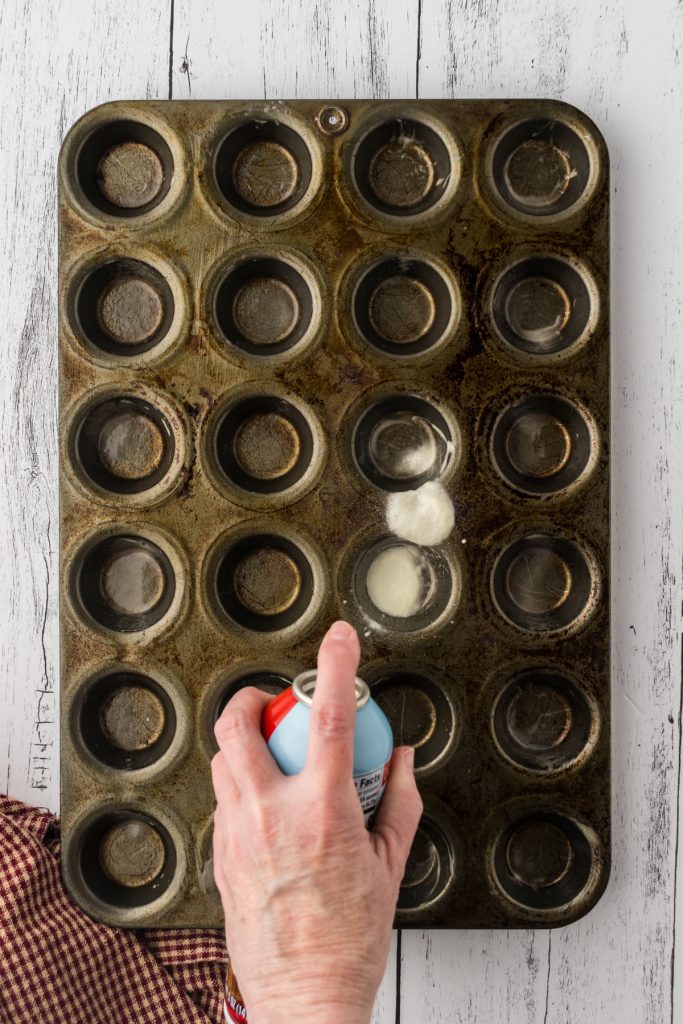
- Lightly grease a muffin tin.
- Roll out pie crusts on a silicone mat or lightly floured surface until slightly thinner.
- Cut into 2 1/2" circles.
- Press dough circles into muffin wells to form mini pie shells.
- Bake crusts alone for 8–10 minutes, until lightly golden.
- Let the pie shells cool slightly, then spoon 1–2 tablespoons cherry pie filling into each.
- Mix the powdered sugar and milk to create glaze. Adjust consistency as needed.
- Drizzle glaze over cooled pies. Serve and enjoy!
Notes
- A mini muffin tin is perfect for making bite-sized pies. You can use a standard muffin pan too, but you’ll get fewer, larger pies.
- Roll the pie crusts slightly thinner than they come out of the package. This helps the crust bake evenly and gives you more dough to work with.
- Don’t overfill the crusts with cherry filling, about one tablespoon is usually plenty.
- Let crusts cool slightly before adding the filling to prevent sogginess.
- Customize the glaze with a splash of vanilla or almond extract.
Nutrition

Don’t forget to pin this for later!
Shop this post