
How to Make Custom Wrapping Paper With Brown Paper and Stamps
 Shop This Post

Add a personal, handmade touch to your gifts. Learn how to make custom wrapping paper using brown kraft paper, rubber stamps, and an ink pad.

Some people call me weird, but I LOVE wrapping presents.
I always have.
Even as a child, I’d wander around the house at Christmastime, finding little things to wrap up just so there would be more pretty packages under the tree.
Empty boxes, old toys, random knickknacks…nothing was safe from tape and paper.
There was something about taking an ordinary item and making it extraordinary.
All these years later, my love for wrapping gifts has not faded.
In fact, it’s become one of my favorite holiday traditions.
I turn a Christmas movie on the tv, grab my wrapping supplies, and set up shop right in the middle of the living room floor.
And while I love using a beautiful wrapping paper from the store, I also like to create my own with brown kraft paper and stamps.
It’s simple, budget-friendly, and gives each gift that handmade touch that store-bought paper simply can’t match.
In this post, I’ll show you how easy it is to make DIY wrapping paper that feels as cozy and heartfelt as the gift inside.
How to Make Custom Wrapping Paper Instruction Video
You can find more video tutorials on our YouTube Channel…
What You’ll Love About This DIY
Supplies You’ll Need to Make Stamped Paper
Here’s everything you’ll need to make your own custom stamped wrapping paper at home…
tools you’ll need
*If you make a purchase using one of these links, I may receive a small commission. This does not add any cost to you, but helps me to continue to create & share meaningful content. Thank you for supporting my small business!
I’m Heidi, the heart and hands behind Eleanor Rose Home.

I’ll show you that your home can become a place of warmth, comfort, and style with practical tips, creative ideas, and my own journey to help you create a space that feels like you…welcoming, personal, and full of charm.
How to Make Your Own Custom Wrapping Paper
Now for the fun part!
Turning that plain brown paper into something beautiful with a few easy steps.
cozy ideas delivered to your inbox
When you join our newsletter!
Step One: Cut and Prep Your Paper
Before you start stamping, cut a piece of brown paper large enough to wrap your specific gift.
This way, you’ll only decorate what you need and can plan your design based on the size of the package.
Lay the paper flat on a clean surface, holding down the edges if needed to keep it from rolling up.
Step Two: Ink Your Stamp
Press your stamp gently into the white ink pad, making sure it’s evenly coated.
Step Three: Start Stamping
Press your stamp firmly onto the brown paper, then lift straight up for a clean print.
Continue stamping in your desired pattern.
Even spacing will give you block print pattern, or you can scatter your stamping for a more organic feel.
Hey friend! What can I help you find?
Search our entire site!
Step Four: Let It Dry
Allow your stamped paper to dry completely before wrapping.
Depending on your ink, drying time should only take about 10-15 minutes.
Step Five: Wrap and Add Finishing Touches
Once dry, use your custom paper to wrap your gift.
Add ribbon, twine, or a small sprig of greenery to finish your wrapping.

Helpful Tips
- Test your stamp on a scrap piece first to check how the ink looks on the brown paper.
- You can use any sized stamp you like. Large stamps will make a bold statement, while smaller ones create more of a charming, detailed pattern.
- Vary your spacing. Closer stamps give a more full, patterned look while spacing them farther apart feels clean and minimal.
- Switch up the ink. White looks classic, but metallic gold, silver, or even red or green ink can add a fun festive twist.
- Be sure the ink is dry before wrapping to avoid smudges.

DIY Wrapping Paper Frequently Asked Questions
What kind of paper works best for this DIY?
Plain brown kraft paper is perfect because it’s sturdy and easy to stamp on. You can find it in rolls or sheets, and it’s usually inexpensive. White butcher paper or recycled packaging paper also work well.
Can I use paint instead of an ink pad?
You can. Apply a thin, even layer of acrylic or craft paint to your stamp using a foam brush so it doesn’t smudge.
How long does the ink take to dry?
Most inks dry within 10–30 minutes, but it depends on the type you use. If you’re working with paint, give it closer to an hour to be safe before wrapping your gifts.
Can kids help with this project?
Definitely! This DIY is simple and fun for kids. It’s actually a great family activity to get everyone in the holiday spirit.
What kind of stamps should I use?
You can use any size or design. Pine cones, greenery, snowflakes, or stars are great for the holidays. Large stamps make a bold pattern, while smaller ones create a more detailed look.
Did you make this craft?
Mention us @eleanorrosehome or tag us using #eleanorrosehome so we can see your creations. You can also leave a comment below!
You Might Also Enjoy
-
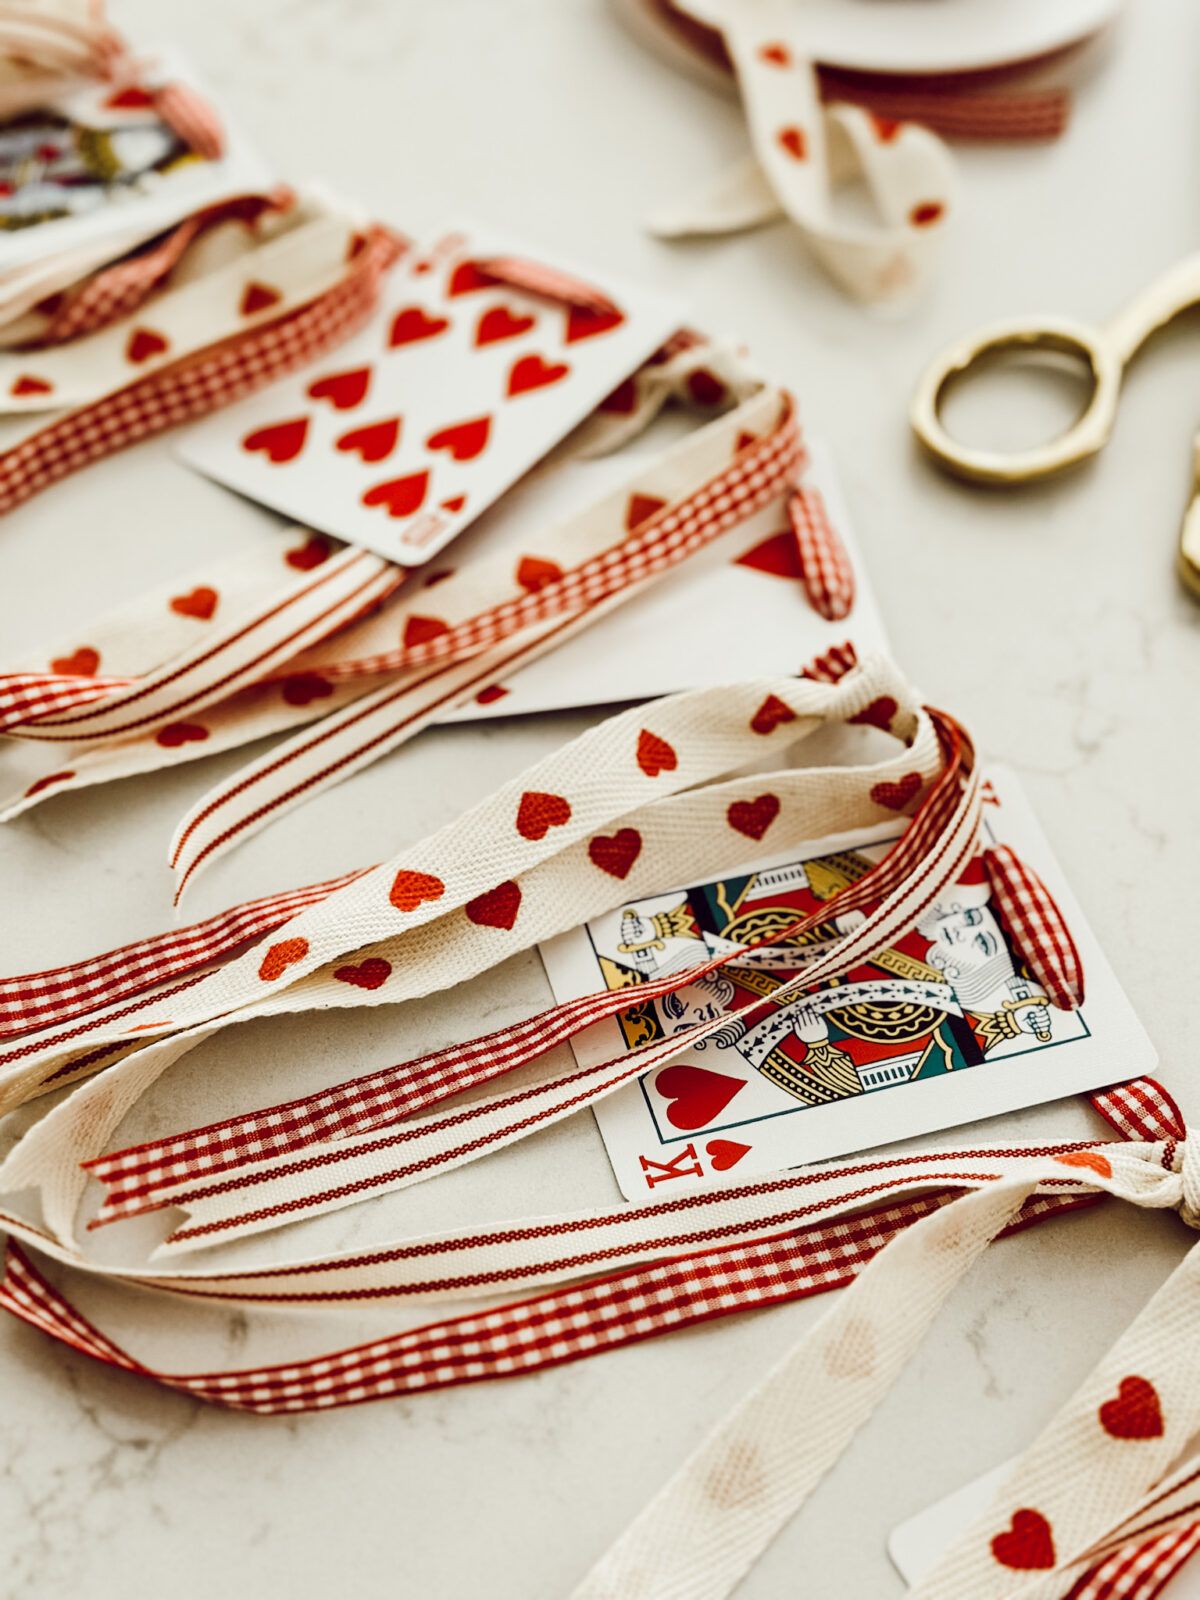
DIY Valentine Heart Playing Card Garland With Ribbon
This DIY valentine heart playing card garland is an easy way to decorate for Valentine’s Day using ribbon and heart…
-
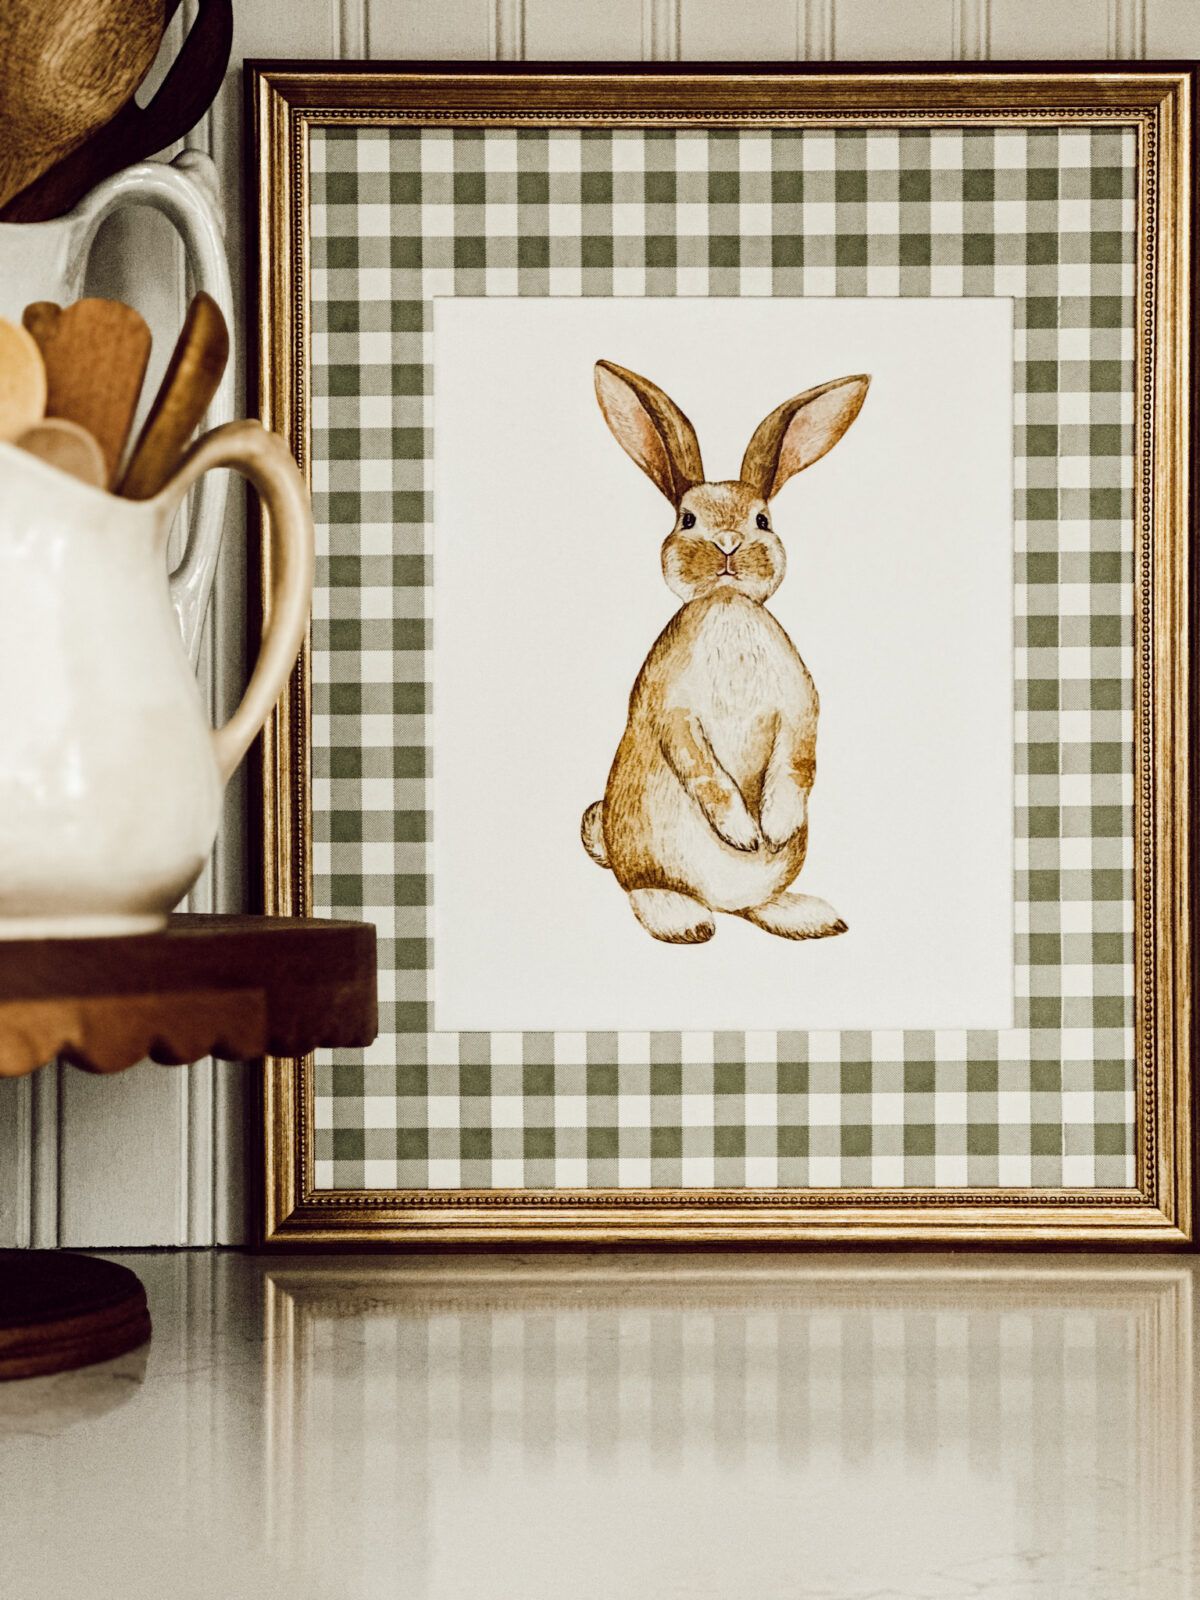
Free Spring Printable Art for Cozy Seasonal Decorating
Download our free spring printable art to cozy up your home this spring. These high-quality PDF prints are perfect for…
-
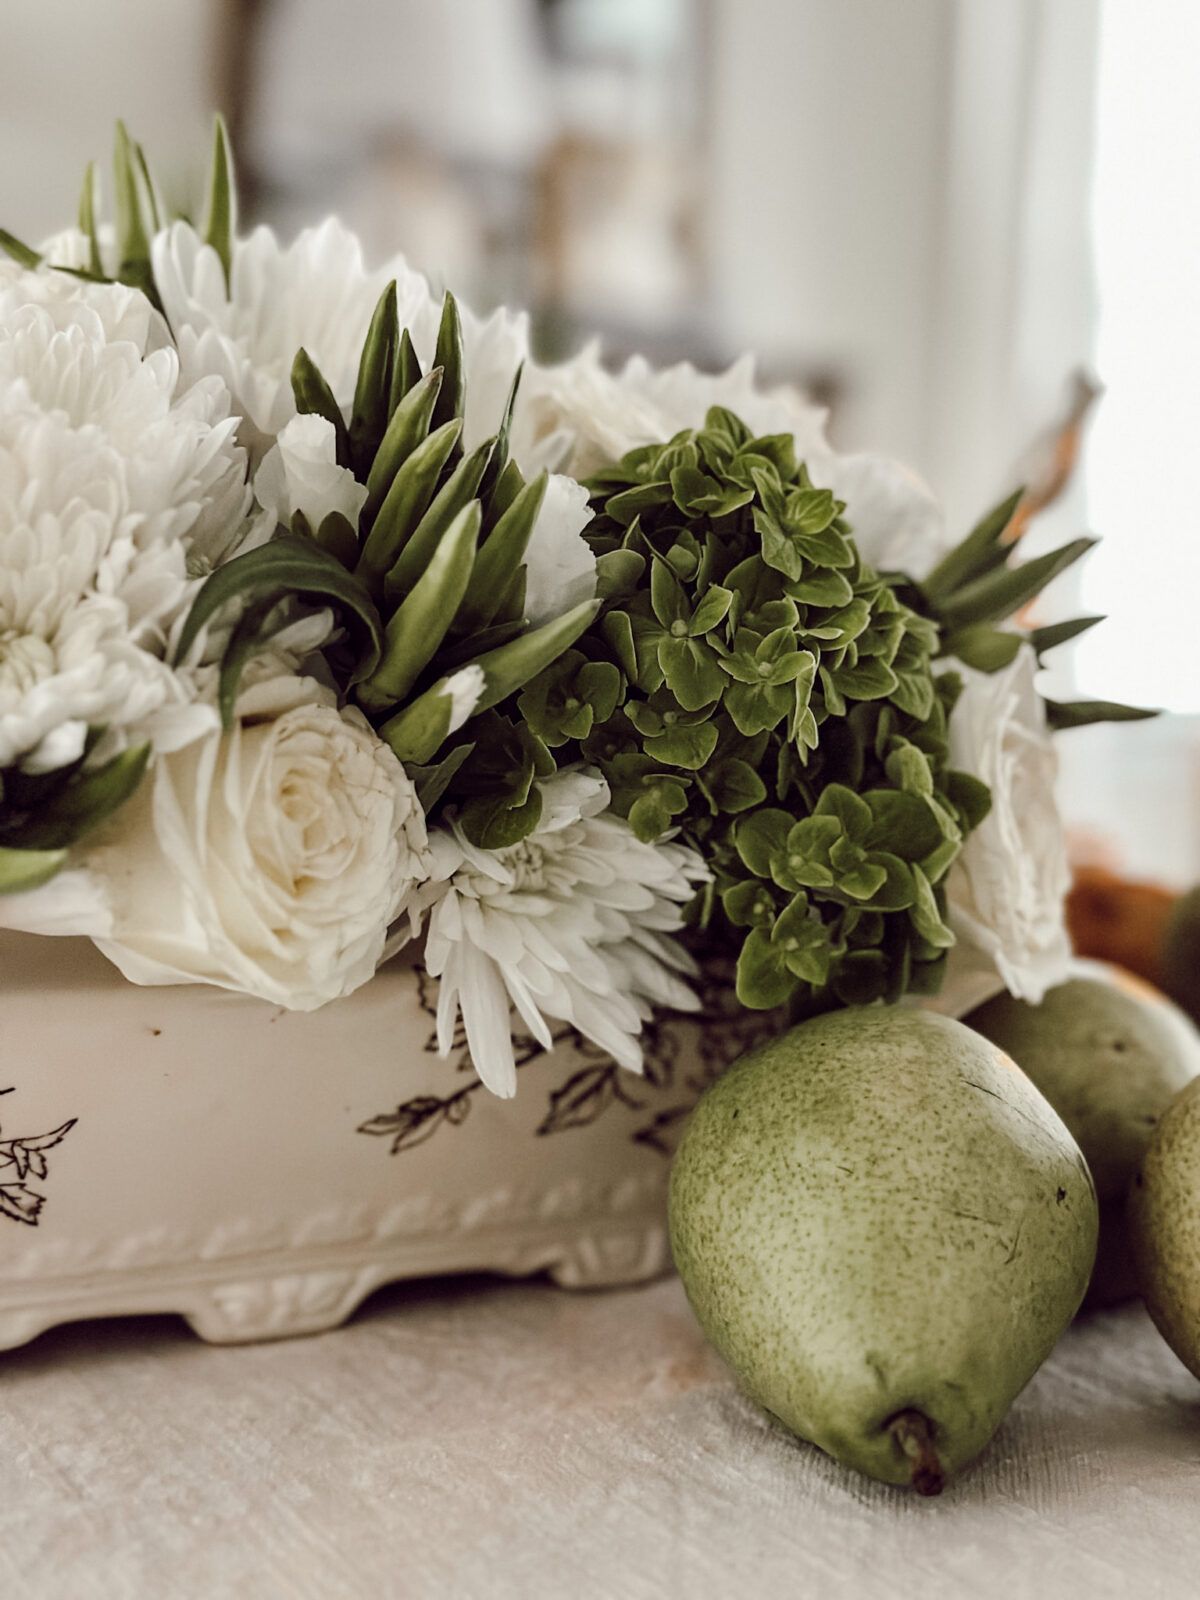
How to Create a Soup Tureen Centerpiece: Cozy Decorating Idea
Discover how to create a soup tureen centerpiece using a vintage tureen and fresh florals for an easy, cozy table…
Shop My Favorite Products
Shop my favorite home decor & lifestyle products, my LTK sources, and my Amazon Storefront.
By making a purchase with one of my affiliate links, I earn a small commission which helps me continue to create meaningful content for you!
I look forward to sharing more of my home with you and inspiring you to enjoy simple cozy living!
Follow me on Facebook, Instagram, Pinterest, and LIKEtoKNOW.it.
xoxo, Heidi


Don’t forget to pin this for later!

Shop this post


