
Easy DIY Woven Potholders: Cozy Christmas Gift Idea
 Shop This Post

Learn how to make easy DIY woven potholders with a loom and loops. A cozy, nostalgic Christmas gift with free printable gift tags.

I never thought I’d fall in love with a craft I used to do as a child, but I did.
I bought a metal weaving loom a few weeks ago thinking I could make a potholder or two.
Little did I know, I would be spending every night since totally hooked.
Yup, pun intended.
I’m not sure what it is, but there’s something about weaving these little squares that feels calming at the end of the day when we’re watching our evening shows.
It’s simple, nostalgic, and oddly satisfying.
After I made the first one, I realized these weren’t just fun to create…they also made the sweetest handmade gifts.
So naturally, I kept going.
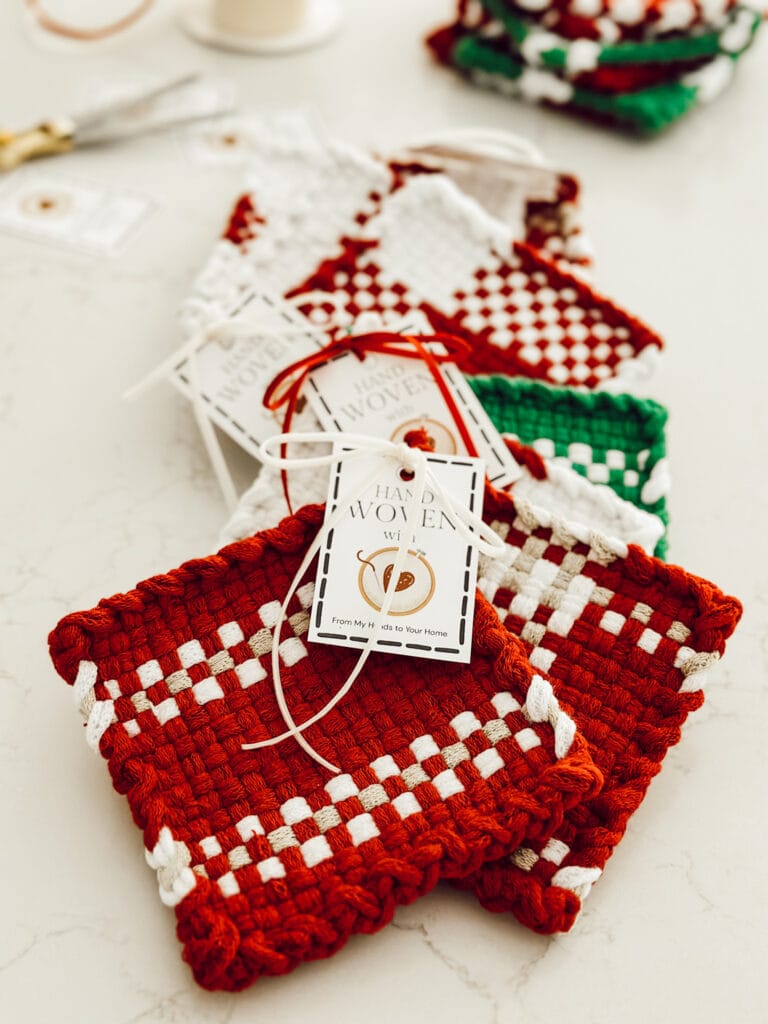
Before long, I had a whole stack of cozy Christmas potholders ready to give to friends, neighbors, and family.
And because I needed a charming finishing touch, I also designed free printable gift tags to tie onto each one.
These woven potholders are my favorite DIY Christmas project this year, and I think they might become yours too.
I’m already buying loops to make neutral colored potholders after the holidays!
Why You’ll Love These Easy DIY Woven Potholders:
Supplies You’ll Need to Make Woven Potholders
If you remember making these as a kid, the supply list will feel familiar.
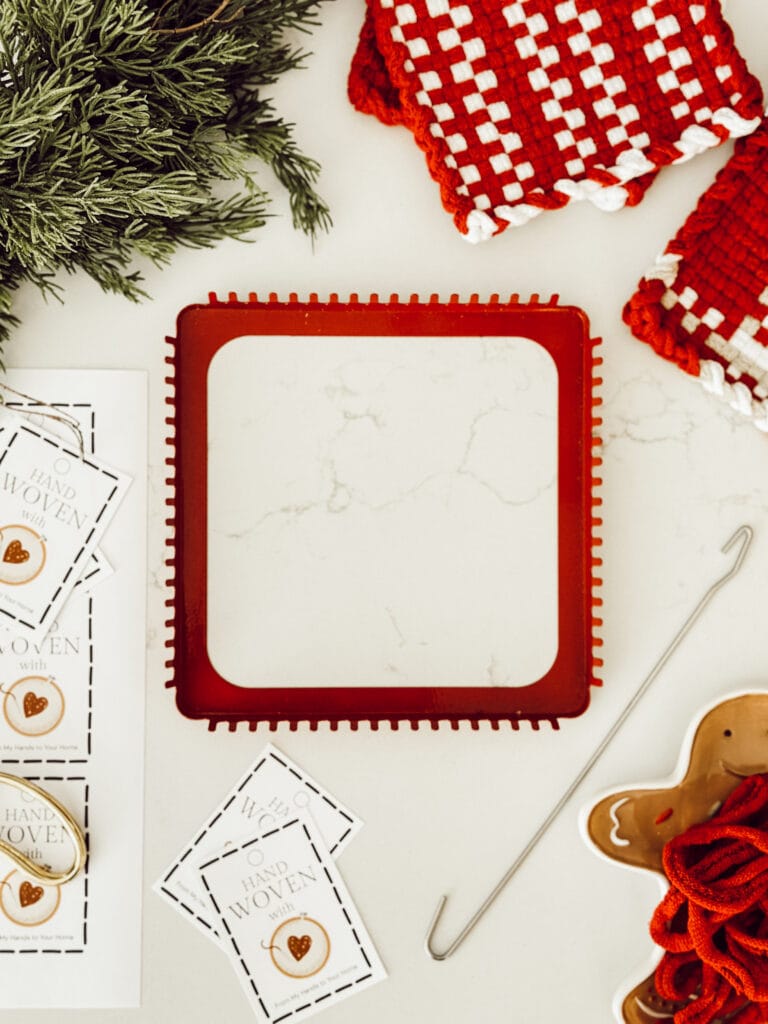
materials you’ll need
*If you make a purchase using one of these links, I may receive a small commission. This does not add any cost to you, but helps me to continue to create & share meaningful content. Thank you for supporting my small business!
I’m Heidi, the heart and hands behind Eleanor Rose Home.

I’ll show you that your home can become a place of warmth, comfort, and style with practical tips, creative ideas, and my own journey to help you create a space that feels like you…welcoming, personal, and full of charm.
How to Make Easy DIY Potholders With a Loom
Making woven potholders is super simple once you get the rhythm down.
cozy ideas delivered to your inbox
When you join our newsletter!
Here’s a step-by-step guide to walk you through the process…
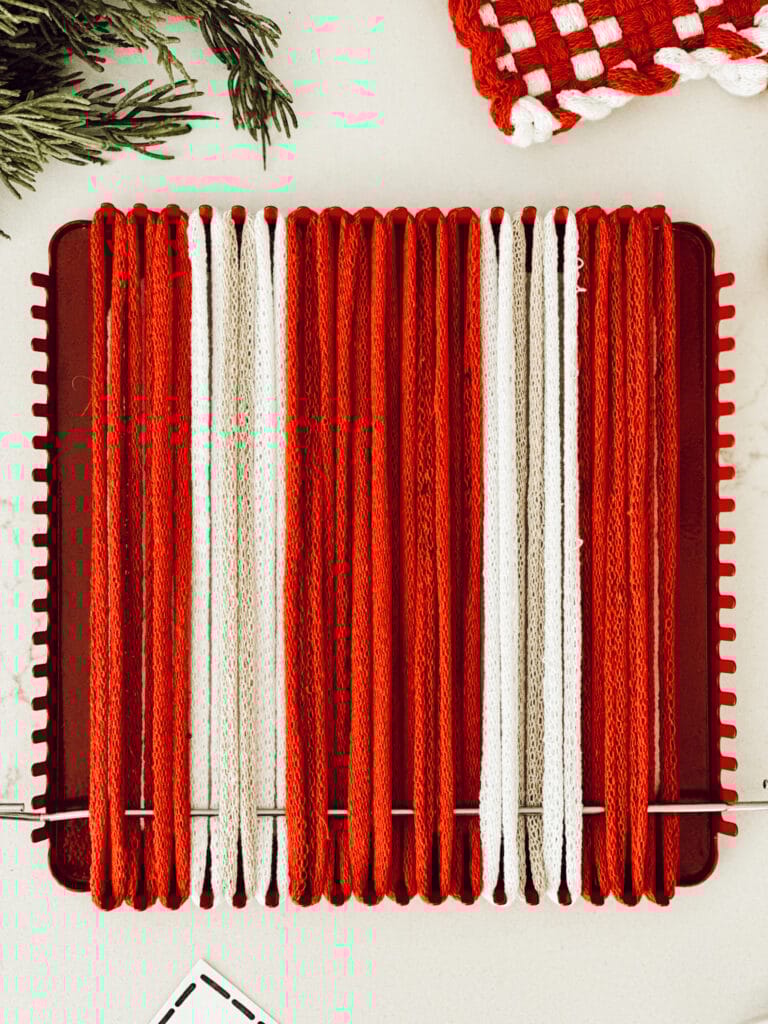
01
Stretch the Loops Onto the Loom
Start by stretching loops vertically across the potholder loom, securing them on the top and bottom pegs.


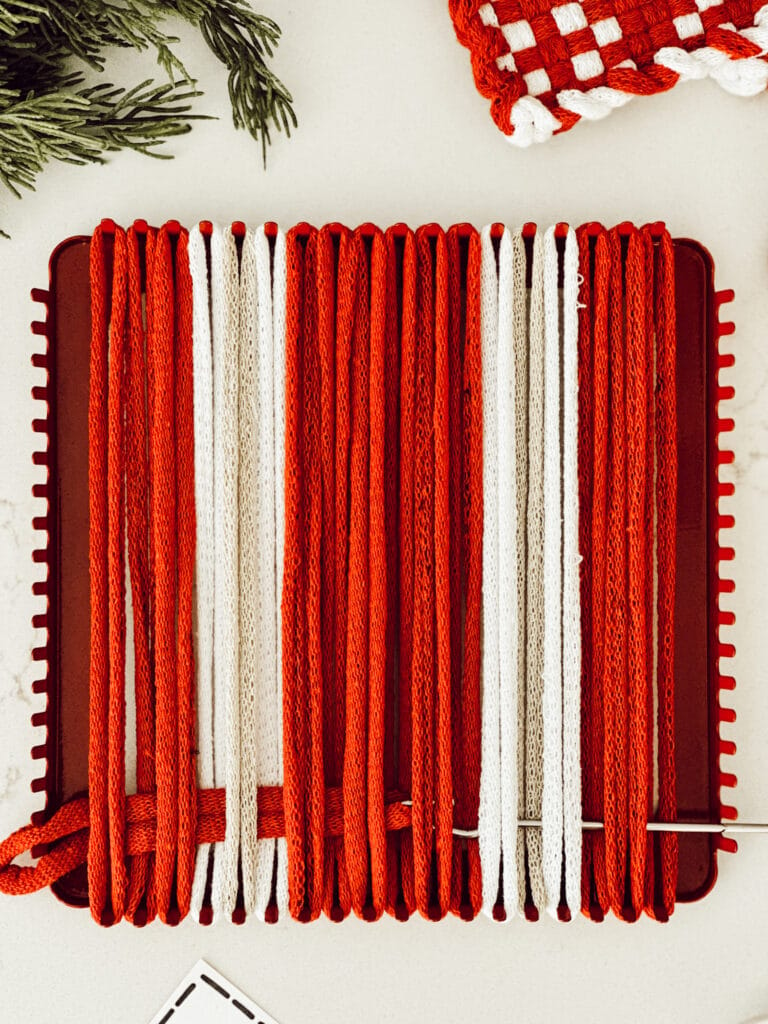
02
Weave Your Pattern
Using your weaving hook, begin weaving the horizontal loops across the loom in a simple over-under-over-under pattern. For the second row, alternate the pattern by going under-over-under-over so the loops interlock properly. As you work, gently push each row up to keep everything snug and even. Continue weaving row by row until the entire loom is filled. You can keep the design simple or get creative…stripes, checkered patterns, and plaids all look adorable.


03
Secure the Edges
Once you’ve finished weaving, it’s time to bind off the edges. Start at any corner and lift the first loop off its peg, then hook the next loop and pull it through the previous one. Continue working your way all the way around the loom, pulling each loop through the last. This step magically tightens and shapes your potholder, giving it that classic finished look. When you reach the very end, the final loop will be used as the hanger.


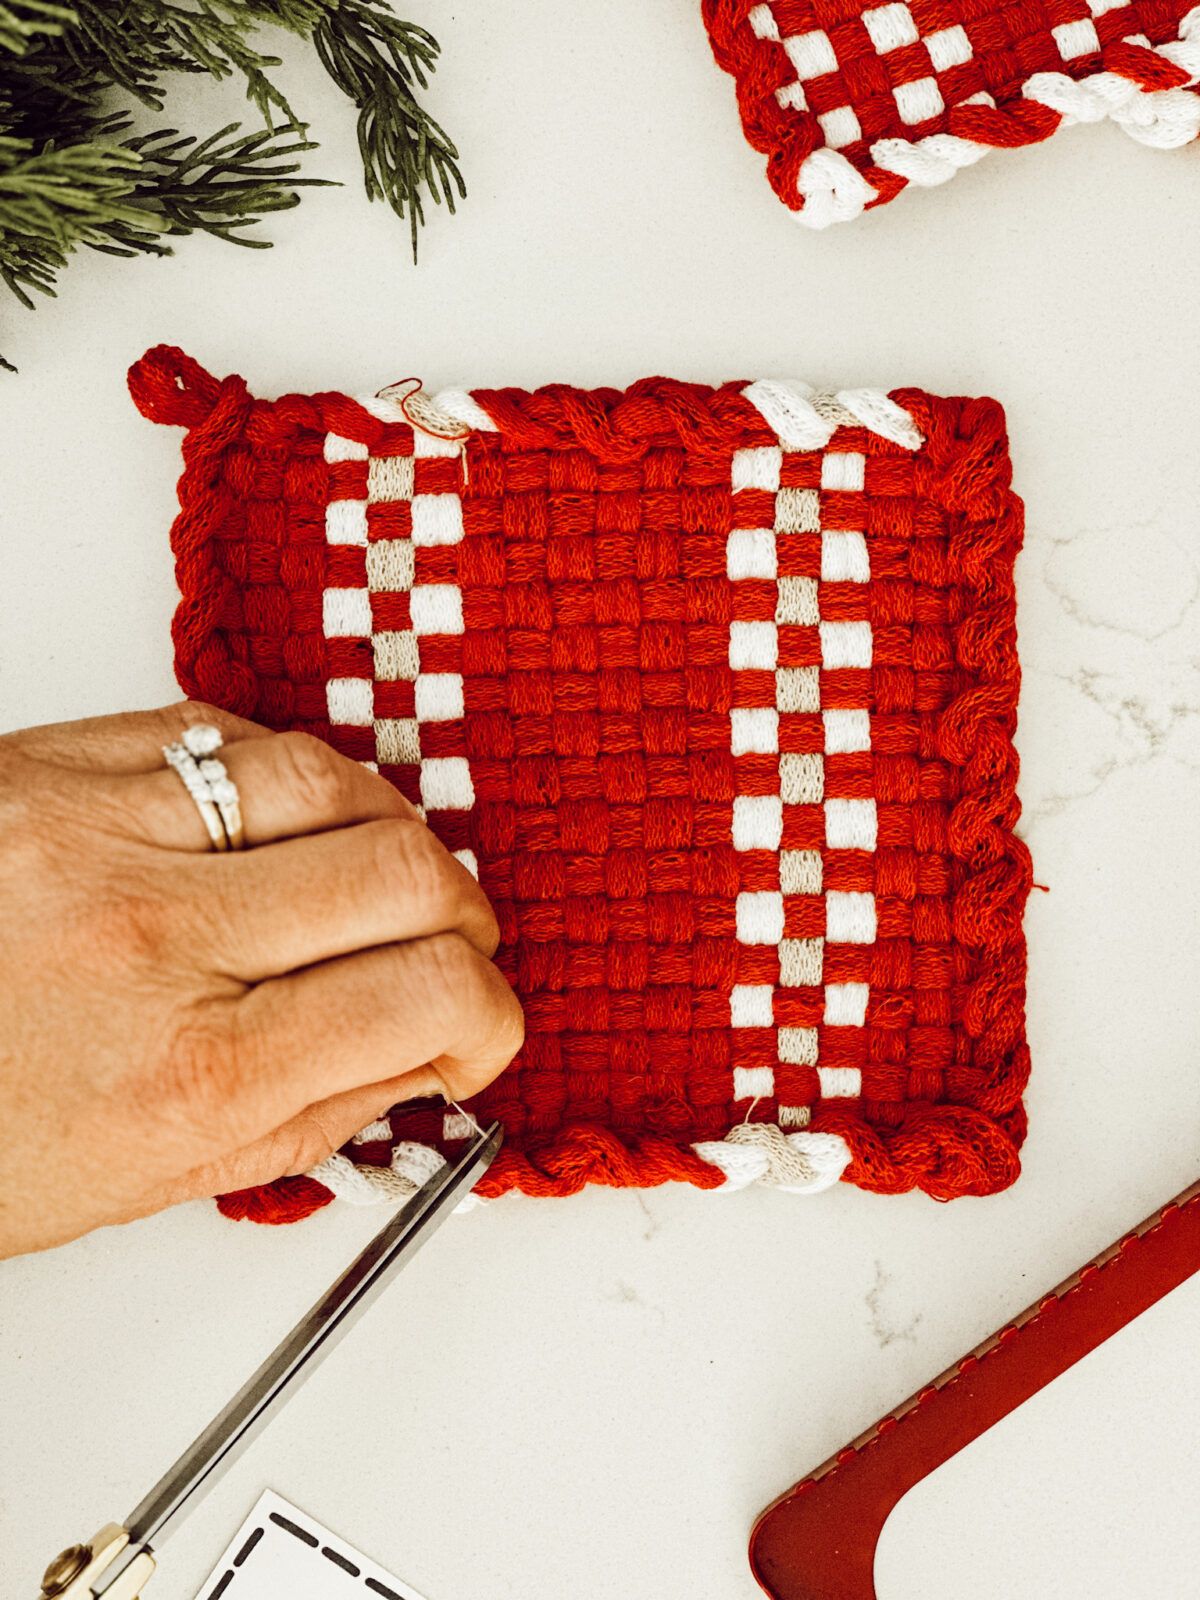
04
Trim Loose Strings
With sharp scissors, trim any loose strings or stray fibers. A quick snip here and there helps everything look neat, tidy, and finished.
05
Add a Gift Tag
Tie a gift tag onto a corner loop with twine or ribbon. That’s it!

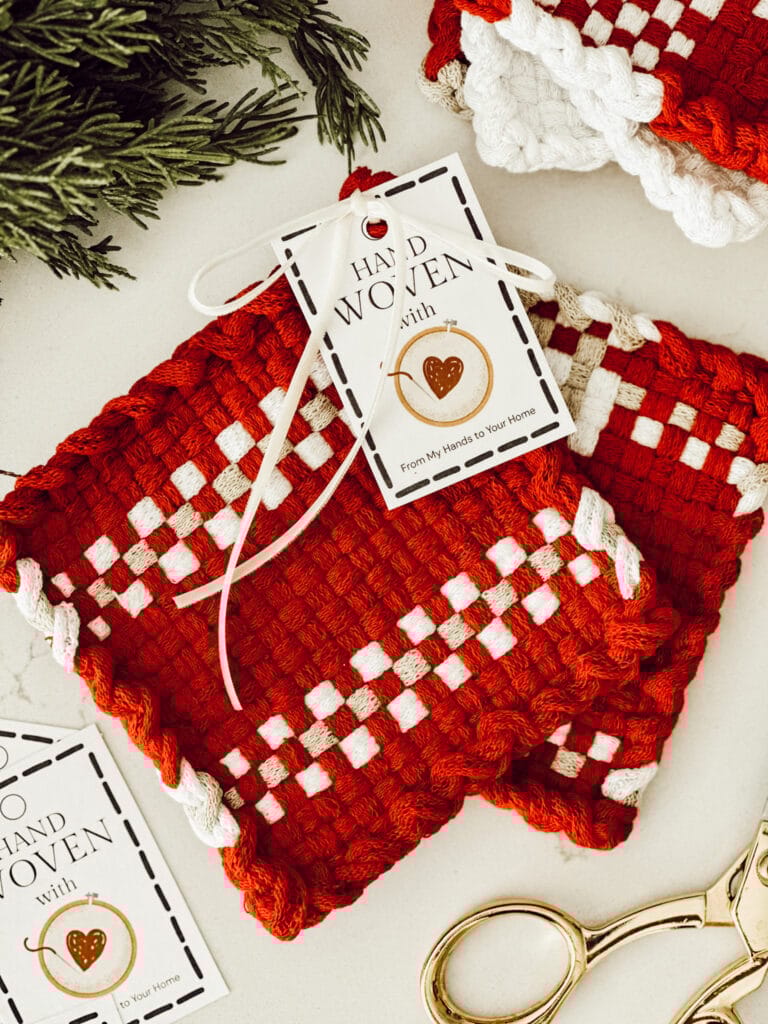
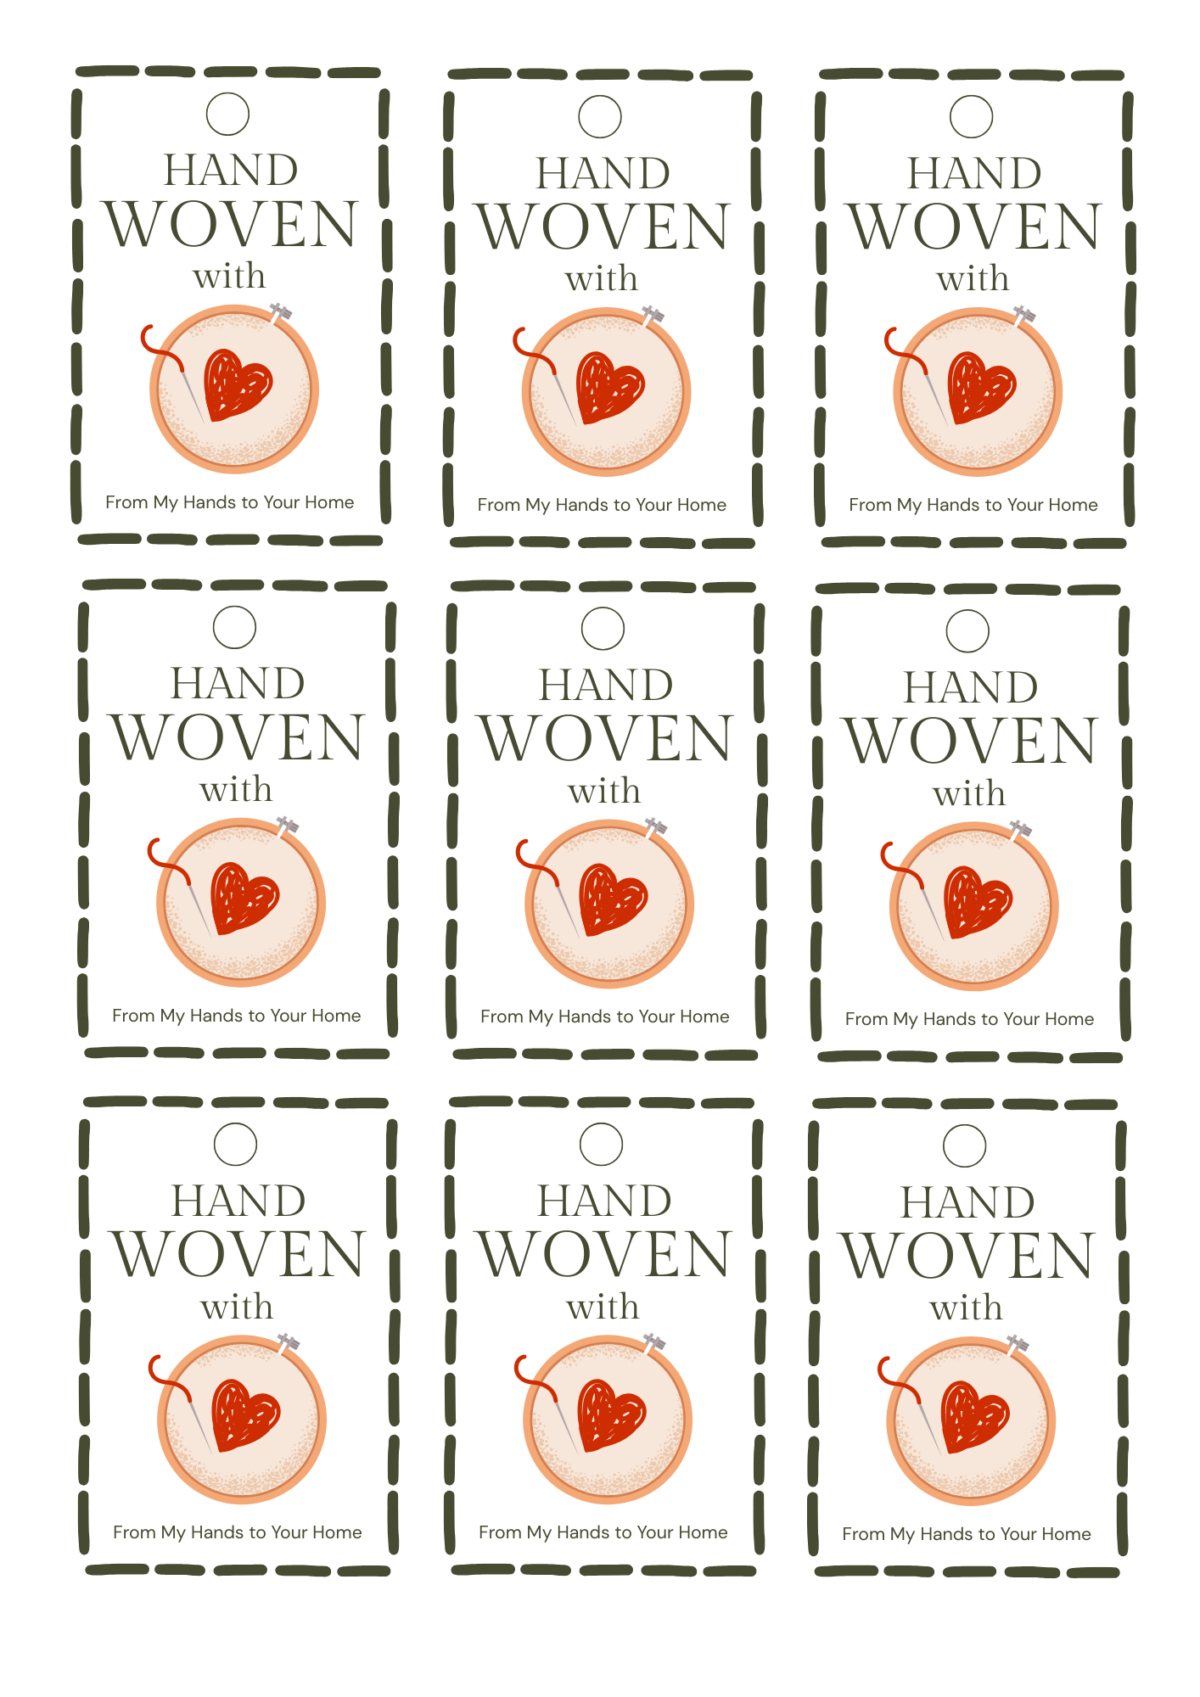
Free Hand Woven With Love Gift Tags
Add the finishing touch to your potholder gift with these “Hand Woven With Love” printable tags.
Helpful Tips
- Pull your loops gently, not tightly. Too much tension can warp the potholder, especially at the edges. Aim for snug but not stretched.
- Push each woven row up as you go. This keeps the weave neat and helps avoid gaps in the finished potholder.
- Use cotton loops only. They hold their shape, wash well, and protect your hands from heat better than synthetic loops.
- Start with simple patterns. Stripes are the easiest, and once you feel confident, you can move into checkered or plaid designs.
- Check both sides as you weave. Sometimes the back reveals places that need adjusting before you bind off the edges.

What You Can Gift With Handmade Potholders
If you want to turn your potholders into a complete gift, here are a few thoughtful additions that pair great with them.
Hey friend! What can I help you find?
Search our entire site!
- Homemade baked goods.
- Wooden spoons or spatulas.
- Cookbook or recipe box with recipe cards.
- Hot cocoa mix or a mulling spice blend.
- A baking dish or pie plate.
- Set of kitchen towels.
- Locally made jam, honey, or maple syrup.
- A bundle of cookie cutters.
- Jar candle.
- A bottle of hand soap or dish soap.

free guide
Homemade Christmas Gift Ideas
I believe the most meaningful gifts are those made at home. In this ebook, I’m sharing easy-to-make homemade Christmas gift ideas that your gift recipients will love.
DIY Woven Potholders: Frequently Asked Questions
Are there different sizes of looms for potholders?
Yes, potholder looms come in a couple of different sizes. The classic 7″ loom is the traditional potholder loom. There’s also a 10″ loom called the pro size. You want to be sure to choose loops that fit the size of your loom (traditional or pro) for the best results.
What size will the finished potholder be?
The finished size of your potholder depends on the loom you use. A traditional 7″ loom typically makes a potholder that ends up around 6″–6.5″ square after weaving and binding off. If you’re using a larger 10″ loom, the finished potholder will be closer to 8″–8.5″ square.
Should I buy a plastic loom or a metal one?
Both plastic and metal looms will work. Metal looms tend to be sturdier, hold their shape, and make it easier to push your rows up as you weave. Plastic looms are lightweight, and will get the job done, but they can flex more under tension.
Do you have to use the metal hook that comes with your loom?
No, you don’t have to use the metal hook that comes with your loom, but it does make weaving a lot easier. The hook is designed to grab loops quickly and help you pull them through. If you don’t have a loom hook, you can use your fingers or a small crochet hook.
What are the best loops to use?
The best loops to use are 100% cotton loops, especially ones made specifically for potholder looms. Cotton loops create a sturdy potholder that can handle heat and hold up well after washing. My personal favorite brand is Friendly Loom, which is made in the USA and offers consistent sizing and gorgeous colors that fit standard 7″ and 10″ looms.
Did you make this DIY?
Mention us @eleanorrosehome or tag us using #eleanorrosehome so we can see your creations. You can also leave a comment below!
You Might Also Enjoy
-
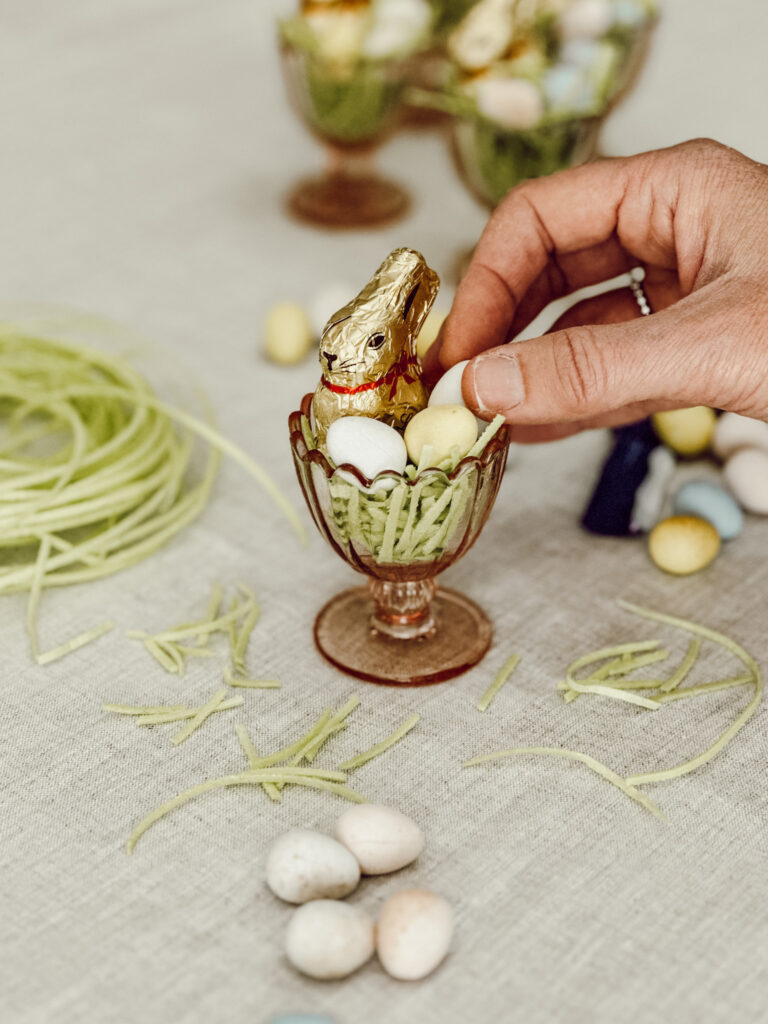
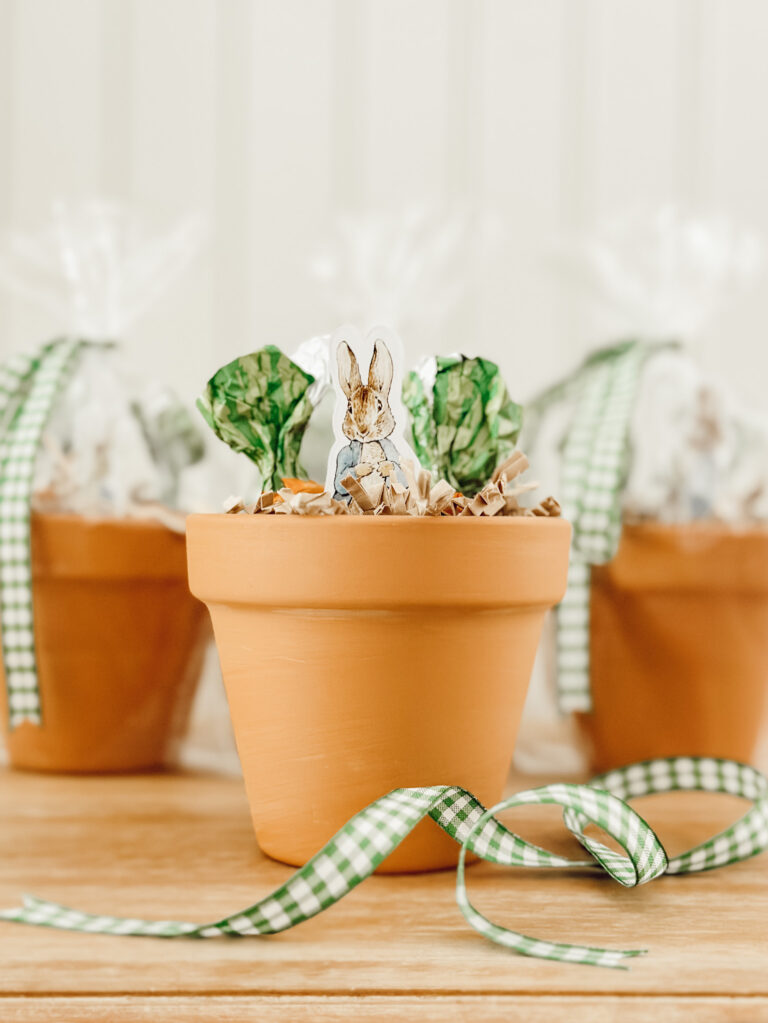
DIY Easter Gift: Peter Rabbit Chocolate Carrots in Terracotta Pots
Make a simple DIY Easter gift using Peter Rabbit cutouts and chocolate carrots placed inside small terracotta pots. If you’re…
-
Easy Copycat Williams Sonoma Peppermint Bark Recipe
Save money with this easy copycat Williams Sonoma peppermint bark recipe made with simple ingredients like semi-sweet chocolate, white chocolate,…
-
Homemade Lemonade Concentrate | Easy 4 Ingredient Recipe
Make your own homemade lemonade concentrate using just 4 simple ingredients. This easy recipe is perfect for refreshing summer drinks…


Shop My Favorite Products
Shop my favorite home decor & lifestyle products, my LTK sources, and my Amazon Storefront.
By making a purchase with one of my affiliate links, I earn a small commission which helps me continue to create meaningful content for you!
I look forward to sharing more of my home with you and inspiring you to enjoy simple cozy living!
Follow me on Facebook, Instagram, Pinterest, and LIKEtoKNOW.it.
xoxo, Heidi

Don’t forget to pin this for later!

Shop this post


I bought this bag of loops that had the beige color. https://rstyle.me/+mUc3diCbP3NRamW5iTJRPg
Which specific color packs did you use for the beige color in these potholders?
Hi Susan, I’m so glad this post inspired you to break out your weaving loom again! Merry Christmas!
these are so fun! I didn’t even know they still made them until last year when I bought one for the girls to do as a Christmas activity at my house. We really enjoyed making them. I wish I would’ve had your instructions at that time, because I had to do a little research to remember how to make them. You have inspired me to get that loom back out and make some more! I love the two color pattern that you made – so cute! Merry Christmas!