
DIY Stenciled Tea Towels: Cozy Craft for the Kitchen
 Shop This Post

Learn how to make DIY stenciled tea towels with acrylic paint. This cozy kitchen craft is simple, affordable, and beginner friendly.

You might remember the kitchen towels I shared a couple of years ago that I customized with rubber stamps.
They were simple, charming, and one of those projects that made everyday kitchen linens feel a little more special.
Well…
When I stumbled upon a stencil kit while shopping online recently, it immediately brought me back to that same creative spark.
Only this time, instead of stamping, I started imagining what plain white kitchen towels would look like with a stenciled design.
And let me tell you,
Stenciling is easier, more beautiful, and extremely nostalgic.
If you were a child of the ’80s or early ’90s, chances are something was stenciled in your childhood home.
Maybe it was ivy trailing across the top of the living room walls (this was my house).
Or maybe it was a border in the bathroom.
There’s something about that look that feels cozy and familiar.
But now, instead of covering an entire wall with geese and grapevines, we’re keeping it simple.
It’s a craft you can complete in 15 minutes or less.
No full weekend project.
No big mess.
Just a quick, creative DIY that turns a white kitchen towel into something that feels thoughtful and handmade.
What You’ll Love About This DIY
Supplies You’ll Need to Make Stenciled Kitchen Towels
The best part about making custom kitchen towels with stencils is that you don’t need anything fancy, just a few basic supplies and a little creativity.

materials you’ll need
*If you make a purchase using one of these links, I may receive a small commission. This does not add any cost to you, but helps me to continue to create & share meaningful content. Thank you for supporting my small business!
I’m Heidi, the heart and hands behind Eleanor Rose Home.

I’ll show you that your home can become a place of warmth, comfort, and style with practical tips, creative ideas, and my own journey to help you create a space that feels like you…welcoming, personal, and full of charm.
What is the difference between stenciling and painting?
Painting is done freehand so you create the design yourself with a brush. Stenciling uses a pre-cut template and a light dabbing motion to apply paint over the openings, creating clean, consistent shapes. It’s perfect for beginners because it gives you a polished look while still feeling handmade.
How to Make Custom Dish Towels Using Stencils and Paint
Creating one-of-a-kind tea towels using stencils and paint is an easy way to add a personal, charming touch to your kitchen.
cozy ideas delivered to your inbox
When you join our newsletter!
Here’s how to do it…
01
Prep Your Tea Towel
Figure out which end of your towel is the top and which is the bottom. Most tea towels have a small fabric hanger loop, that’s your guide. The loop should be at the top once the towel is hanging in your kitchen. Lay the towel flat on a smooth surface with the hanger loop positioned at the top. Next, slide a piece of paper inside the towel. This helps prevent the craft paint from bleeding through to the back side while you stencil. Choose your stencil.

02
Position Your Stencil
Lay your stencil where you want the design. Centered? Bottom corner? Repeating pattern? This is where you can get creative. If you’re stencil doesn’t have a sticky backing like mine, secure it with painter’s tape so it doesn’t shift while you’re working.


03
Load Your Paintbrush Lightly With Paint
Dip your stencil brush into the craft paint, then remove most of it by dabbing onto a paper plate. This is key. You want your brush nearly dry. Too much paint can cause bleeding under the stencil.


04
Stencil With a Dabbing Motion
Instead of brushing side to side, gently dab the paint straight up and down over the stencil openings. Build the color slowly in light layers rather than applying one heavy coat.


05
Remove the Stencil
While the paint is still slightly wet, carefully lift the stencil straight up to avoid smudging. Let the towel dry completely.


06
Set With Heat
Once fully dry, iron on medium heat for a few minutes to help set the paint.

Helpful Tips
- Use less paint than you think you need. Too much paint is the number one cause of bleeding under the stencil.
- Test your design first. Practice on scrap fabric or even paper to get a feel for pressure and paint coverage.
- Secure the stencil. Use painter’s tape to keep everything firmly in place so it doesn’t shift while you’re painting.
- Lift the stencil straight up. Avoid dragging it across the towel to prevent smudging.
- Don’t stress about tiny imperfections. Slight variations make your towel feel handmade instead of factory produced.
- Let the paint dry completely before heat setting. Even slightly damp paint can smudge when ironed.
DIY Stenciled Tea Towel Design Ideas
One of my favorite things about this DIY project is how customizable it is.
You can tailor the towel design to your kitchen style or season.

If you’re not sure where to start, here are a few ideas:
- Botanicals: Olive branches, eucalyptus stems, wildflowers, or greenery give your towels a timeless look.
- Seasonal Prints: Pumpkins for fall, evergreens for winter, strawberries for summer, or delicate florals for spring.
- Minimal Corner Design: Instead of centering the stencil, place it in the lower corner for a different look.
- Repeating Border Pattern: A pattern along the bottom hem gives a nod to those ’80s and ’90s stencil borders.
Hey friend! What can I help you find?
Search our entire site!
Frequently Asked Questions
What kind of paint works best for stenciling on tea towels?
I like acrylic craft paint but you could also use fabric paint.
Will the paint wash off of the towels?
If heat set properly, the design will hold up. The paint may fade slightly over time. Wash in cold water and air dry for best longevity.
Can I use towels that aren’t made from cotton or linen?
You can use other types of towels, but cotton and linen will always give you the best results. Natural fibers absorb craft paint more evenly and help prevent bleeding. Synthetic fabrics like polyester can repel paint, which can cause smudging or cracking over time.
Can I use this technique on other kitchen linens?
Yes! This same stenciling technique is a great way to customize other linens like cloth napkins, table runners, aprons, and fabric placemats.
Did you make this DIY?
Mention us @eleanorrosehome or tag us using #eleanorrosehome so we can see your creations! You can also leave a comment below!

Coming Soon…
If you think tea towels are fun to stencil, just wait! There’s so much more you can customize with this simple technique.
You Might Also Enjoy
-
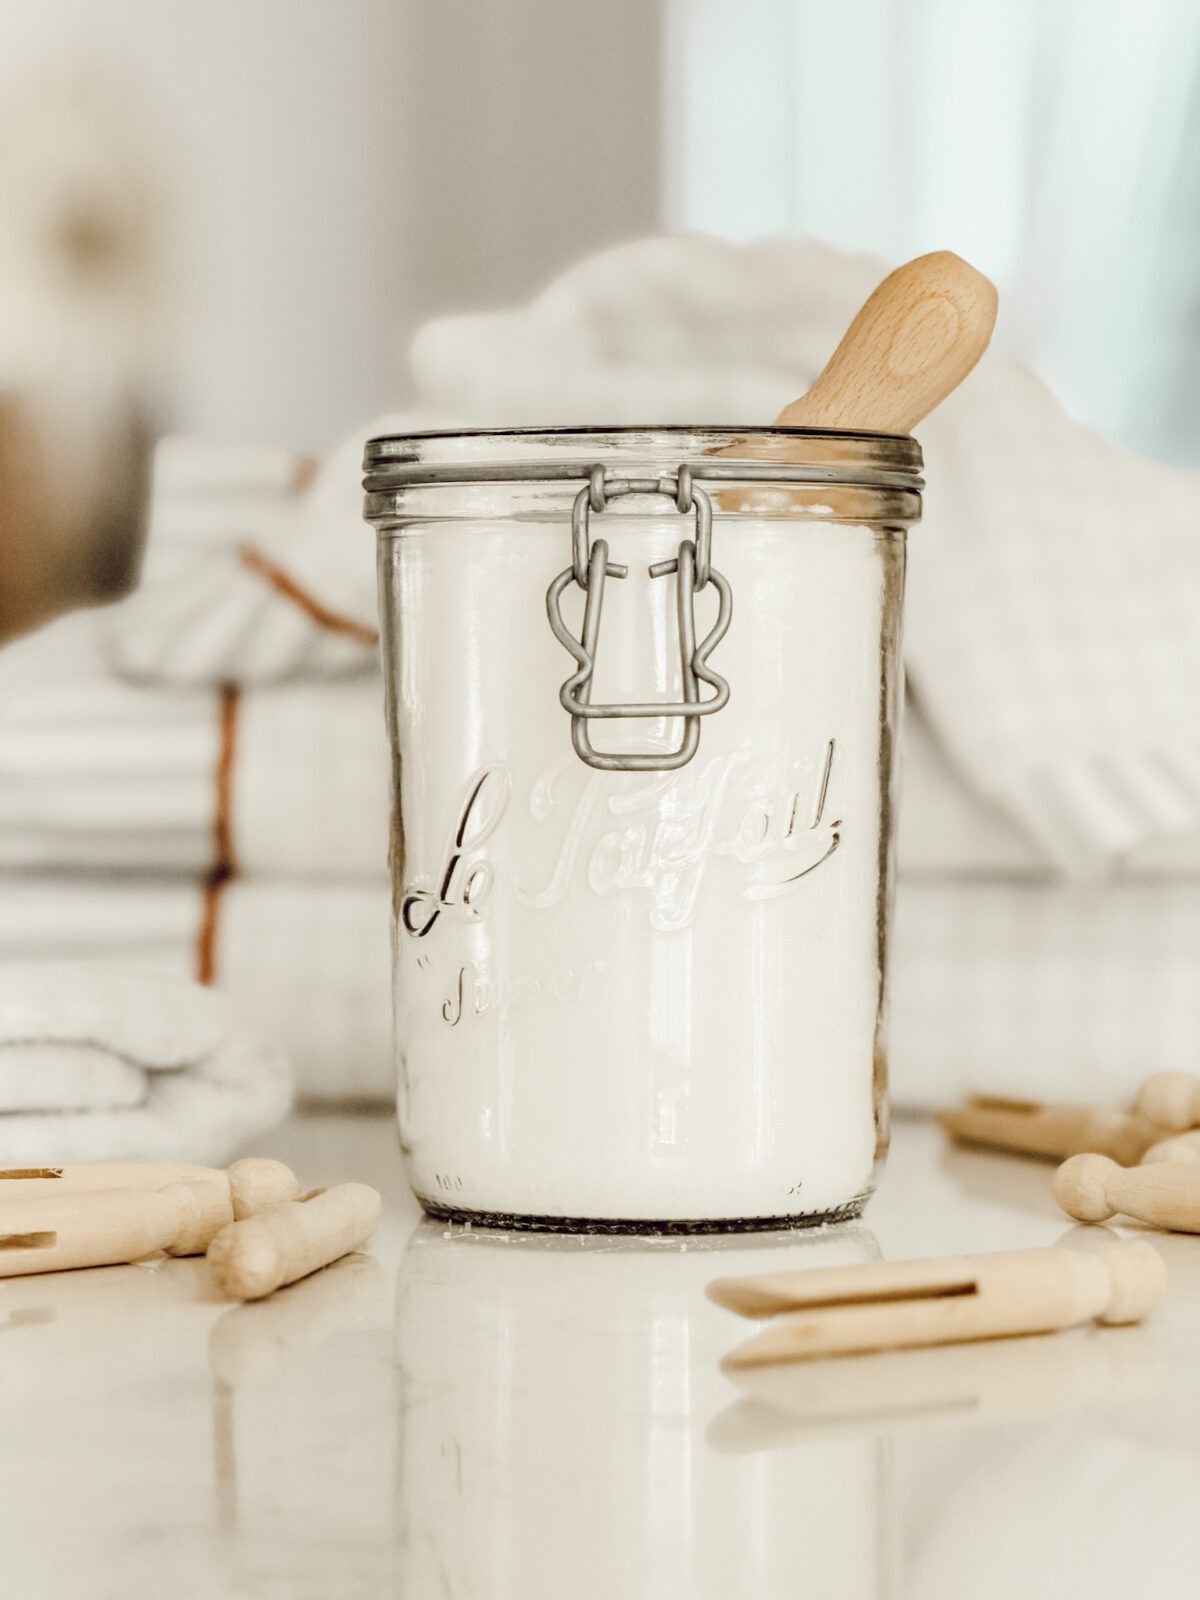
DIY Natural Laundry Scent Booster With Baking Soda
Make your own DIY natural laundry scent booster using Epsom salt, baking soda, and essential oils for fresh, naturally scented…
-
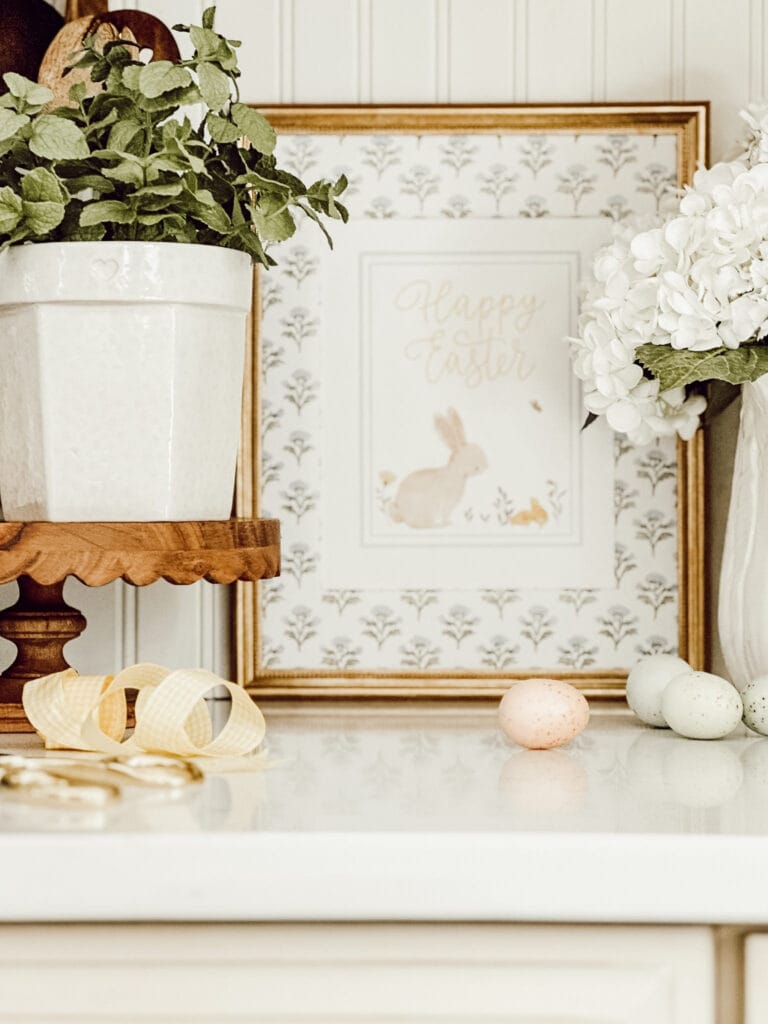
DIY Easter Candy Jar for Gifts, Decor, and Spring Treats
Create a DIY Easter candy jar with this easy spring craft idea. Perfect for filling with treats, decorating your home,…
-
Free Printable Easter Wall Art for Cozy Cottage Style Decor
Free printable Easter wall art to decorate your home for spring. These cozy cottage inspired designs are great for frames,…


Shop My Favorite Products
Shop my favorite home decor & lifestyle products, my LTK sources, and my Amazon Storefront.
By making a purchase with one of my affiliate links, I earn a small commission which helps me continue to create meaningful content for you!
I look forward to sharing more of my home with you and inspiring you to enjoy simple cozy living!
Follow me on Facebook, Instagram, Pinterest, and LIKEtoKNOW.it.
xoxo, Heidi


Don’t forget to pin this for later!

Shop this post


