
Easy No Sew Kitchen Towel DIY With Rubber Stamps
 Shop This Post

Create your own personalized kitchen decor with this step by step tutorial to a no sew kitchen towel DIY using an ink pad and rubber stamps.

Do you ever picture something that you’d like to have your home only you’re not able to find it online or in-store?
This happened to me recently when I started looking for fall, block printed kitchen towels.
I couldn’t find what I was looking for…anywhere.
In my search for the perfect kitchen towel, I was reminded of stamped napkins I created a few years ago.
When I crafted the napkins I remember thinking how I wanted to try this technique on dish towels.
Well I never did, until now!
I’m not quite sure what took me so long to try this stamping technique on towels, but now that I have, I’ve been imagining all the designs and patterns I can create for different seasons and holidays.
If you’re someone who loves both crafting but may not have basic sewing skills (Like me!), then this is a great project for you!
In this blog post, I’ll show you how no sewing skills are required to create your very own kitchen towel with charming stamp designs.
Why rubber stamps for this kitchen towel DIY?
Rubber stamps are a good thing to use to instantly transform a plain piece of fabric into a work of art.
Stamps are a fun way to imprint intricate designs, unique patterns, or even personalized messages onto a variety of surfaces.
With rubber stamps, your creativity knows no bounds, which is perfect for these kitchen tea towels.
What you’ll love about this easy project:
Supplies for Stamped Kitchen Towels
These are the materials you’ll need to make your own DIY kitchen towels..

supplies You’ll need
*If you make a purchase using one of these links, I may receive a small commission. This does not add any cost to you, but helps me to continue to create & share meaningful content. Thank you for supporting my small business!
I’m Heidi, the heart and hands behind Eleanor Rose Home.

I’ll show you that your home can become a place of warmth, comfort, and style with practical tips, creative ideas, and my own journey to help you create a space that feels like you…welcoming, personal, and full of charm.
Easy Step by Step Tutorial for DIY Kitchen Towels
In just a few easy steps you’ll have the coziest towels for your kitchen…
more cozy inspiration delivered to your inbox
When you join our newsletter!
Step 1: Plan Your Design
Before you begin stamping, visualize your design and how you want it to appear on the towel.
NOTE: Before stamping your tea towel for the first time, it’s a good idea to practice stamping on a scrap fabric pieces. This will help you decide on the perfect dish towel patterns and the right amount of pressure to apply when stamping.
Step 2: Stamping
Begin stamping your designs onto the towel using your chosen ink color.
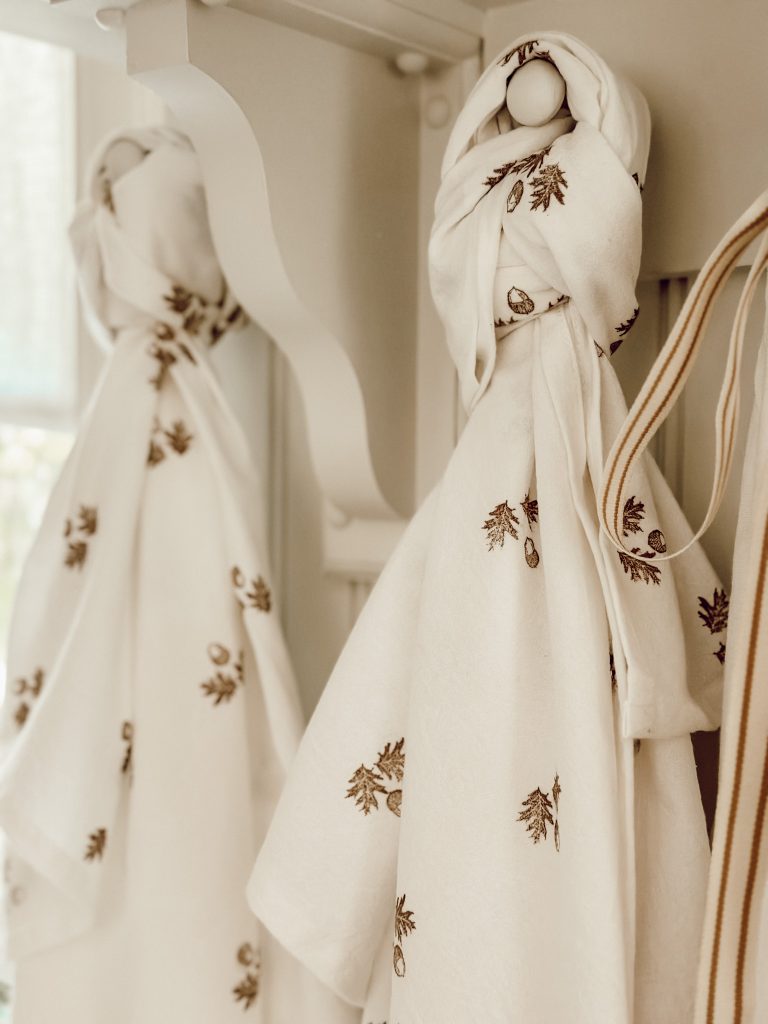
For our fall kitchen towels I wanted a block print pattern, so I decided to stamp 2 oak leaves in opposing directions with an acorn stamped in the middle of the leaves.
When crafting your own kitchen towels you don’t need to worry about perfection. The beauty of each towel lies in it’s uniqueness. No two towels will be the same!

To help with stamp spacing and to create straight lines I used a yard stick.
I began stamping in a vertical line on the bottom of the towel, stamping the oak leaves about 3″ apart, alternating the rows to create a block print. Each row is about 2 1/2″ inches apart.
For the acorn, I alternated those rows as well with one row of the acorn facing down, and the next row the acorn facing up.
Ultimately, the design and pattern you decide upon is completely up to you!
Step 3: Let the Towel Dry
Allow the ink to dry completely, which should take 1-2 hours or you can allow to dry overnight.
Step 4: Iron to Seal
On the highest iron setting with steam, iron your kitchen towel on the side with the stamped design. This will set the ink to the towel.
Helpful Tips
- Test your stamps on a scrap piece of fabric. This helps you get comfortable with the pressure and technique required, ensuring a better outcome on the actual towel.
- Before you start stamping, plan out your design. This will prevent mistakes and help you achieve a balanced look.
- Apply a moderate amount of ink to your rubber stamps. Too much ink can lead to smudging, while too little can result in incomplete or faint designs.
- When stamping, apply even pressure to the entire stamp surface. This helps ensure that the design transfers uniformly onto the fabric.
- Keep some scrap paper or paper towels handy to blot the stamp after inking. This prevents excessive ink from transferring onto your towel, which can lead to smudges.
- Take your time and be patient with each stamping. Rushing can lead to uneven designs and mistakes.
How to Hang Your Finished Towels
Hanging your finished DIY kitchen towels is the final step to proudly displaying your creative masterpiece.
I love to tie our tea towels around these hooks in our kitchen (you can see my tutorial for tying dish towels here), however if you don’t have hooks like ours, you can display your hanging towel a few different ways.
- Hang your kitchen towel over the handle of your oven or any other appliances with handles. This method keeps the hanging kitchen towel within arm’s reach while also adding a little something extra to your appliances.
- Add decorative wall hooks in your kitchen and hang your towel as you would with a coat or apron.
- If you have cabinets with handles, drape the towel over the handles. This method is simple and efficient ensuring your towel is always nearby.
Why should I use 100% cotton fabric or linen tea towels for this DIY?
Using 100% cotton or linen fabric towels is the best choice for it’s kitchen use durability.
These light weight fabrics possess excellent ink adherence, ensuring your stamped designs maintain their vibrancy after multiple washes.
The natural qualities of these fabrics make them ideal canvases for your rubber stamp designs, guaranteeing a long lasting, visually appealing, and functional addition to your kitchen.
do it yourself
More DIY Inspiration
Looking for more creative inspiration? Check out these easy DIY projects. Discover how simple materials can transform into stunning creations that reflect your personal, unique style.
Can you actually use these DIY kitchen towels or are they just for decoration?
Absolutely, you can definitely use the flour sack towels that you created with rubber stamps!
One of the great aspects of this project is that the towel remains functional in addition to being a decorative piece.
Hey friend! What can I help you find?
Search our entire site!
Here are a few things to keep in mind to ensure that your kitchen towel remains both beautiful and usable:
DIY Kitchen Towels Make Great Gifts
DIY tea towels with rubber stamp designs are not just a great idea for your home, they make thoughtful, handmade gifts for various occasions as well.

Simply tie a folded towel with pretty ribbon for an easy, budget friendly gift.
Or, include a DIY towel in a basket with other cooking essentials like a cookbook, wooden spoons, a recipe box, or this homemade vanilla extract for a more substantial gift.
Here are some occasions where these personalized kitchen towels would be the perfect gift:
- Housewarming: Welcome someone to their new home with a customized kitchen towel.
- Holidays: Whether it’s Christmas, Hanukkah, Easter, or any other holiday; a festive kitchen towel is a great way to add seasonal decor to any home.
- Hostess Gift: Show your appreciation when invited to someone’s home by gifting a personalized kitchen towel.
- Thank You Gift: A handmade towel is a thoughtful way to say “thank you” to someone who has done something special for you.
Remember, the key to making these hand towels ideal for any occasion is the personalization. This thoughtfulness will make your handmade gifts truly special and appreciated.
Did you make this craft?
Mention us @eleanorrosehome or tag us using #eleanorrosehome so we can see your creations! You can also leave a comment below!
You Might Also Enjoy
-
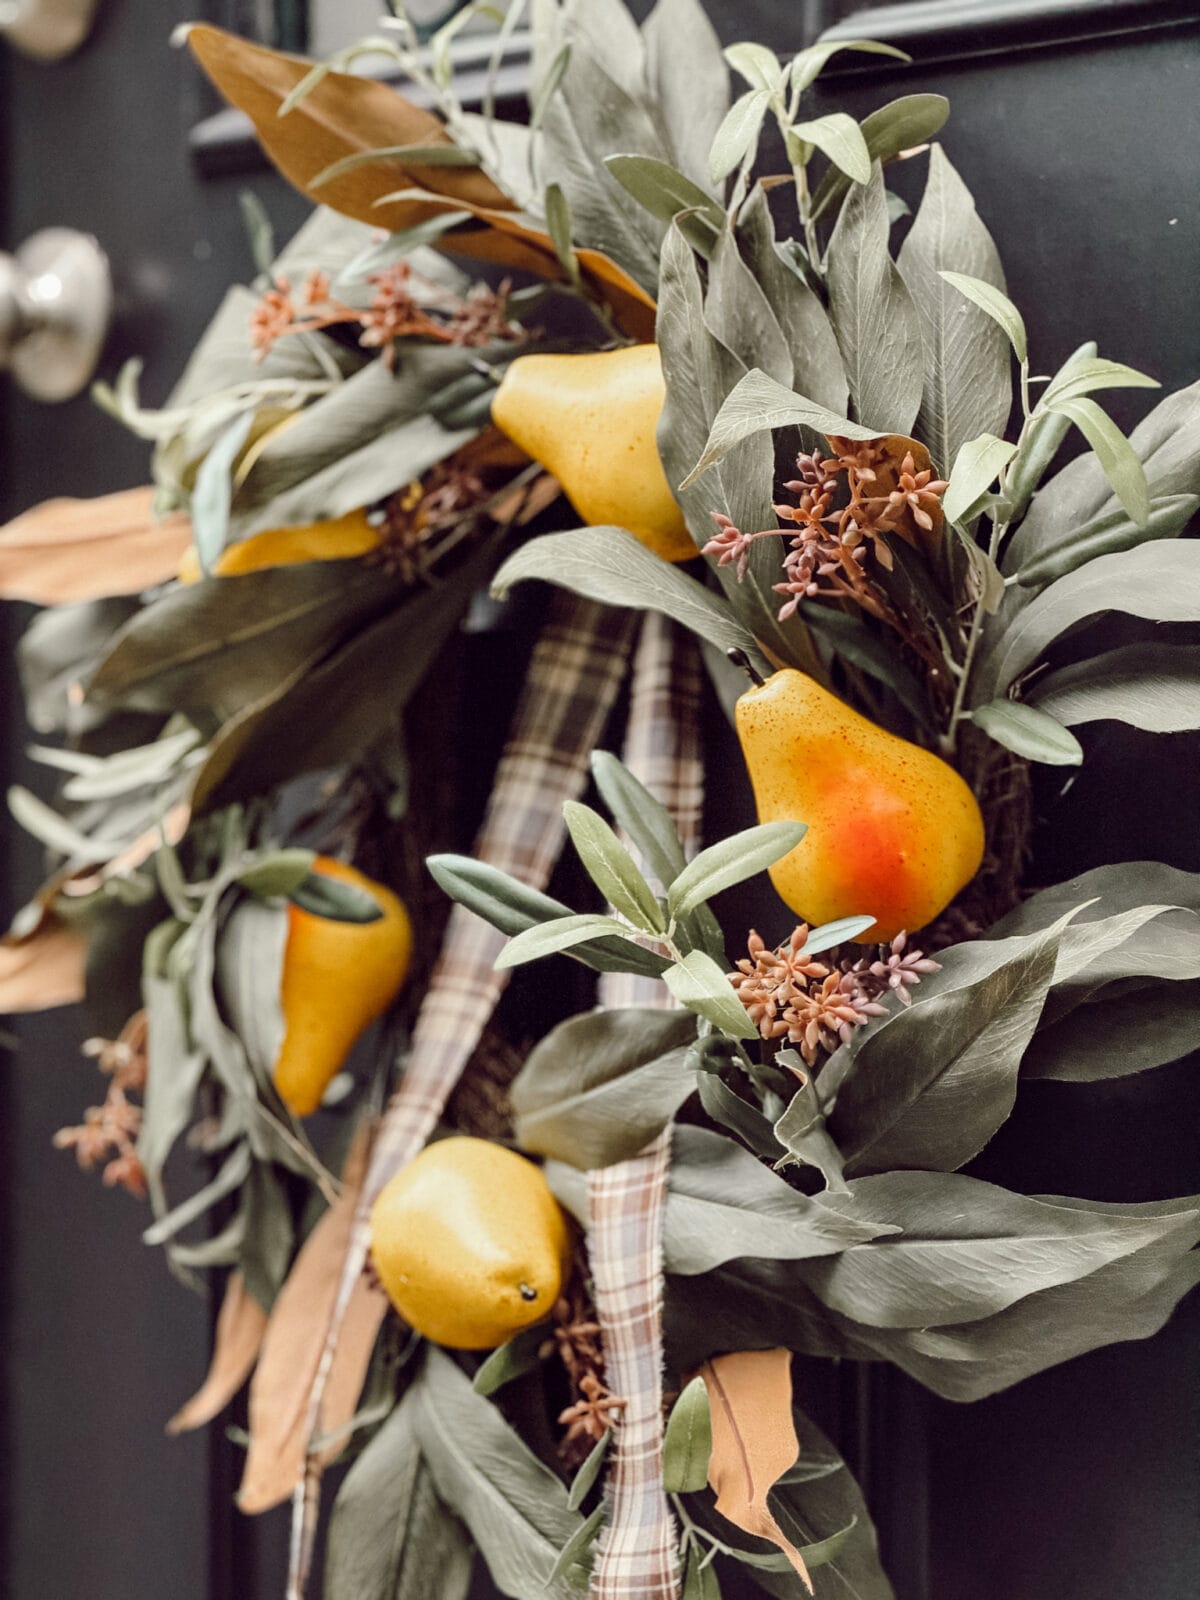
DIY Faux Pear Wreath: A Simple Fall Decor Idea
This DIY faux pear wreath is the easiest fall decor you’ll make all season. A store-bought wreath, faux pears, hot…
-
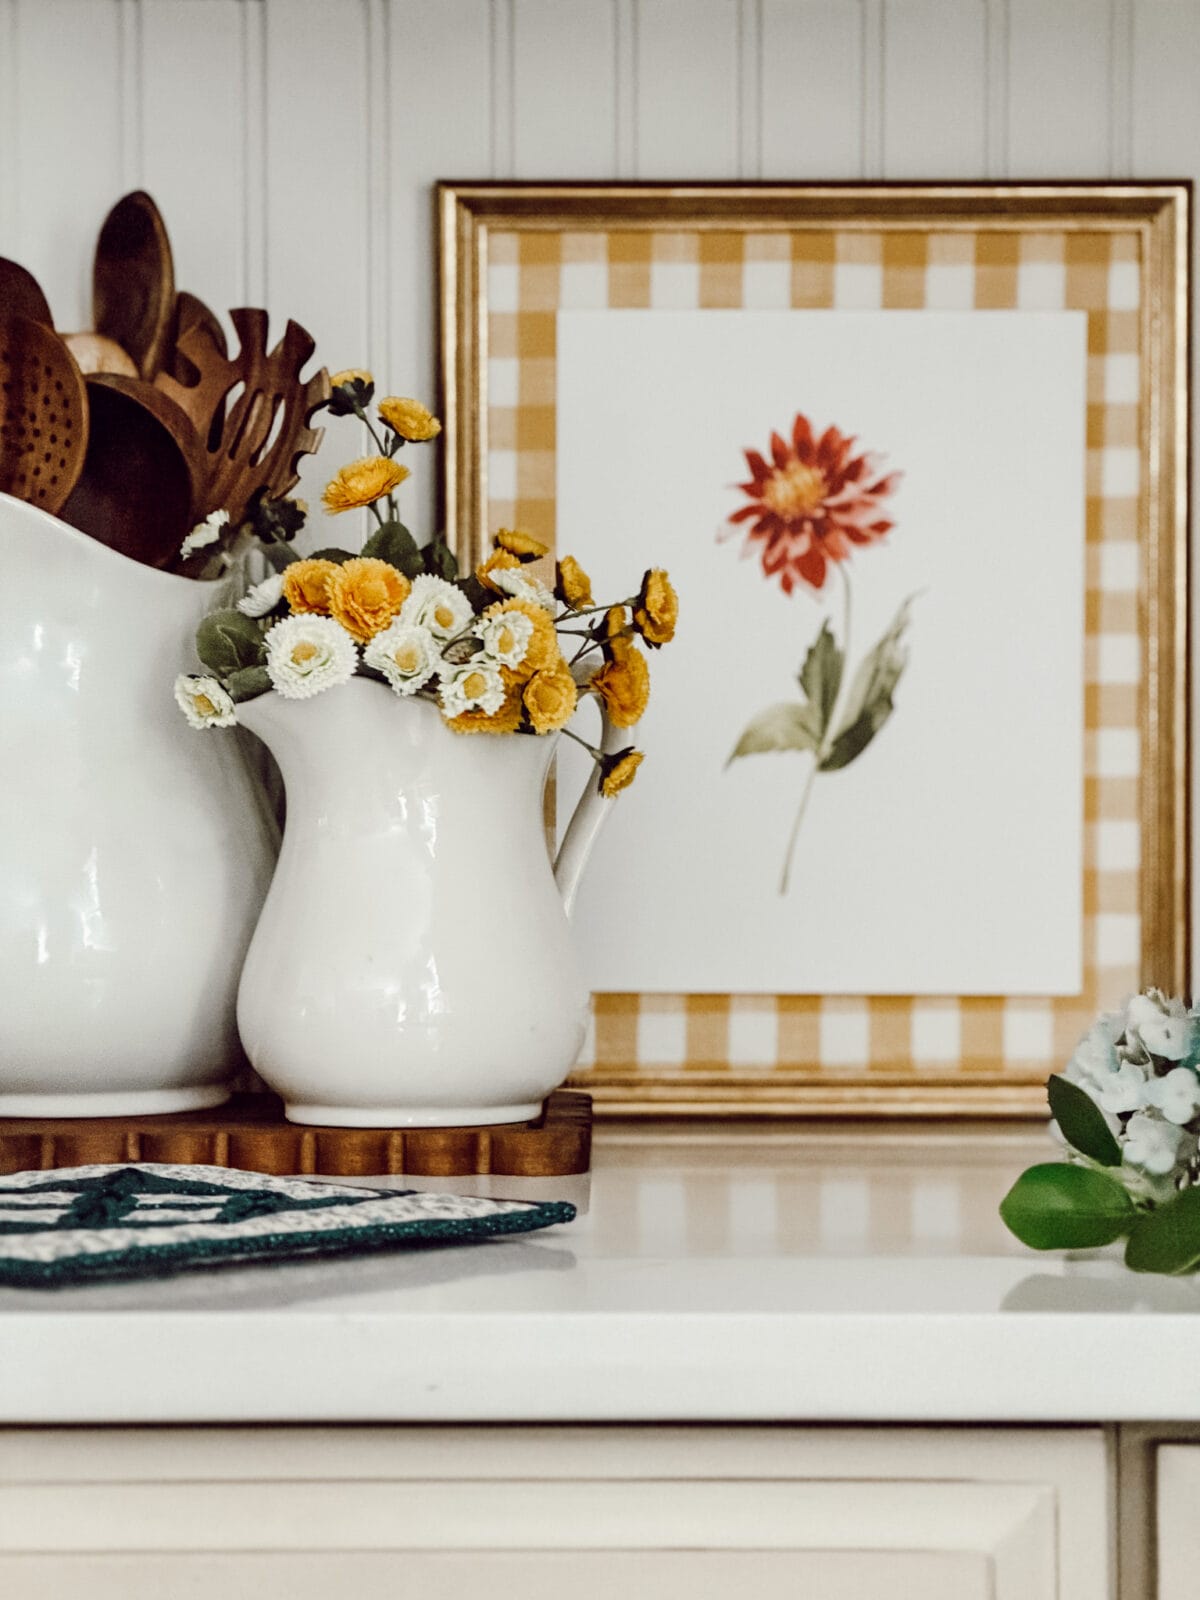
Free Summer Printable Wall Art: 20 Designs for Cozy Summer Decorating
Download and print 20 free summer printable wall art designs including coastal, herb, flower, and vegetable collections. Great for cozy…
-
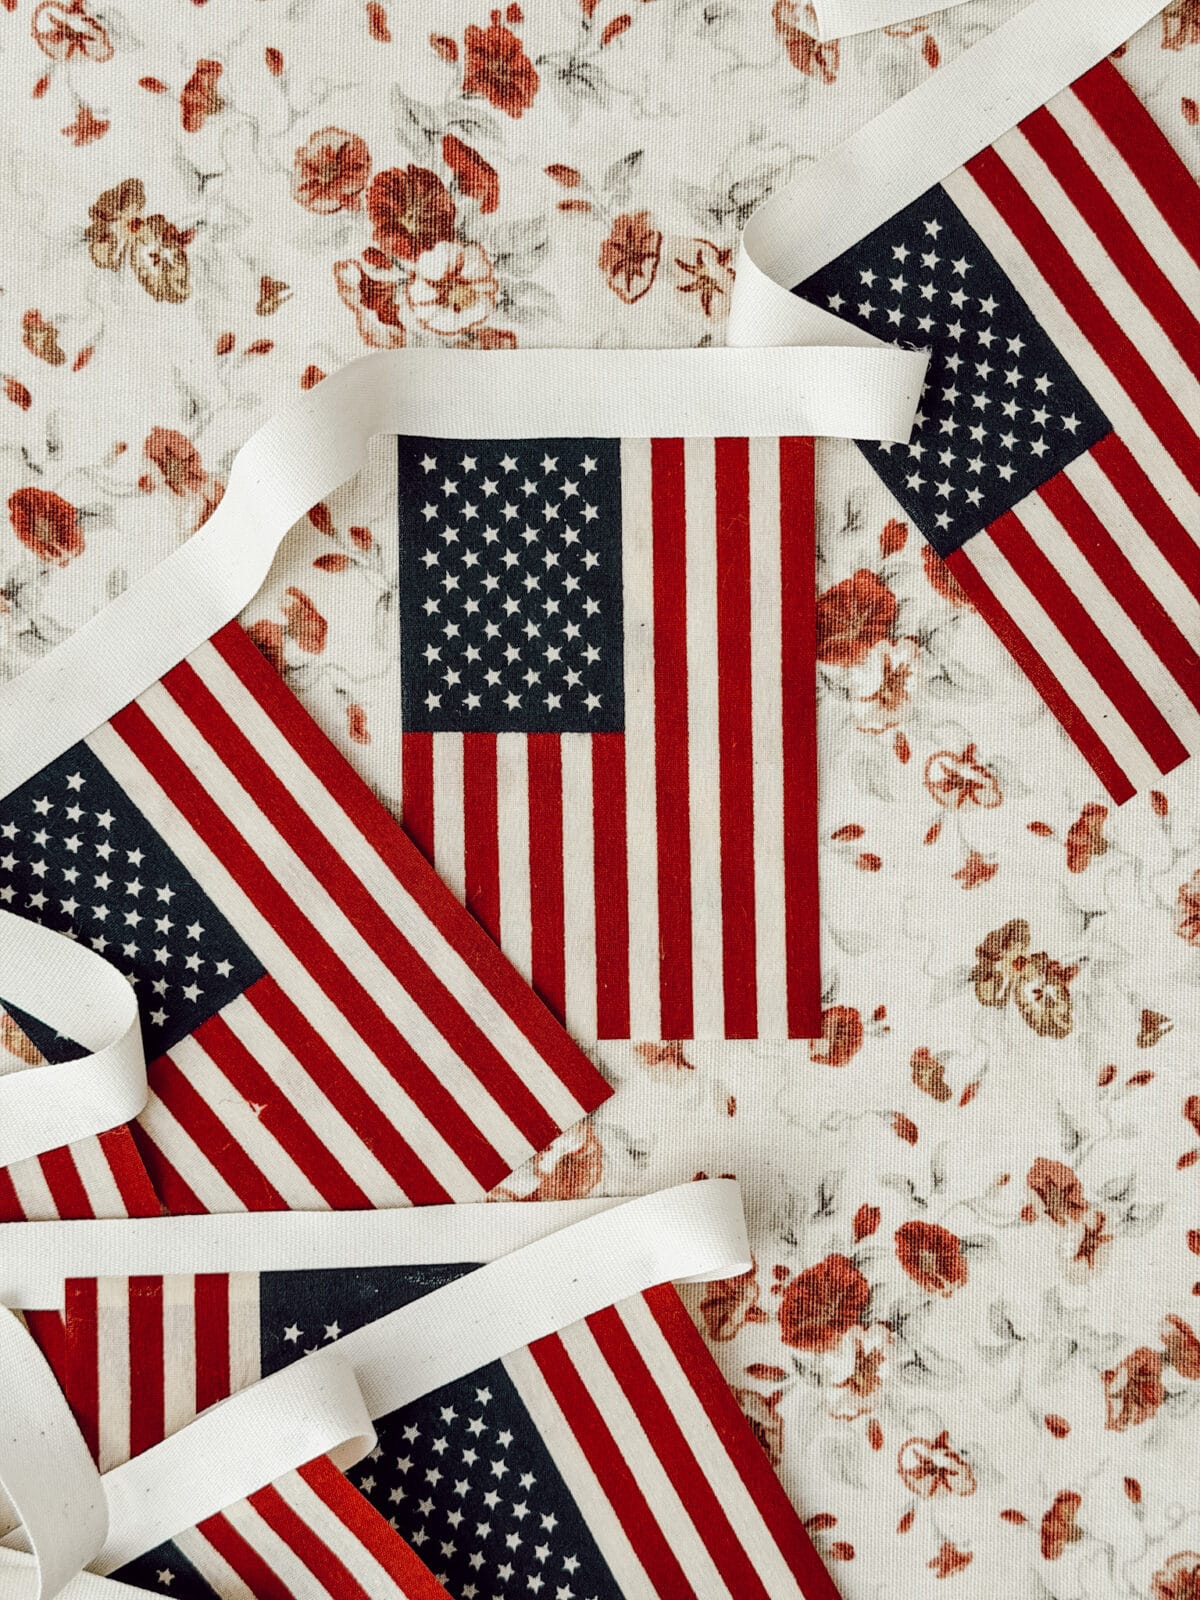
11+ Easy DIY Patriotic Decorations for Your Home
These simple and easy DIY patriotic decorations are perfect for adding red, white, and blue charm to your home. Get…
Shop My Favorite Products
Shop my favorite home decor & lifestyle products, my LTK sources, and my Amazon Storefront.
By making a purchase with one of my affiliate links, I earn a small commission which helps me continue to create meaningful content for you!
I look forward to sharing more of my home with you and inspiring you to have a well loved home!
Follow me on Facebook, Instagram, Pinterest, and LIKEtoKNOW.it.
xoxo, Heidi


Don’t forget to pin this for later…

Shop this post


Oh no! I’m sorry to hear that the ink washed out!
I fell in love with this idea , but was disappointed in the ink recommended. I followed directions and made pillow covers and dish towels for family and later heard that the ink washed out. I love the idea and have since used fabric paint but lost the soft look of ink. I always open your e-letter and enjoy your fresh look of life.
Thank you Yvonne, I feel the same way about your blog!!!
You make even a humble kitchen towel a work of art! I am so inspired by your blog! Beautiful as always! xo
These towels are the cutest. What lovely hostess gifts for the holidays. Hugs to you.