DIY Button Wreath: A Cozy Craft in 3 Easy Steps
 Shop This Post

Learn how to make a charming DIY button wreath in 3 easy steps using a wreath ring, white buttons, and a red gingham bow.

The craft closet in my office is a mess.
No, I won’t be showing any pictures anytime soon, it’s beyond embarrassing.
(It’s one of those “close the door and pretend it doesn’t exist” situations.)
But last week, I got so frustrated with my inability to find anything in said closet, that it finally motivated me to clean it out…somewhat.
There’s still a long, and I mean long ways to go.
In the process of cleaning and moving things around, I discovered a few things I had completely forgotten about, including a collection of white buttons.
You know the kind.
Different sizes, slightly mismatched, collected over time for no real reason other than these might be useful someday.
Some of my most famous last words.
Anyways, I immediately started thinking about how great the buttons would look layered together…simple, imperfect, and full of texture.
And that’s ultimately how this button wreath came to be.
It’s one of those crafts that you can make in an afternoon and doesn’t require much materials, but still ends up feeling thoughtful and cozy.
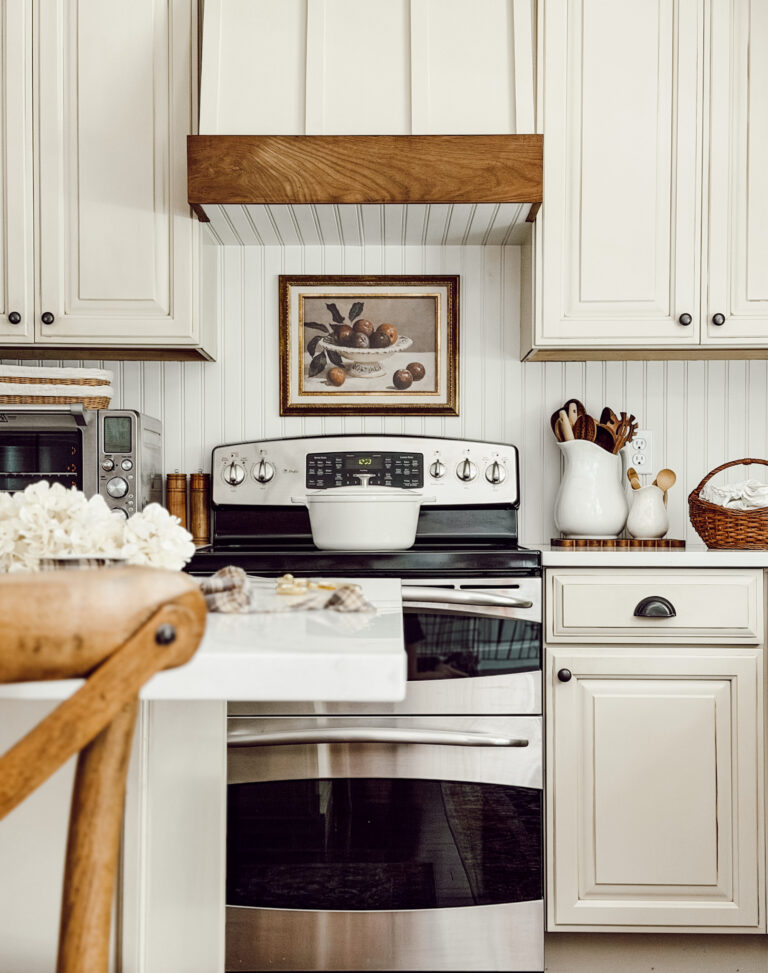
So even though my craft closet still needs lots of TLC, at least a cute little wreath hanging in our kitchen came out of it!
What You’ll Love About This DIY Button Wreath

You might also like
Adding Buttons to Our Americana Printable Wall Art
Supplies You’ll Need to Make Your Own Handmade Button Wreath
The supply list for this DIY wreath is short.
This is what I used…

materials you’ll need
*If you make a purchase using one of these links, I may receive a small commission. This does not add any cost to you, but helps me to continue to create & share meaningful content. Thank you for supporting my small business!
I’m Heidi, the heart and hands behind Eleanor Rose Home.

I’ll show you that your home can become a place of warmth, comfort, and style with practical tips, creative ideas, and my own journey to help you create a space that feels like you…welcoming, personal, and full of charm.
How to Make a DIY Button Wreath in 3 Simple Steps
One of my favorite things about this wreath DIY is how easy it is to make.
No special skills, no complicated tools…just a hot glue gun, a bunch of pretty white buttons, and a little creativity.
cozy ideas delivered to your inbox
When you join our newsletter!
Here’s how to put it all together!
01
Gather Your Buttons
Sort through your white buttons and pull out a variety of sizes. You want some large ones to anchor the design, medium ones to fill in gaps, and small ones to nestle into the spaces in between.

02
Glue and Layer the Buttons
Begin hot gluing the buttons directly onto the front of the wreath ring. Start with a base layer, placing buttons next to each other to cover the surface. Then go back in and layer smaller buttons on top, slightly overlapping as you go. Don’t worry about making the wreath perfectly even. The variation is what gives it texture and depth. Keep adding and layering until you’re happy with the fullness. There’s no wrong way to do this!


03
Finish With Ribbon
Once the wreath is fully covered and the glue has set, tie a bow using your ribbon. I used a red gingham ribbon for contrast and a vintage feel, but you could easily switch this out depending on the season or your style. Just wrap the ribbon around the wreath and tie into a simple bow. That’s it!

Helpful Tips
- Use a variety of button styles, not just sizes. Two-hole buttons, four-hole buttons, mixing the styles adds more visual interest along with the varying sizes.
- Work in sections. Rather than randomly jumping around the wreath, try working in small sections so you can see how the layering is building up before you move on.
- Don’t skip the small buttons. The tiny ones are what fill in all the little gaps and make the wreath look full.
- Don’t aim for perfection. I’m telling you, this wreath looks better when it feels random and imperfect.

A little note from Heidi…
If you have a stash of old buttons tucked away somewhere, this is the perfect project to use them. There’s something special about turning everyday pieces, especially ones that might have come from old clothing or sewing kits, into something you can display in your home. It adds a layer of meaning you can’t buy from a store.
DIY Wreath Variations and Substitutions
The great thing about this wreath craft is how easy it is to make it your own.
The same idea (layering small objects onto a wreath base) can be used in many different ways depending on what you have on hand or the look you’re going for.
Hey friend! What can I help you find?
Search our entire site!
A few simple ways to switch it up…
- Small Seashells: A coastal or summer inspired wreath with lots of texture.
- Buttons in Different Colors: Makes it feel more playful or seasonal.
- Fabric Covered Buttons: Adds subtle pattern and a little extra coziness.
- Embroidery Hoop: Creates a thinner wreath with a lighter feel.
- Cardboard Circle: A simple, budget-friendly base you can cut out yourself.

DIY Button Wreath Frequently Asked Questions
What is a button wreath?
It’s a decorative wreath made by hot gluing buttons onto a wreath form. Buttons can be arranged by color, size, or style to create a variety of looks, from classic and cottage inspired to colorful and eclectic.
How do you make a DIY button wreath?
To make this button wreath, hot glue buttons in various sizes onto an MDF wreath form, alternating sizes and layering them for depth and texture.
What size wreath form do you need for a button wreath?
I found a 6″ wreath ring is perfect for a cute and cozy button wreath. For a wreath you want to hang on a door, sizing up to an 8″ or 10″ form would be better.
How many buttons do you need to make a button wreath?
The number of buttons you’ll need will depend on the size of your wreath base and how densely you layer them. For a 6″ wreath, a generous couple of handfuls of assorted sizes is usually enough.
What kind of glue do you use for a button wreath?
A hot glue gun works best for making a button wreath. It dries quickly, holds securely, and makes it easy to layer buttons on top of each other for a dimensional look.
Are button wreaths hard to make?
Absolutely not! A DIY button wreath is one of the easiest wreath projects you can make. As long as you have a hot glue gun and a variety of buttons, the process is simple, beginner-friendly, and comes together quickly.
Did you make this craft?
Mention us @eleanorrosehome or tag us using #eleanorrosehome so we can see your creations. You can also leave a comment below!
You Might Also Enjoy
-
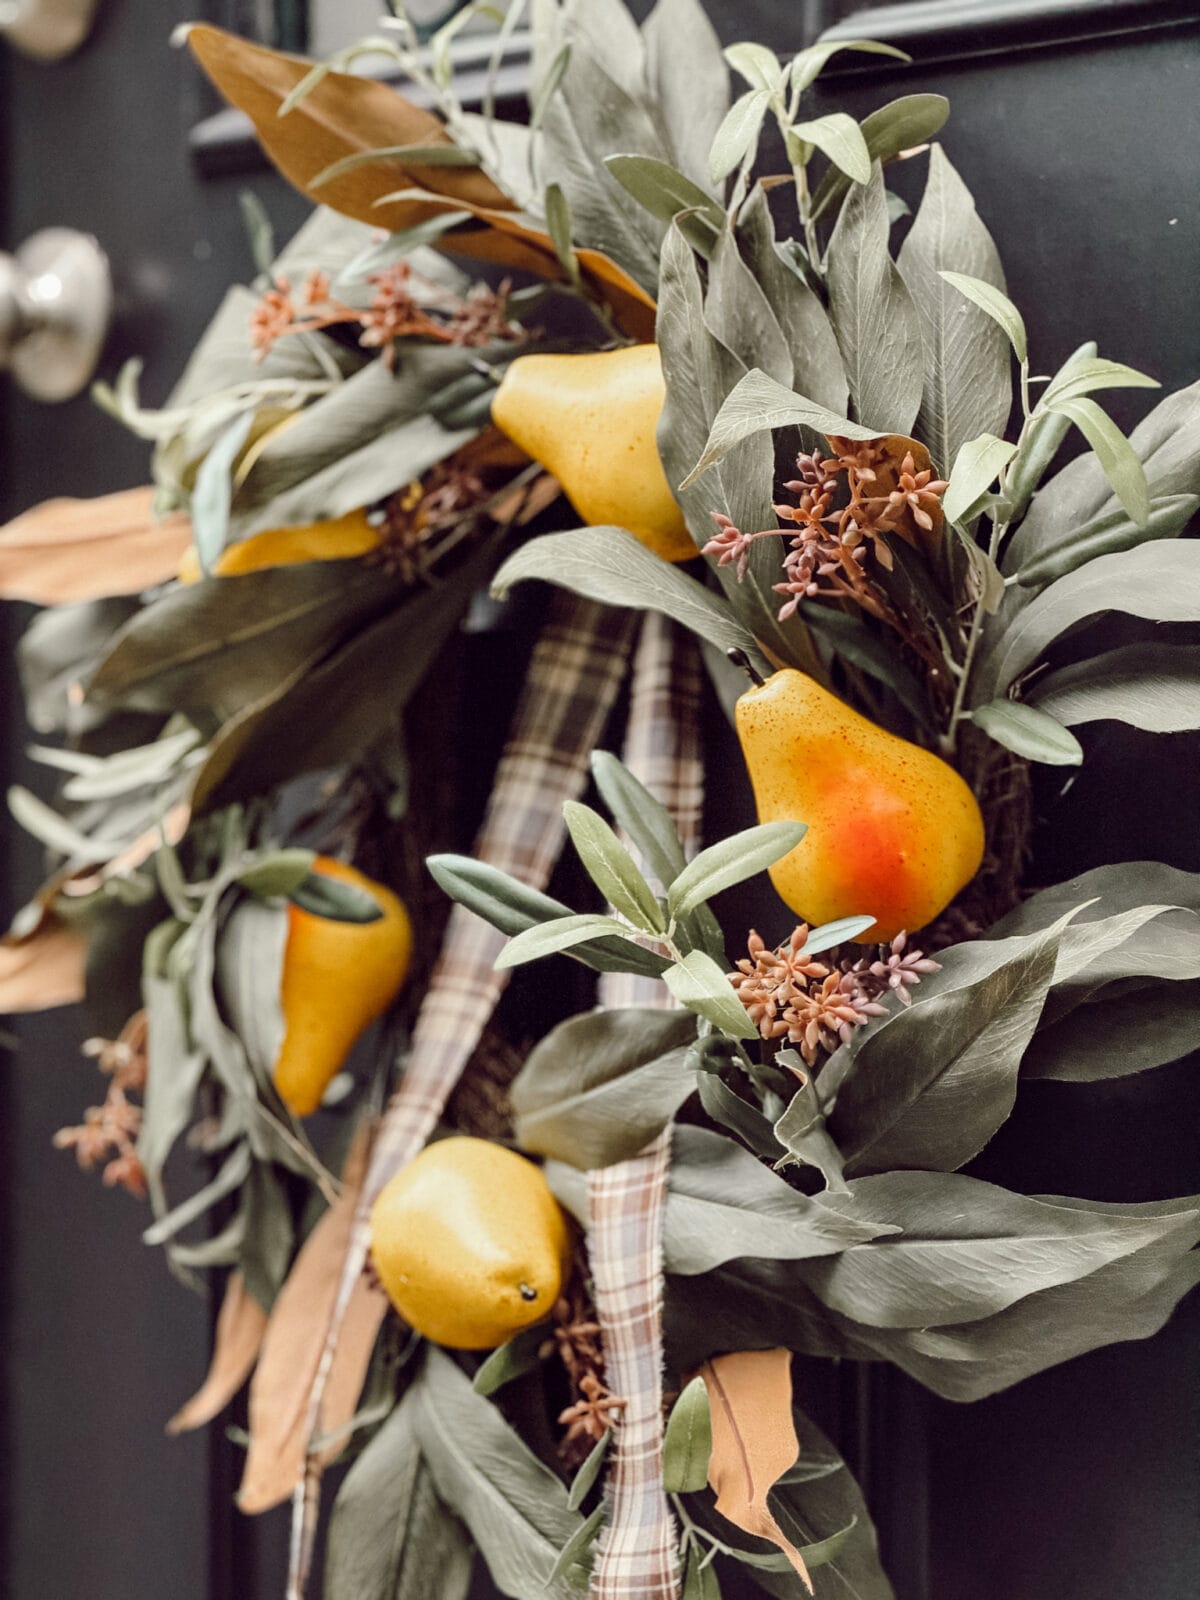
DIY Faux Pear Wreath: A Simple Fall Decor Idea
This DIY faux pear wreath is the easiest fall decor you’ll make all season. A store-bought wreath, faux pears, hot…
-
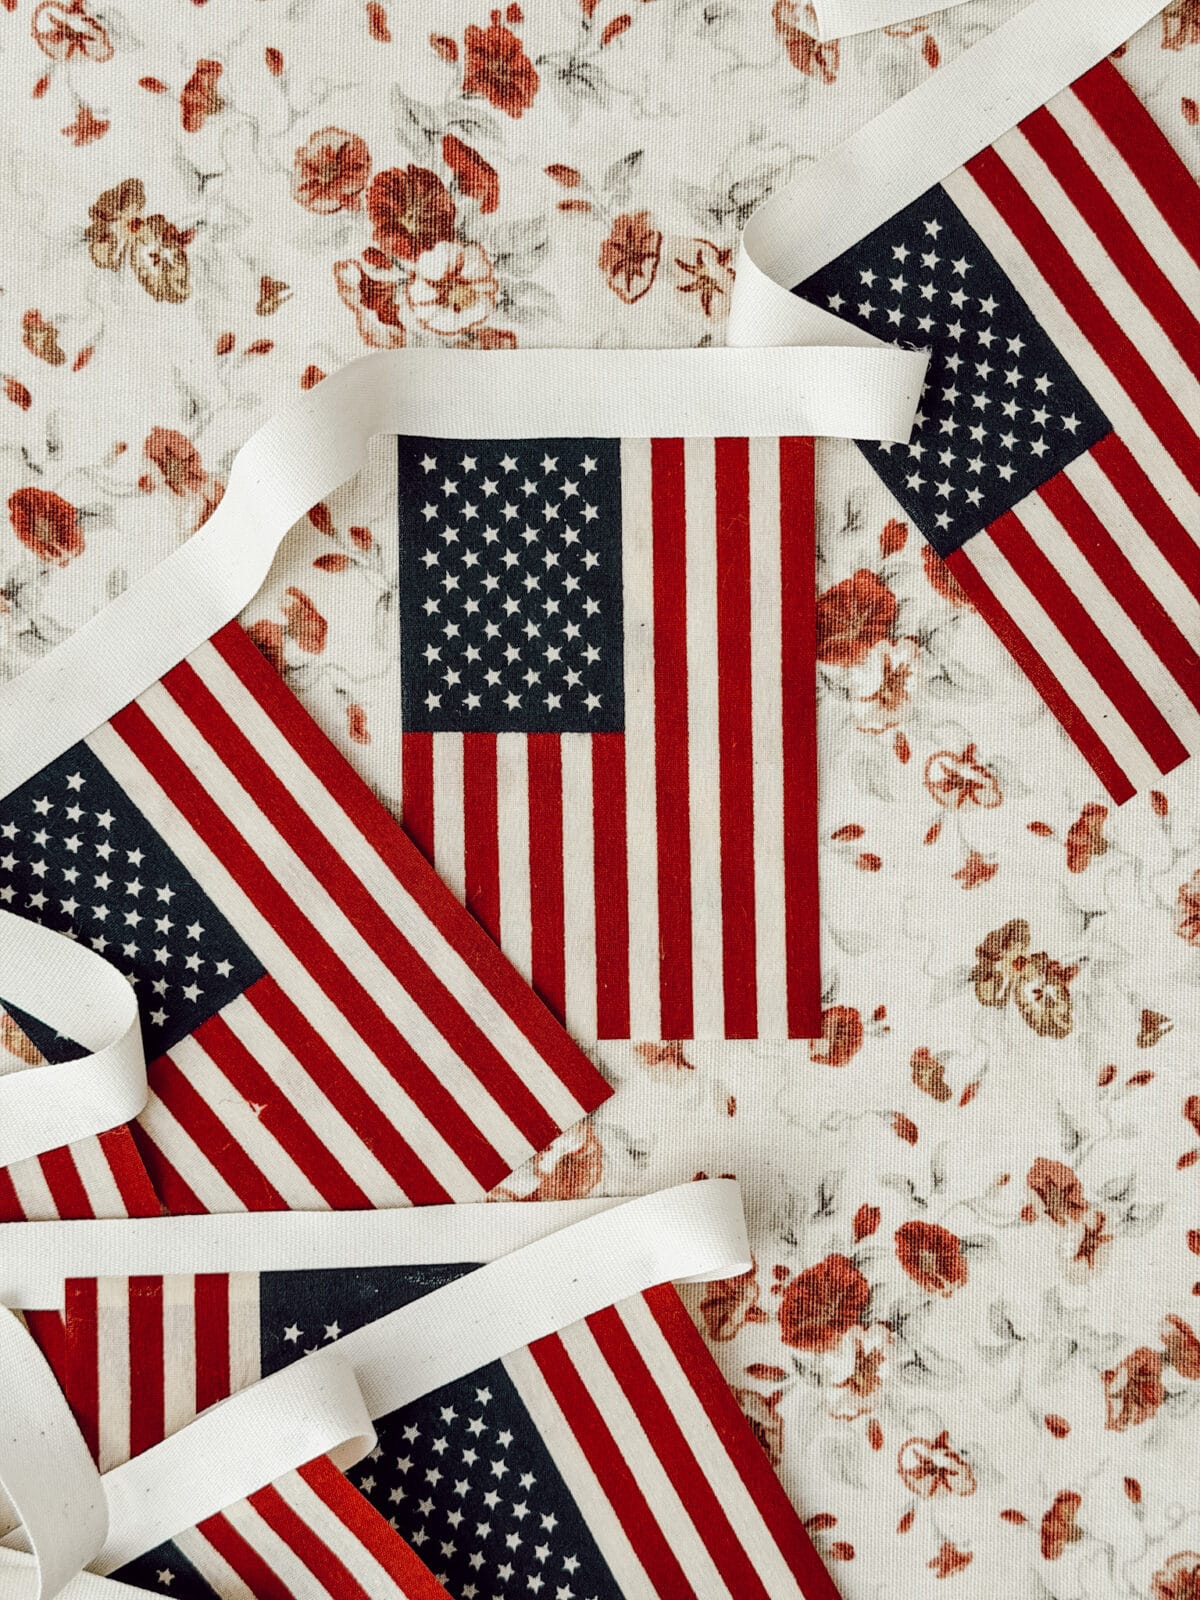
11+ Easy DIY Patriotic Decorations for Your Home
These simple and easy DIY patriotic decorations are perfect for adding red, white, and blue charm to your home. Get…
-
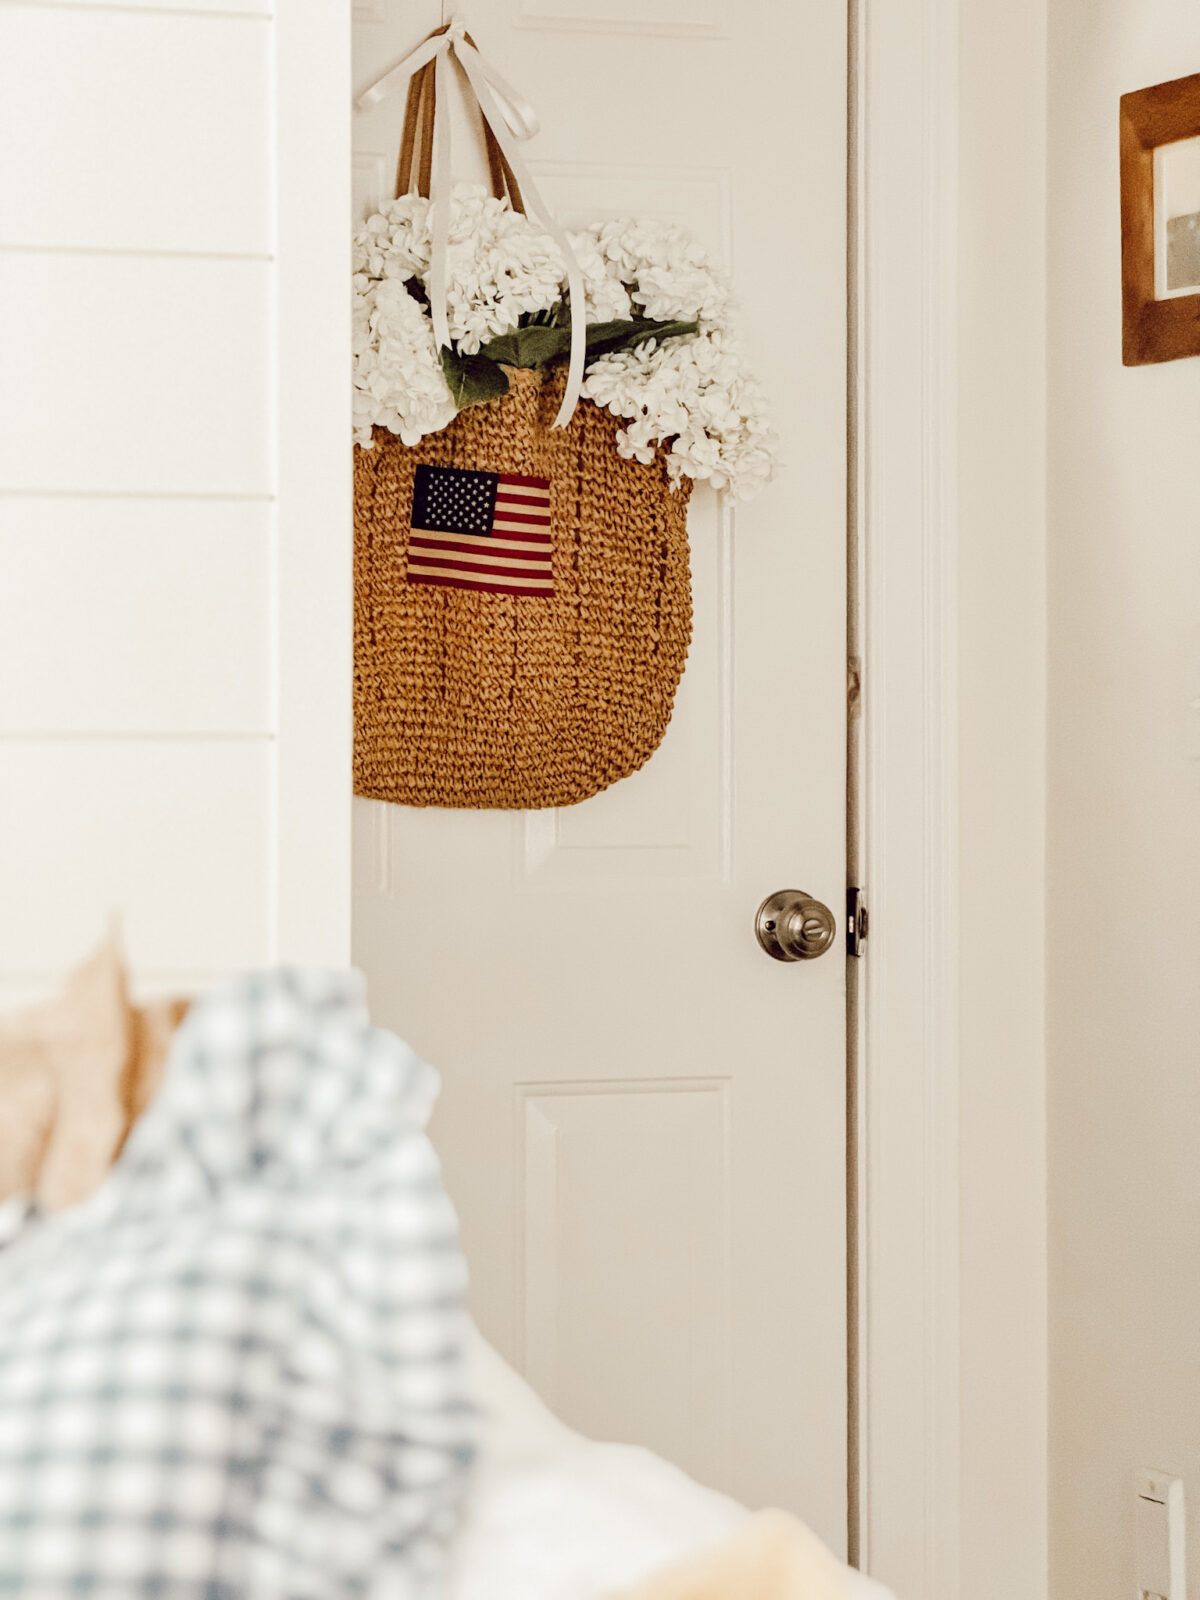
DIY Patriotic Door Basket: Easy Summer Decor in 10 Minutes or Less
Add cozy Americana charm to your door with this DIY patriotic door basket made with a woven bag, a vintage-inspired…
Shop My Favorite Products
Shop my favorite home decor & lifestyle products, my LTK sources, and my Amazon Storefront.
By making a purchase with one of my affiliate links, I earn a small commission which helps me continue to create meaningful content for you!
I look forward to sharing more of my home with you and inspiring you to enjoy simple cozy living!
Follow me on Facebook, Instagram, Pinterest, and LIKEtoKNOW.it.
xoxo, Heidi


Don’t forget to pin this for later!

Shop this post


I remember going through my grandmother’s button collection too! So nostalgic!
Oh my gosh, this is so cute! I think I’m going to make one using some of the buttons from my grandma’s button collection. She was born in 1919, and as a child, I looooooooved sorting through them.