
How to Make Vintage Inspired DIY American Flag Wall Art
Create your own vintage inspired DIY American flag wall art that’s perfect for adding a patriotic and nostalgic touch to your home decor.

I’ve been on a quest for months, to find a vintage flag that I could either frame or display in our home decor this summer.
Well let me tell you, I had no luck.
I don’t know why, but the thrift stores near us haven’t had much in the way of patriotic decor. Maybe it’s become a popular trend, or maybe I’m just hitting the antique stores at the wrong times.
Either way, since I couldn’t find what I was looking for I decided to take matters into my own hands and create my own vintage inspired flag wall art.
This project actually turned out to be a fun one, and now I have a unique piece that perfectly fits the vision I had.
Plus, it’s incredibly easy to make with just a few simple materials and I probably saved a few dollars by DIY’ing a framed flag instead of buying one.
If you’re like me and can’t find that perfect vintage flag, or you want budget-friendly patriotic decor, follow along with this step-by-step guide to make your own beautiful, vintage looking Americana flag wall art.
Materials You’ll Need to Make This Flag Wall Art
To get started on this DIY project, gather the following materials.
If you want to make this DIY even simpler, you can skip the antiquing process altogether and just use an American flag as is.

Supplies to Antique the Flag
Note: You can use as many tea bags as you want for the tea staining process. The more tea bags you use, the darker and more pronounced the stain will be on the flag.
Supplies to Frame the Flag
SUPPLIES YOU’LL NEED

*If you make a purchase using one of these links, I may receive a small commission. This does not add any cost to you, but helps me to continue to create & share meaningful content. Thank you for supporting my small business!
Aging Your American Flag
To achieve that vintage look, you’ll need to give your flag an aged appearance. This can be done by fraying the edges and using the tea staining method in this post.
Feel free to skip these steps altogether and go right to framing your flag if you don’t want the look of a vintage flag.
10+ ideas
Red, White, and Ready to Decorate
Patriotic Inspiration for Your Home
Fray the Flag Edges
With your fingers, carefully shred the edges of the flag by pulling on a corner and removing the loose thread.

Don’t worry about making it perfect! Uneven edges and threads hanging loose will add to the aged look.
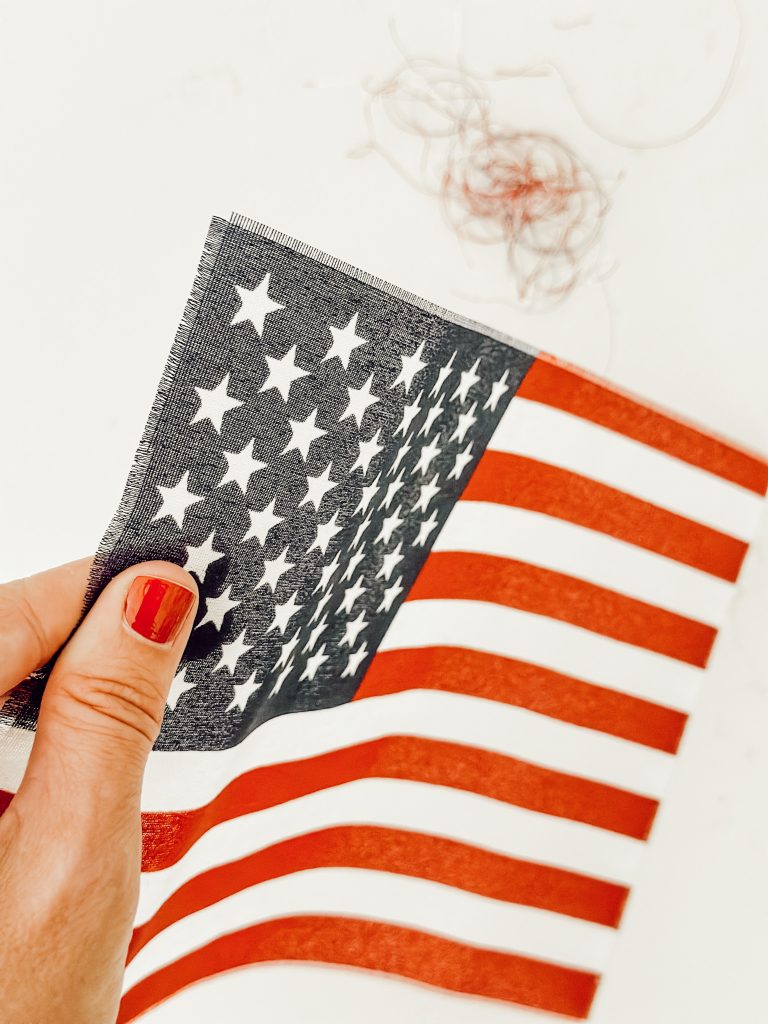
This is the basic look you’re going for. You can certainly fray your flag more or less depending on the look you want.
Tea Stain the Flag
Boil water and steep several black tea bags in a bowl or container.
I found a casserole dish was the best vessel for this because the whole flag could lay flat in the tea for even staining.
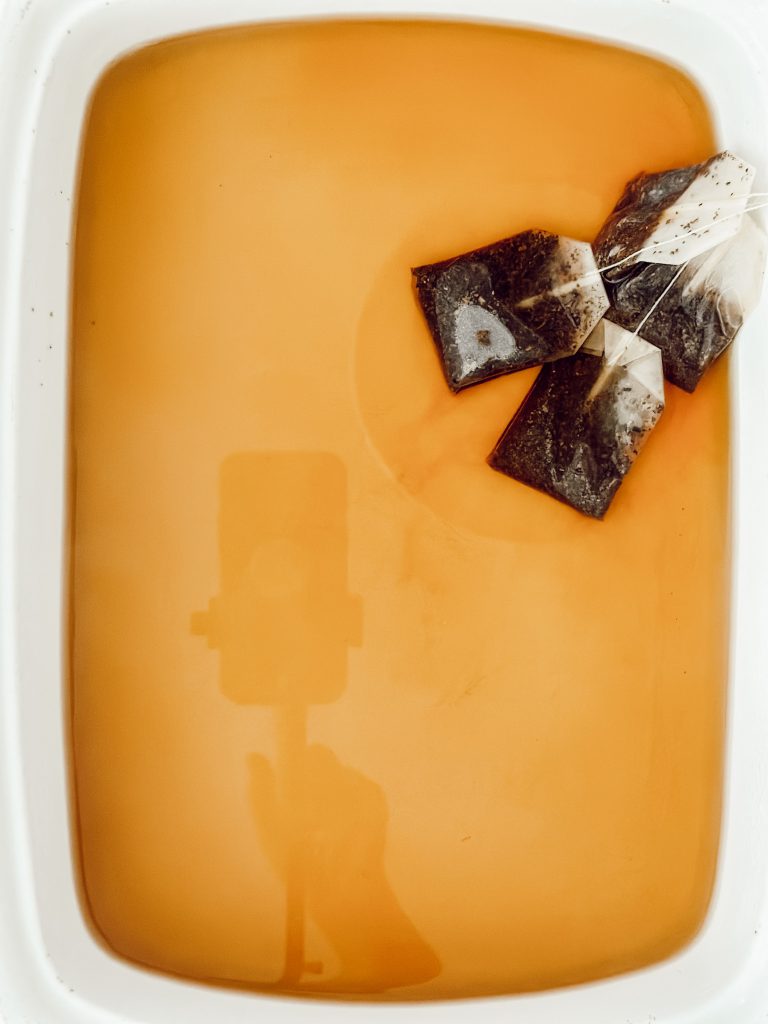
The stronger the tea, the darker the stain will be.
Once the tea has cooled slightly, submerge the flag into the tea bath. Leave it to soak for at least an hour.
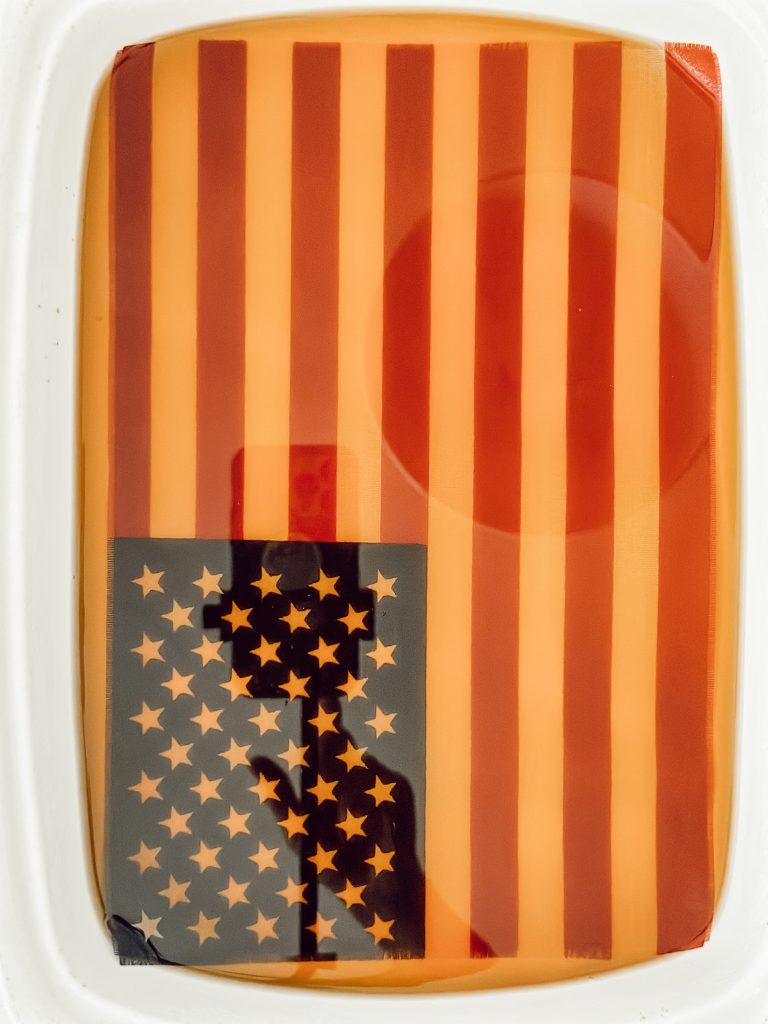
For a more intense aged effect, you can leave it overnight.
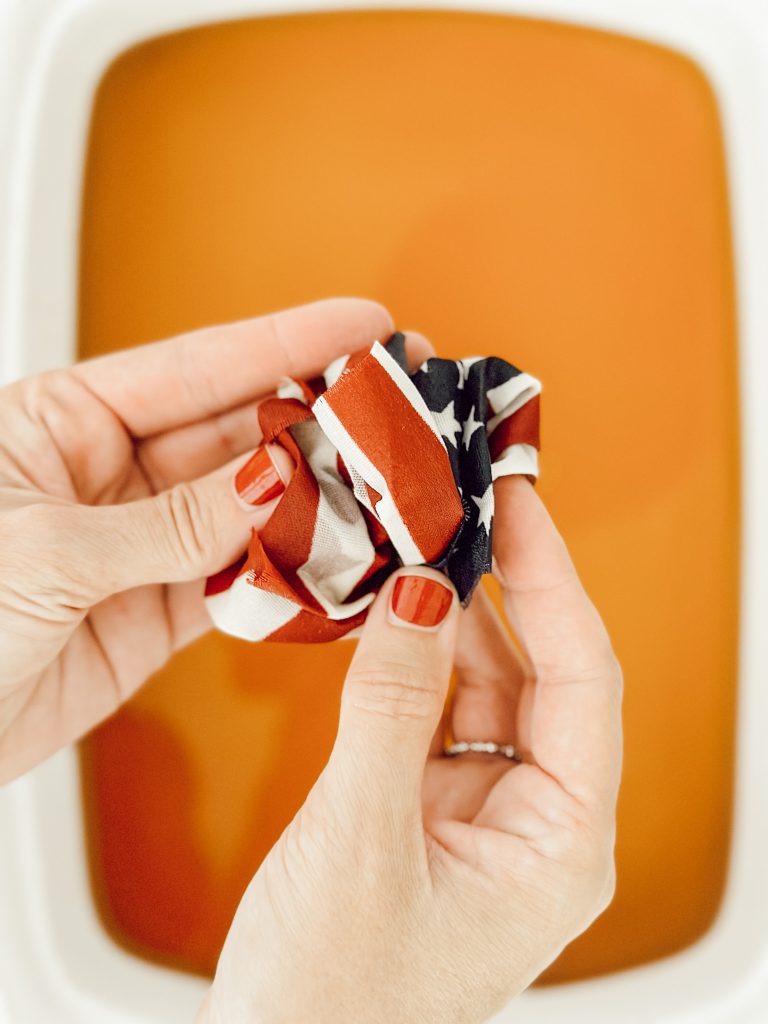
Wring Out the Flag & Let Dry
Once you’re satisfied with the color, wring out the flag over the dish, removing as much of the tea as possible.
Unfold the flag (leaving the wrinkles) and let dry completely. You’ll notice a beautiful, vintage brown tint on the flag.
pro Tip
- After wringing out the tea from the flag, avoid ironing or smoothing out the wrinkles. The natural creases and wrinkles add to the authentic vintage look, giving your DIY wall art even more character and charm.
Download Your Free Cozy Magazine
Framing the Aged Flag
If you skipped aging your American flag, start your DIY wall art tutorial here.
Prepare the Frame
While the flag dries, prepare your frame.
Choose a frame with matting that complements the vintage look; something in vintage gold or a distressed wooden frame works well.
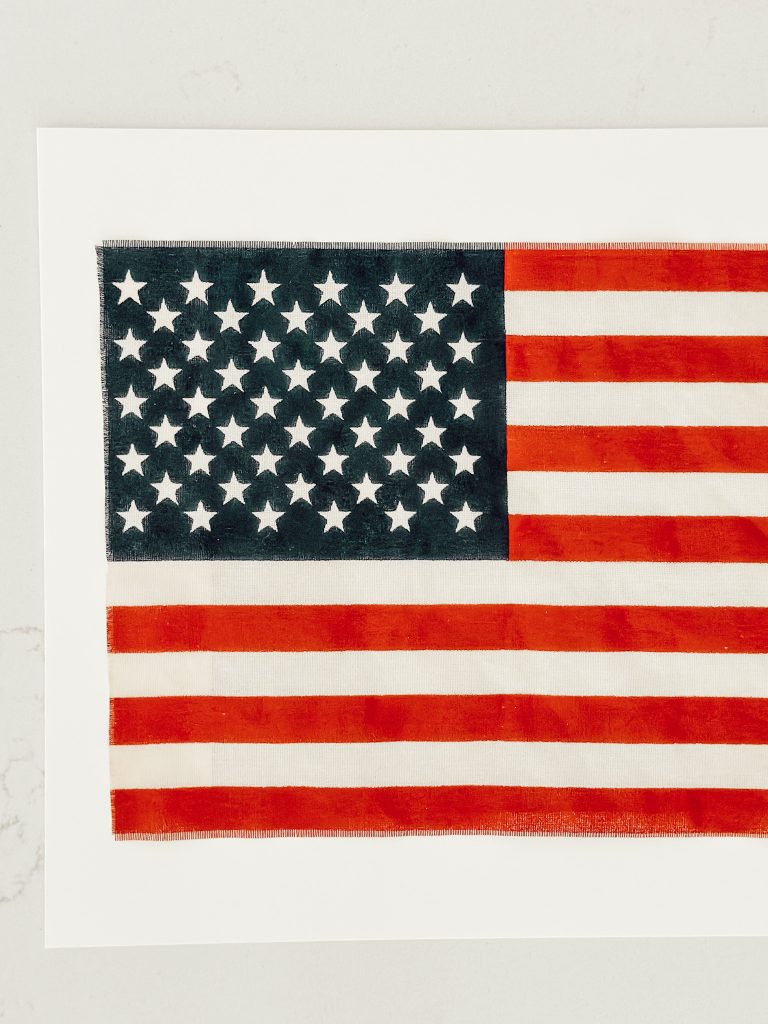
Mat the Flag
Once the flag is dry, it’s time to attach it to the mat.
Use small pieces of fabric tape to secure the flag to the mat.

Fabric tape is great because it won’t damage the fabric and it will hold the flag securely in place.
Position the flag in the center of the mat, making sure it’s as straight as can be (remember that the flag will not be completely symmetrical).
Frame & Finish
With the flag securely taped to the mat, place it into the frame.
Secure the back of the frame, making sure everything is tightly in place.
Tips
- Before soaking the entire flag, test the tea stain on a small scrap piece of similar fabric. This helps you gauge the color and make adjustments as needed.
- This tea staining method works with various sizes and types of flags. Try different fabrics or flag designs for a unique twist.
- Instead of using a standard mat, you could use a piece of textured card stock as the backing for your flag.
- When attaching the flag to the mat with fabric tape, use just enough to secure it in place. Too much tape can create bulges and affect the overall appearance.
- Enhance the vintage look by adding small, decorative items to the frame, like antique buttons, old stamps, or vintage postcards.
- A frame with a distressed or weathered finish will add a little more vintage aesthetic to your wall art.
- Don’t be afraid to experiment with different aging techniques, materials, and display options!
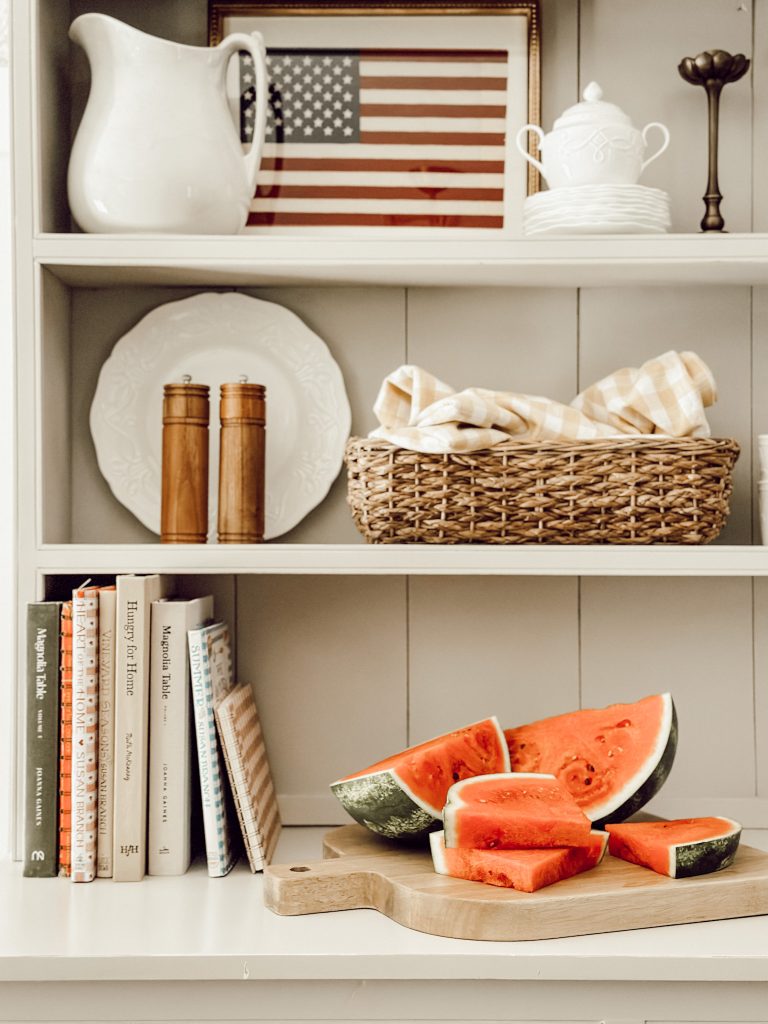
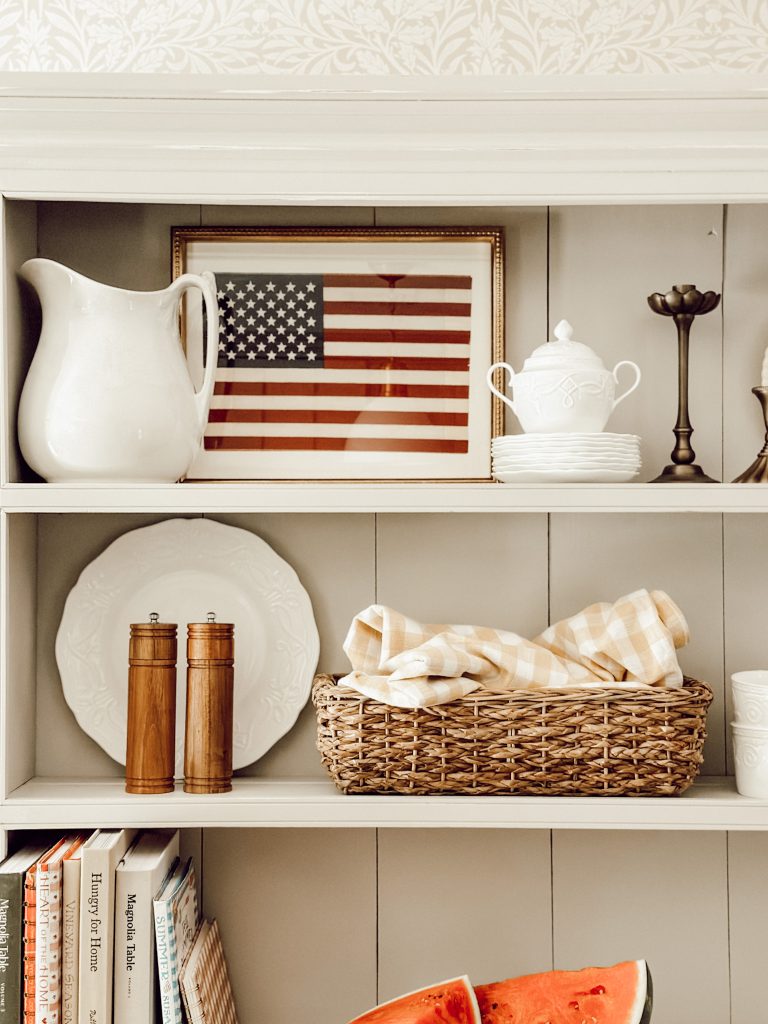
Display Your Artwork
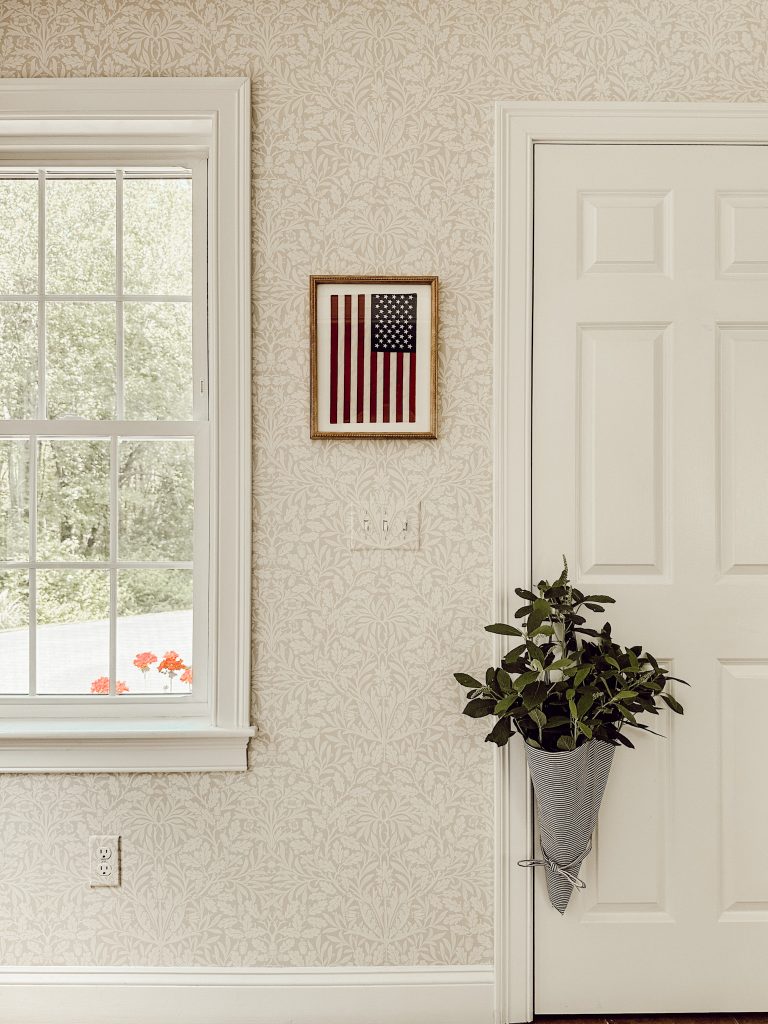
Your vintage-inspired American flag wall art is ready to hang!
This piece can be the perfect addition to any room, giving a warm, nostalgic touch.
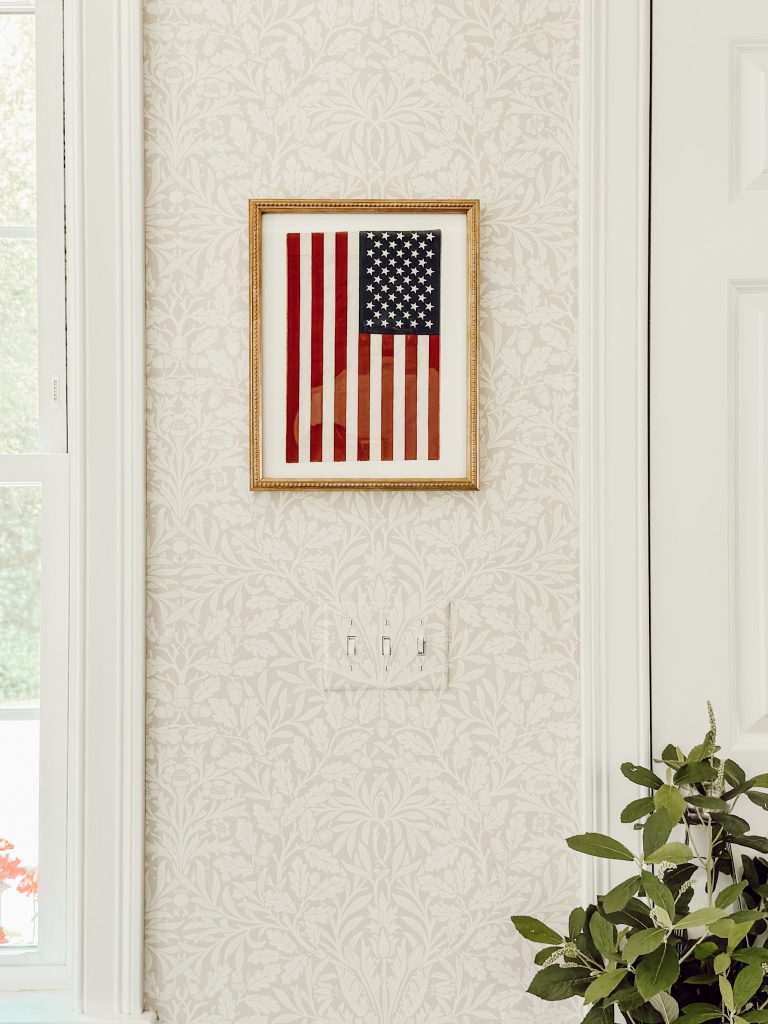
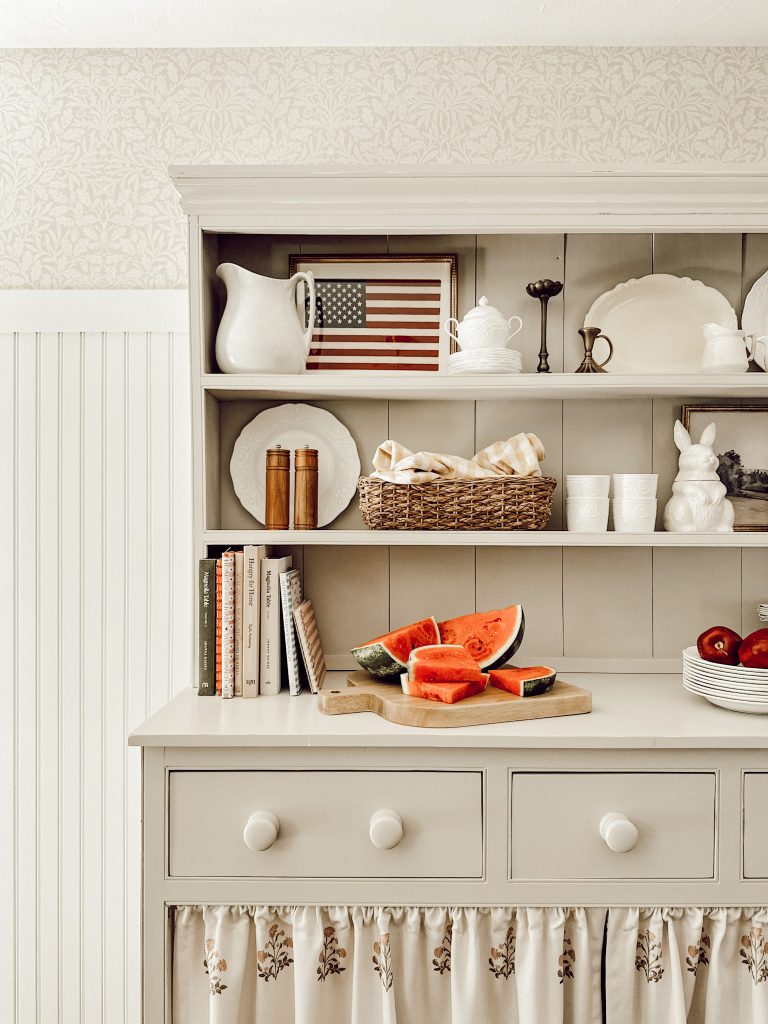
It works beautifully in living rooms, kitchens, or even entryways. And, you can choose to hang this art work horizontally or vertically.
I hung one vertically in our entryway and placed another horizontally on the hutch in our kitchen. I love the look of both!
You can also create a gallery wall with other vintage or patriotic items to further enhance the patriotic theme.
Hey friend! What can I help you find?
Search our entire site!
Do I have to tea stain the flag?
No, tea staining the flag is completely up to you.
If you prefer to keep the original colors of the flag or if you find a flag that already has the aged look you desire, you can skip the tea-staining step altogether.
Simply proceed with securing the flag to the mat and framing it.

Can I use a different method besides tea staining to age the flag?
Absolutely!
You can experiment with coffee staining, fabric dyes, or even paint washes to achieve your desired aged effect. Just test on a small piece of fabric first to see how it turns out.

What should I do if the flag is wrinkled after staining it?
This is the one time I say…embrace the wrinkles! They add to the vintage charm of the artwork.
you might also
Enjoy These Popular Posts
Shop My Favorite Products
Shop my favorite home decor & lifestyle products, my LTK sources, and my Amazon Storefront. By making a purchase with one of my affiliate links, I earn a small commission which helps me continue to create meaningful content for you!
I look forward to sharing more of my home with you and inspiring you to have a well loved home! Follow me on Facebook, Instagram, Pinterest, and LIKEtoKNOW.it.
xoxo, heidi
Don’t forget to pin this for later…
shop the post


Thank you John, we have since re-hung the flag so it is now hanging correctly!
I love the look of this and need to try to frame a flag for our own patriotic display. However, one word to note: when the flag is displayed against a wall like these framed versions, the union (the blue rectangle) must ALWAYS be in the upper left corner. So, the one that’s been displayed vertically should be flipped in the frame so that when it’s hung the blue is in the upper left. I’m sure you didn’t mean any disrespect, but it’s the rule for display.