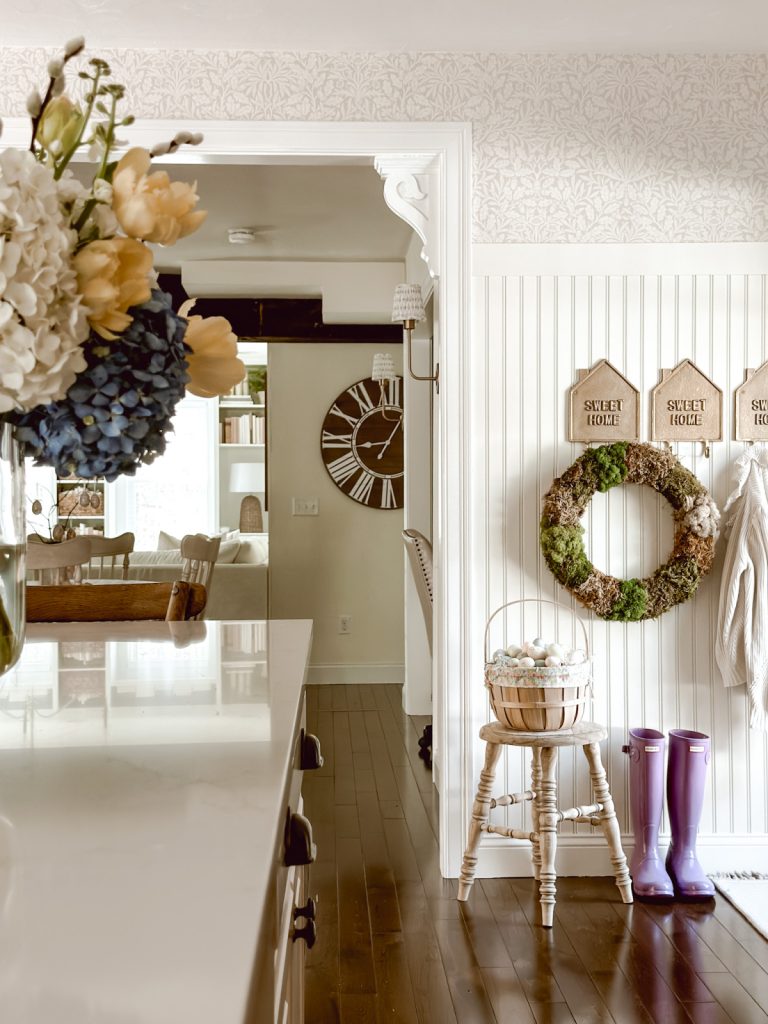
How to Make a DIY Tiered Tray With Ceramic Plates
 Shop This Post

An easy step-by-step tutorial on how to make a DIY tiered tray with ceramic plates that can be used for decorating or displaying baked goods.

Have you ever heard of Plates Anonymous?
Well I haven’t either.
But if such a support group existed, there’s a pretty good chance I’d be president.
I’m not sure what is about plates that tickle my fancy.
Maybe it’s the patterns, the material, the history that can comes with a thrifted plate, or their extreme versatility.
I mean, a plate can be so much more than something you eat off of.
Hang one on a wall and it becomes artwork.
Set one on a shelf and it adds character.
Use one as a candle tray, a catchall on an entry table, or a spot to corral kitchen essentials.
Whatever it is about plates, I have a hard time walking past a pretty one without stopping to admire it (just ask Mr. ERH).
The good news is that this little plate obsession of mine lead to this fun DIY project.
I had been eyeing these beautiful ceramic plates for months and since we didn’t need any new dinnerware, I decided to come up with another way to use them.
With a few supplies, tiered tray hardware, and some help from hubby, I transformed the plates into a charming DIY tiered tray.
So if you’re a fellow plate lover, this might be the perfect excuse to bring home that pretty set you’ve been eyeing.
Oh and P.S…I’m accepting members into Plates Anonymous, who wants to join?
What is a tiered tray?
A tiered tray is a decorative stand made up of two or more stacked levels that can be used for both serving and displaying items.
Traditionally, tiered stands are used to hold desserts, pastries, sandwiches, or appetizers, but they can also be used as a decorating accessory.
You can use tiered trays to create seasonal displays with candles, greenery, small signs, and other decorative accents.
They’re a simple way to add height and interest to a countertop, kitchen island, dining table, or even a bathroom vanity.
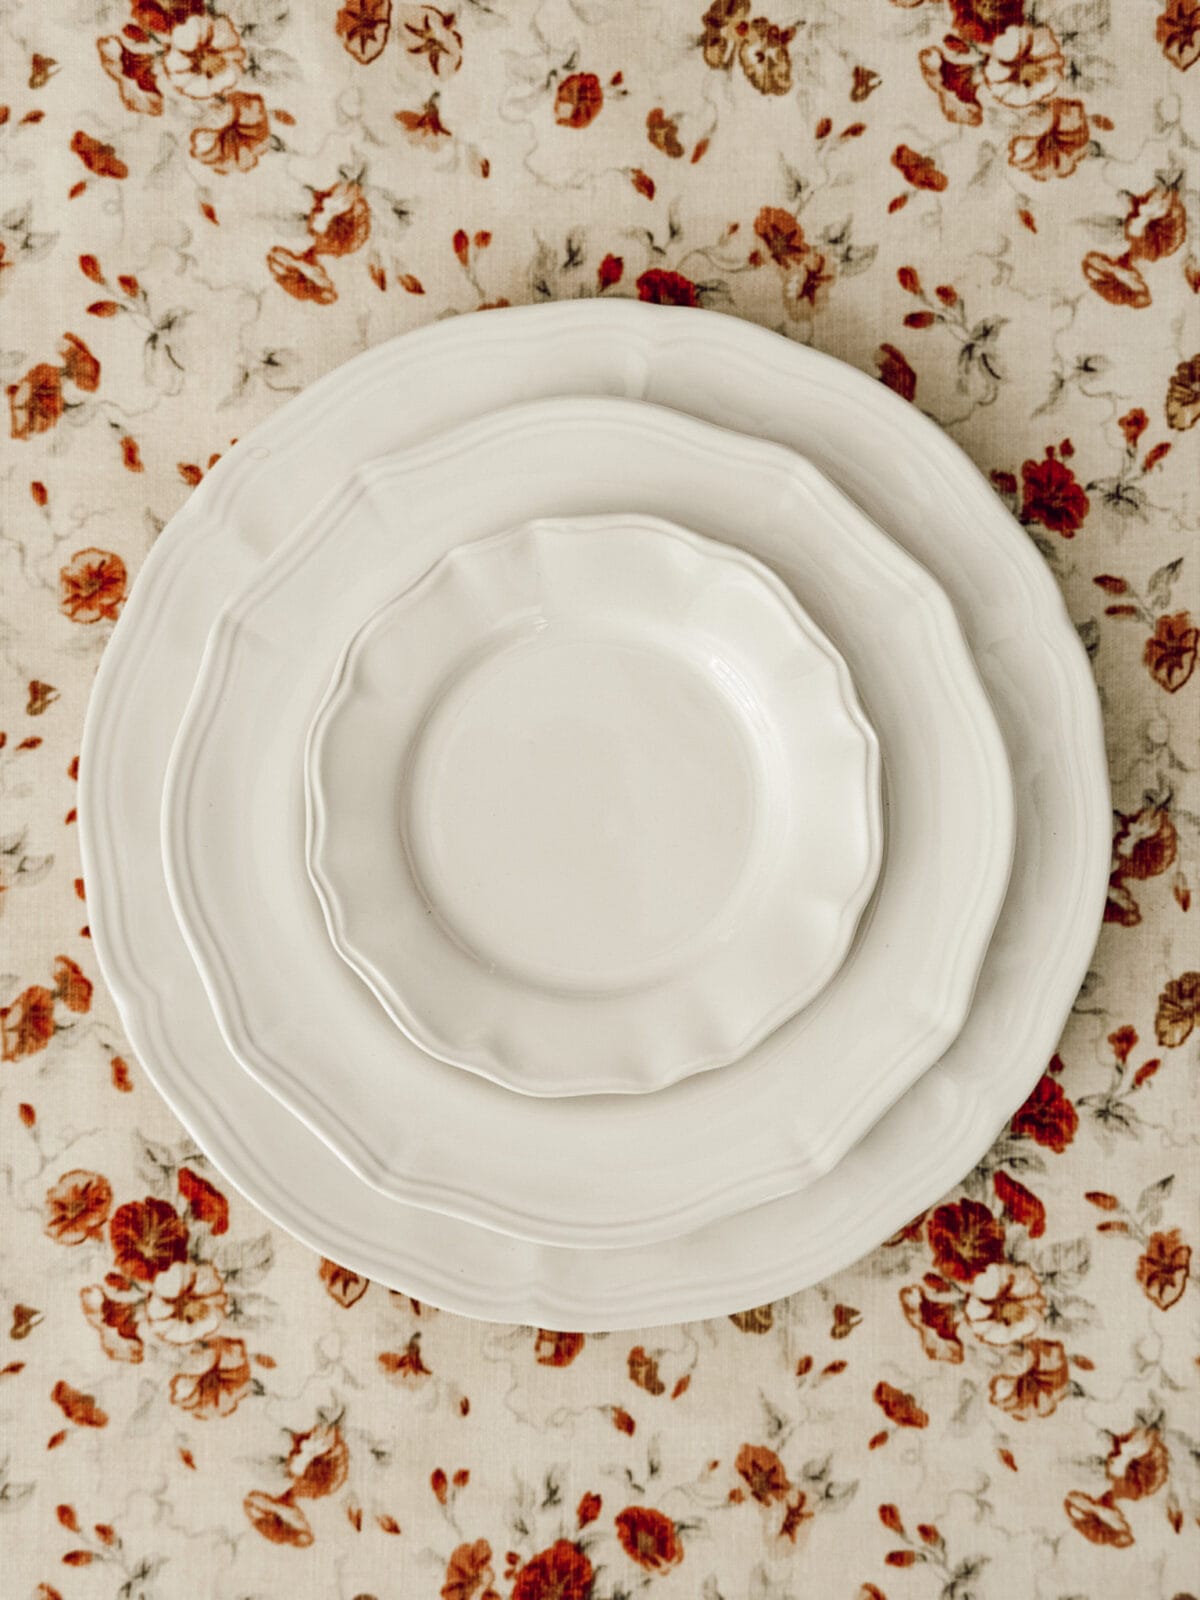
What kind of plates work best for this DIY?
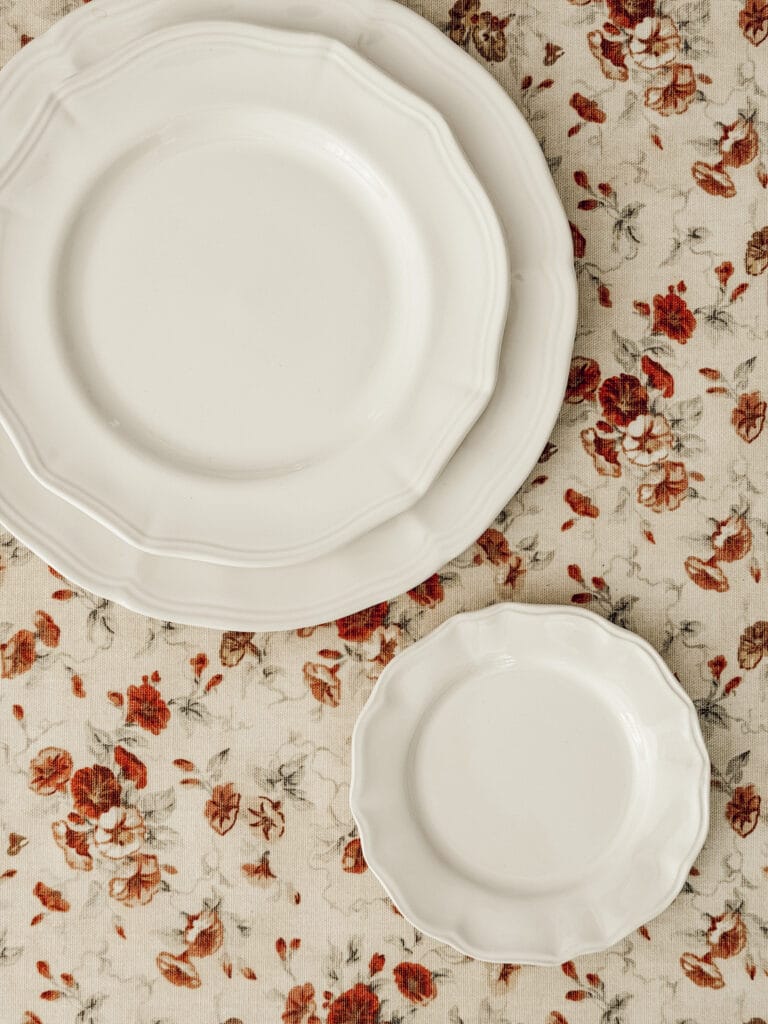
Almost any ceramic plate can be turned into a tiered tray, but some work better than others.
When choosing plates, look for ones that are sturdy and free of cracks or chips.
You’ll also want to select plates in different sizes so the finished tray has the classic tiered look, with the largest plate on the bottom and the smallest on top.
Some great options include:
- Dinner plates, salad plates, dessert plates, and saucers in coordinating sizes.
- Plates with floral or cottage-inspired patterns.
- Seasonal plates for holiday displays.
- White or cream colored plates for a timeless look.
You do want to avoid very thin, delicate plates or plates with existing damage, since they may be more likely to crack during drilling.
Shop the Plates I Used for This Project
I’ve been eyeing these plates for months and finally had the perfect excuse to bring them home. Their beautiful cream color, classic design, and coordinating sizes made them perfect for creating this tiered tray on a budget.
What You’ll Love About This DIY
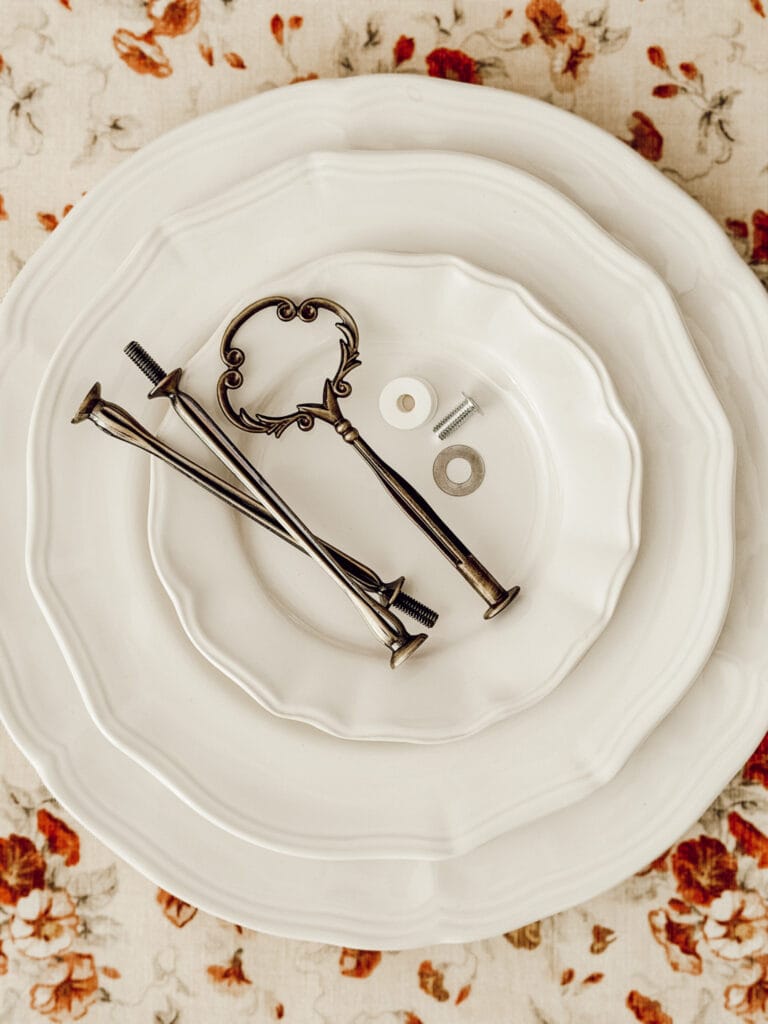
Supplies You’ll Need to Make a DIY Tiered Stand
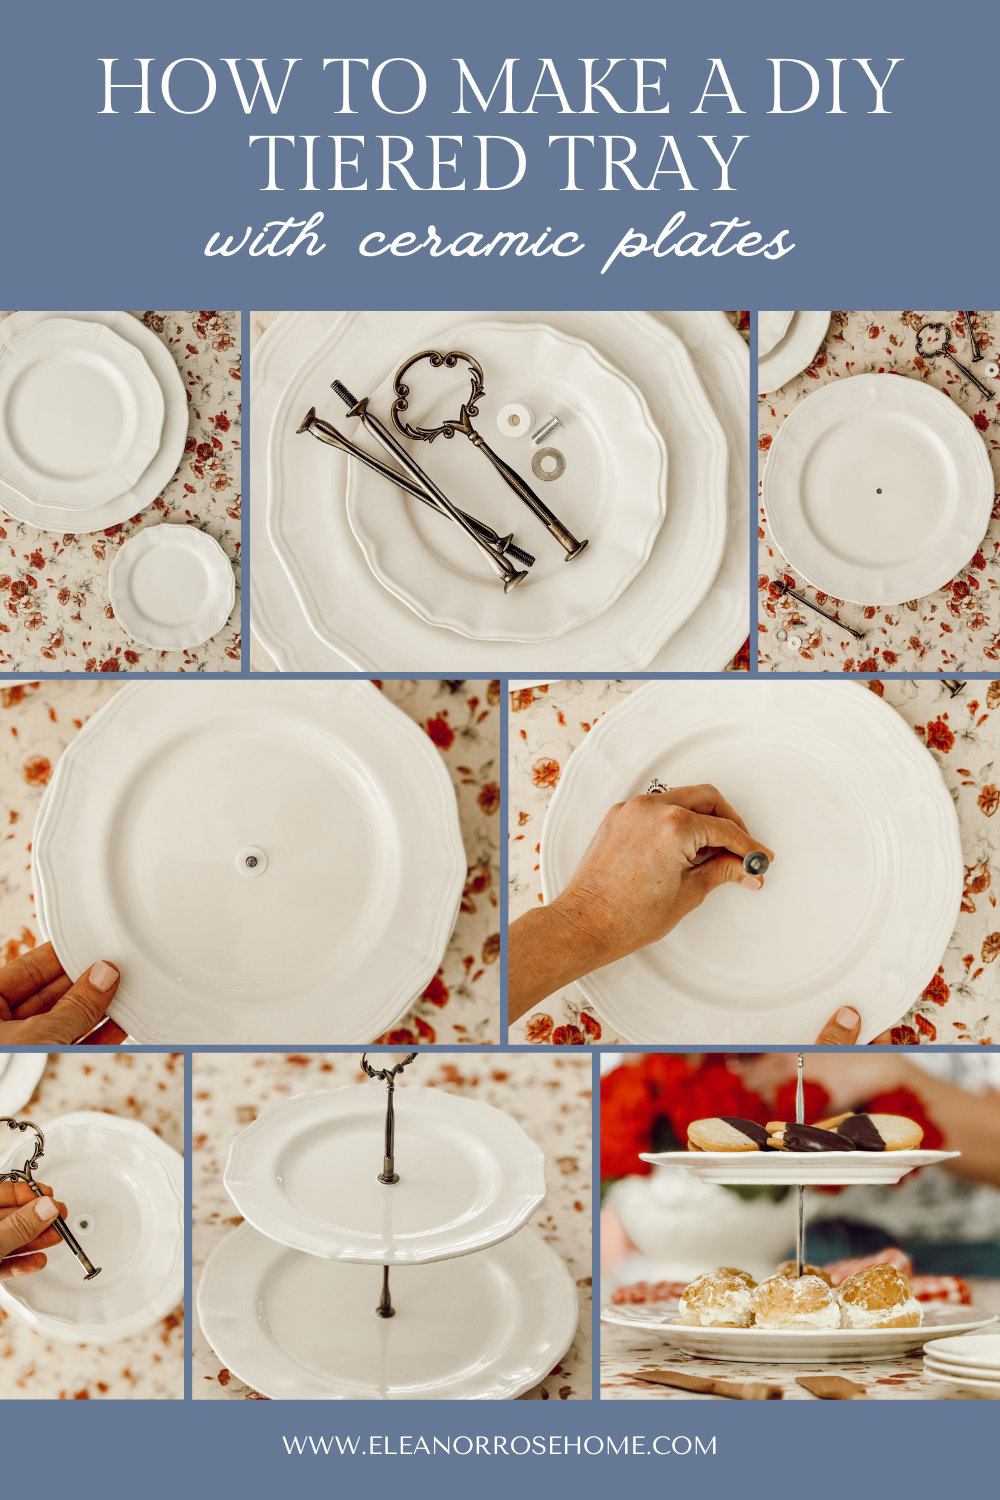
To make a plate tiered tray, you’ll need the following…
- Ceramic Plates: These will become the tiers of your tray. For a 2-tier tray, you’ll need one dinner plate and one salad plate. For a 3-tier tray, you’ll need one dinner plate, one salad plate, and a dessert plate or saucer.
- Tiered Tray Hardware Kit: Includes the center rod, spacers, washers, and top handle needed to assemble the tray.
- Power Drill: You’ll need this to drill a hole through the center of each plate.
- Diamond Drill Bit: A specialty drill bit that allows you to safely drill through ceramic without cracking it.
- Painter’s Tape: Helps keep the drill bit from slipping when drilling.
- Measuring Tape or Ruler: Used to find and mark the center of each plate.
- Pencil (or marker): For marking the exact spot where you’ll drill the hole.
- Safety Glasses: Protects your eyes from dust and debris while drilling.
- Small Container of Water: Keeps the drill bit cool during drilling, which helps prevent damage to both the bit and the plate.
tools you’ll need
*If you make a purchase using one of these links, I may receive a small commission. This does not add any cost to you, but helps me to continue to create & share meaningful content. Thank you for supporting my small business!
I’m Heidi, the heart and hands behind Eleanor Rose Home.

I’ll show you that your home can become a place of warmth, comfort, and style with practical tips, creative ideas, and my own journey to help you create a space that feels like you…welcoming, personal, and full of charm.
How to Make a DIY Tiered Tray With Ceramic Plates
Now for the fun part!
Don’t let the thought of drilling through ceramic plates intimidate you.
cozy ideas delivered to your inbox
When you join our newsletter!
With the right drill bit and these simple step-by-step instructions you’ll have a beautiful tiered tray assembled in no time.
01
Choose Your Plates
Start by selecting the plates you would like to use for your tiered tray. You can use matching plates like I did or mix and match patterns. For a 2-tiered tray you’ll need one dinner plate and one salad plate. For a 3-tiered tray you’ll need one dinner plate, one salad plate, and one appetizer plate (or saucer).
02
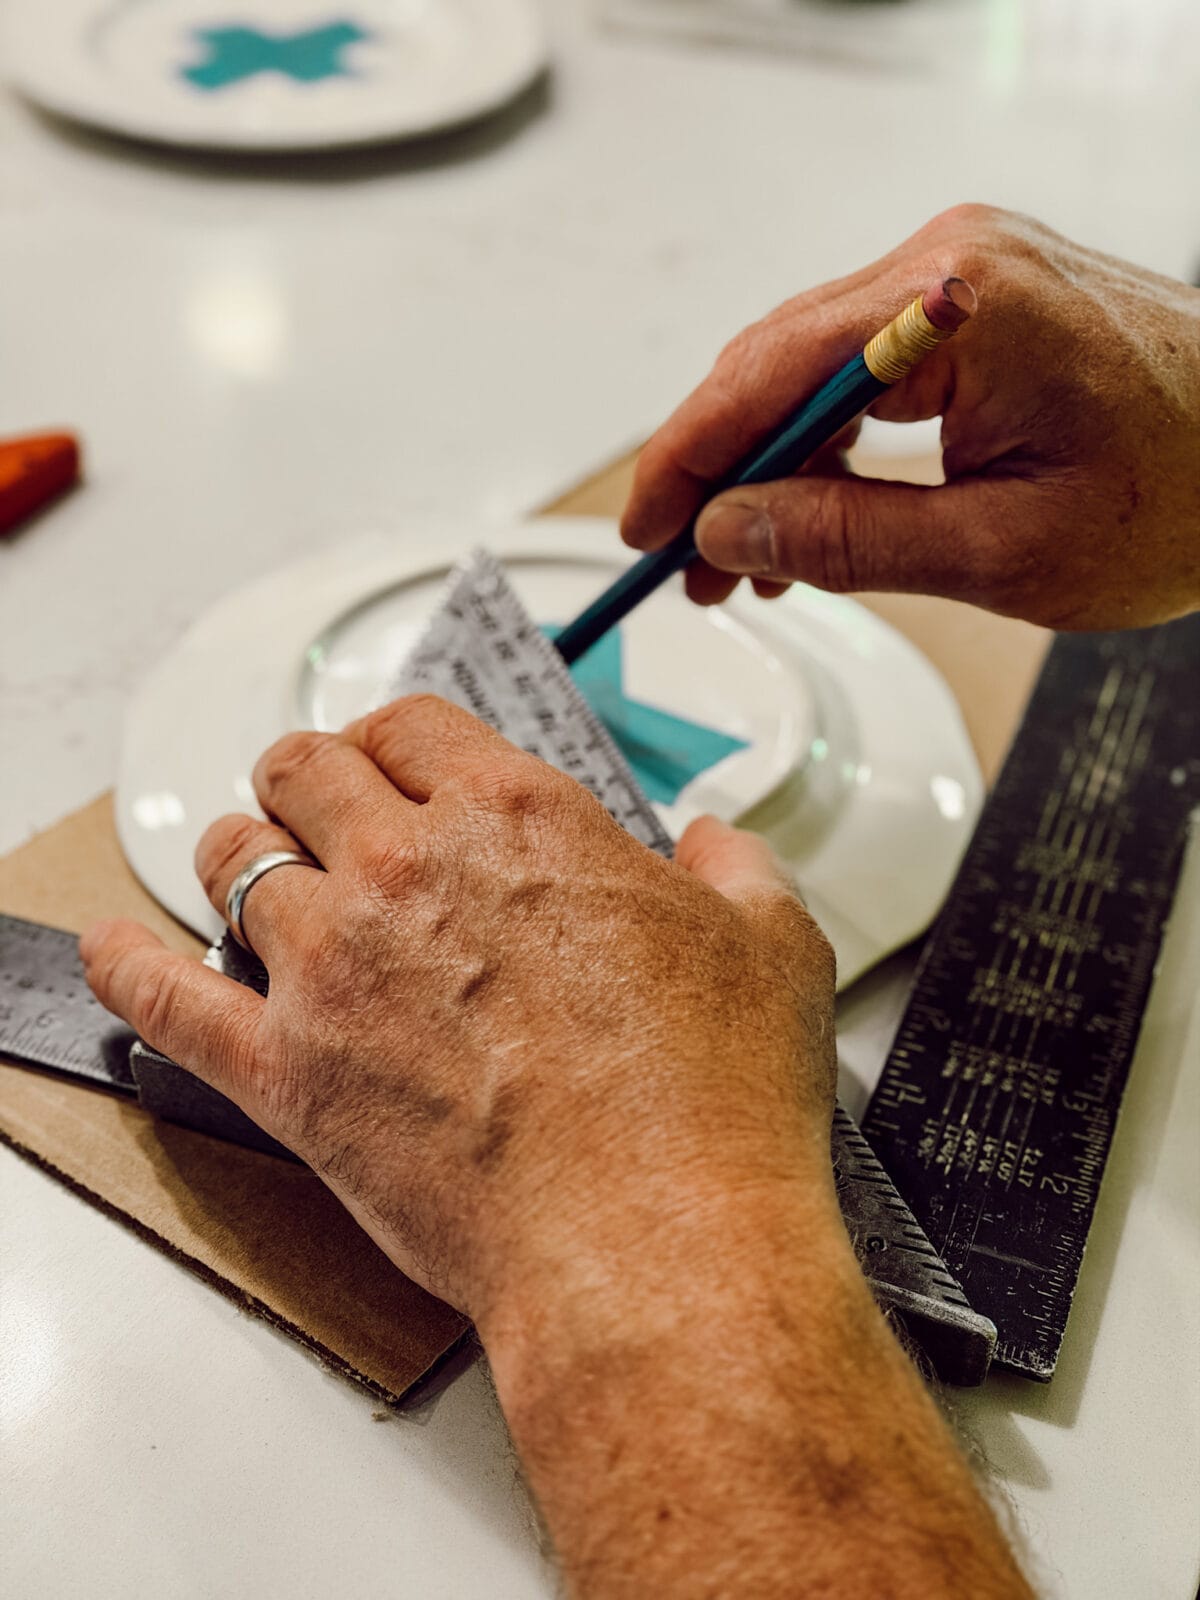
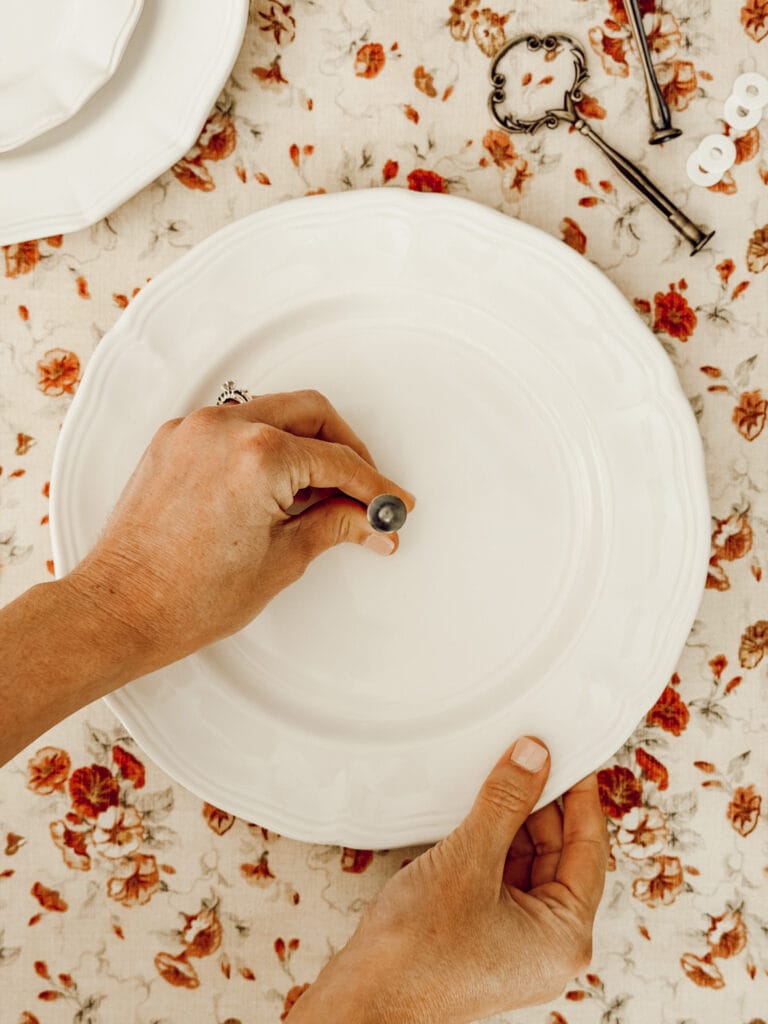
Mark the Center of Each Plate
Place a small piece of painter’s tape over the area where you’ll be drilling. The tape helps keep the drill bit from slipping when you begin. Use a pencil or marker to place a small dot in the center of the tape.
03
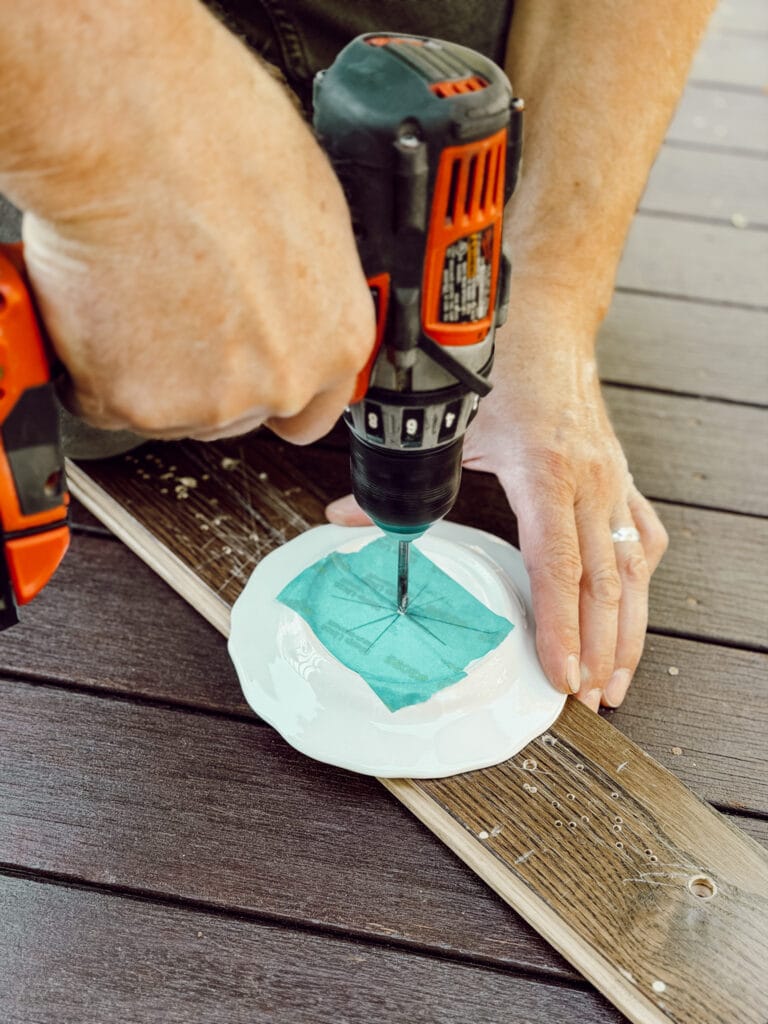
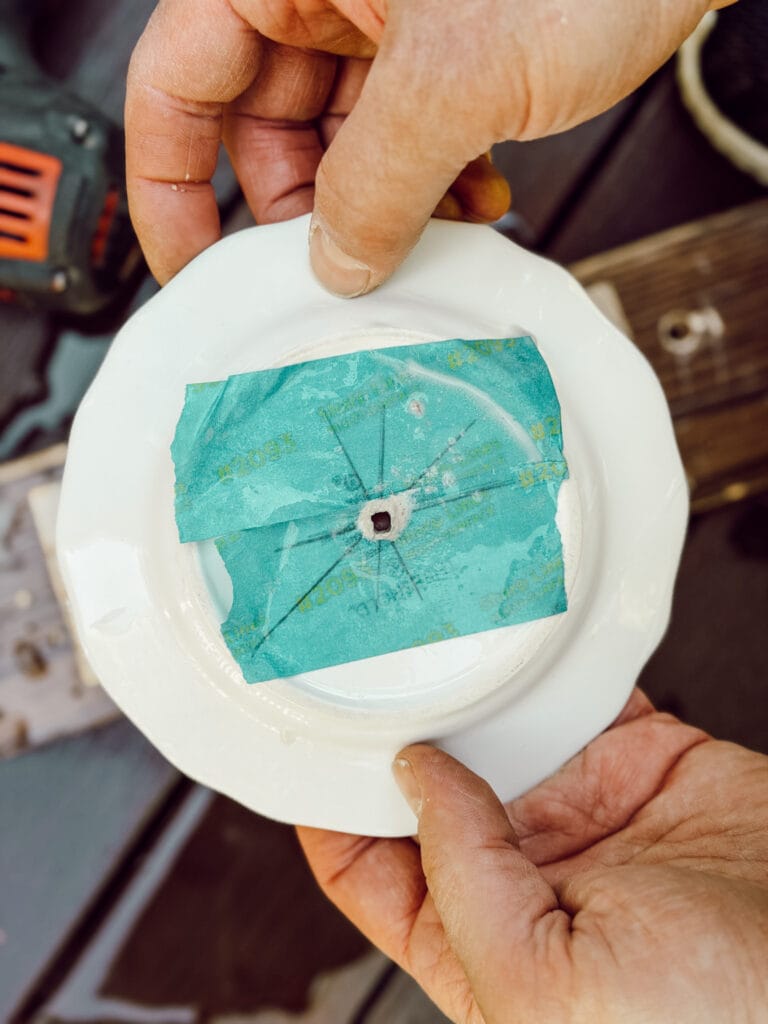
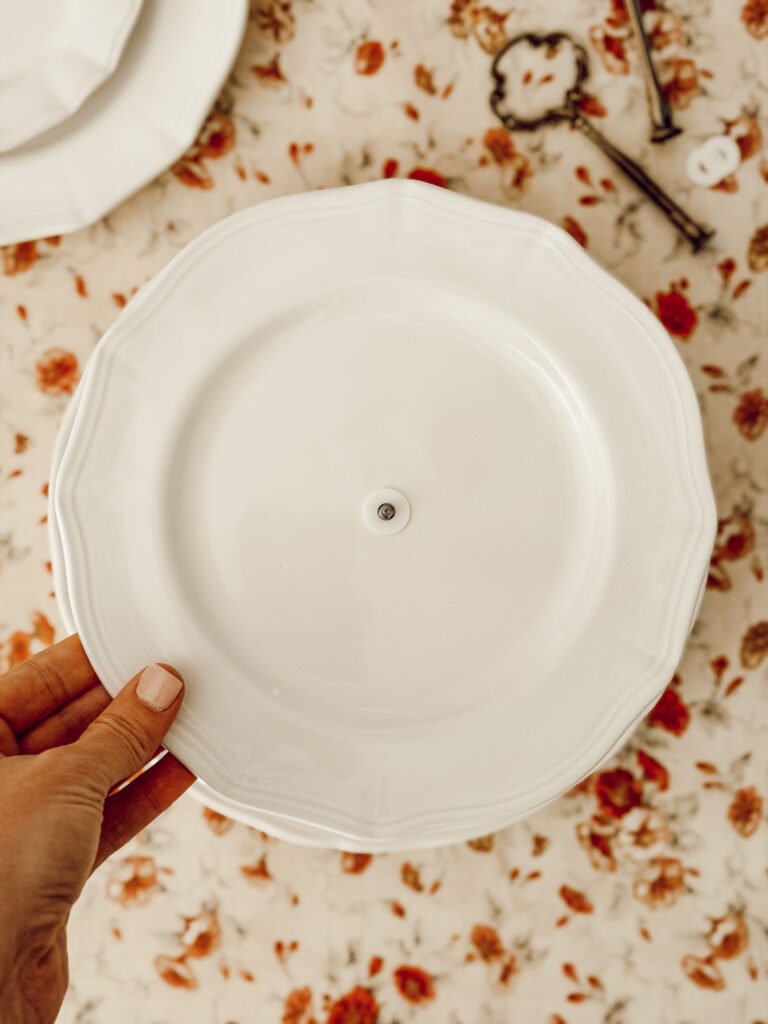
Drill the Holes
Put on your safety glasses before drilling. Using a diamond drill bit, begin drilling slowly into the center of the plate. Keep the area wet with water as you work. The water helps cool the drill bit and reduces the risk of cracking the ceramic. Continue until the hole is completely drilled through. Repeat this process for each plate.
A Quick Note
This was our first time drilling into ceramic, so we drilled our plates outside to be safe, but when we do this project again, we’ll do it inside. The diamond drill bit creates very little dust, especially with water to keep the bit cool. Regardless of where you decide to work, make sure to protect your work surface and wear safety glasses.
04
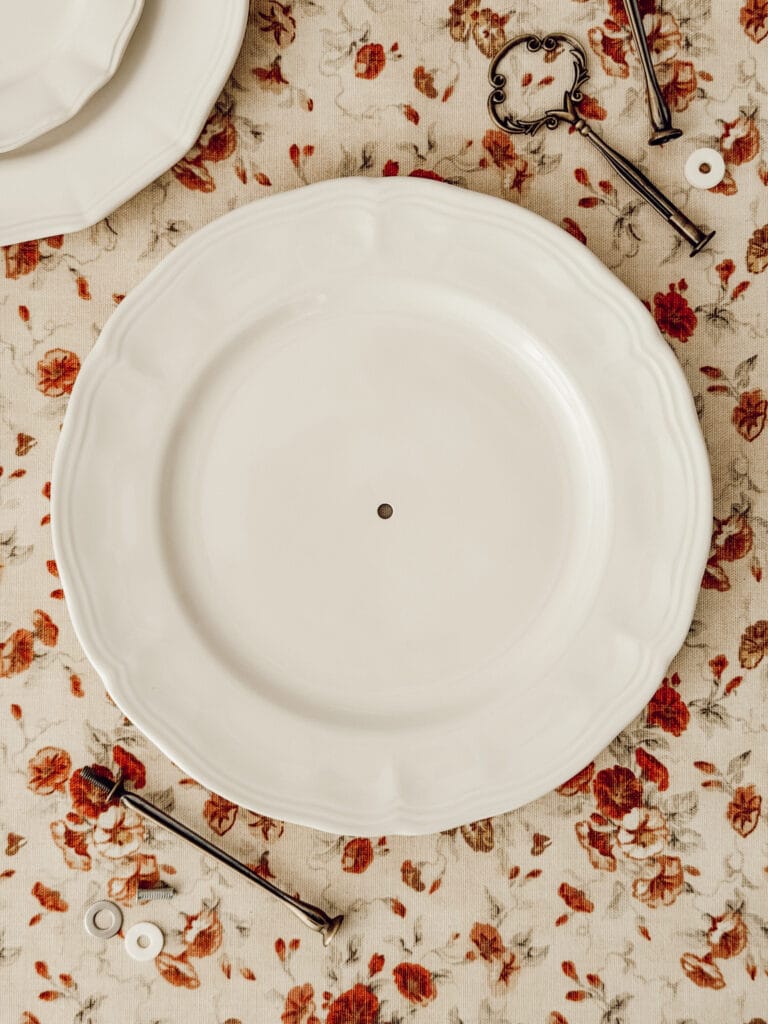
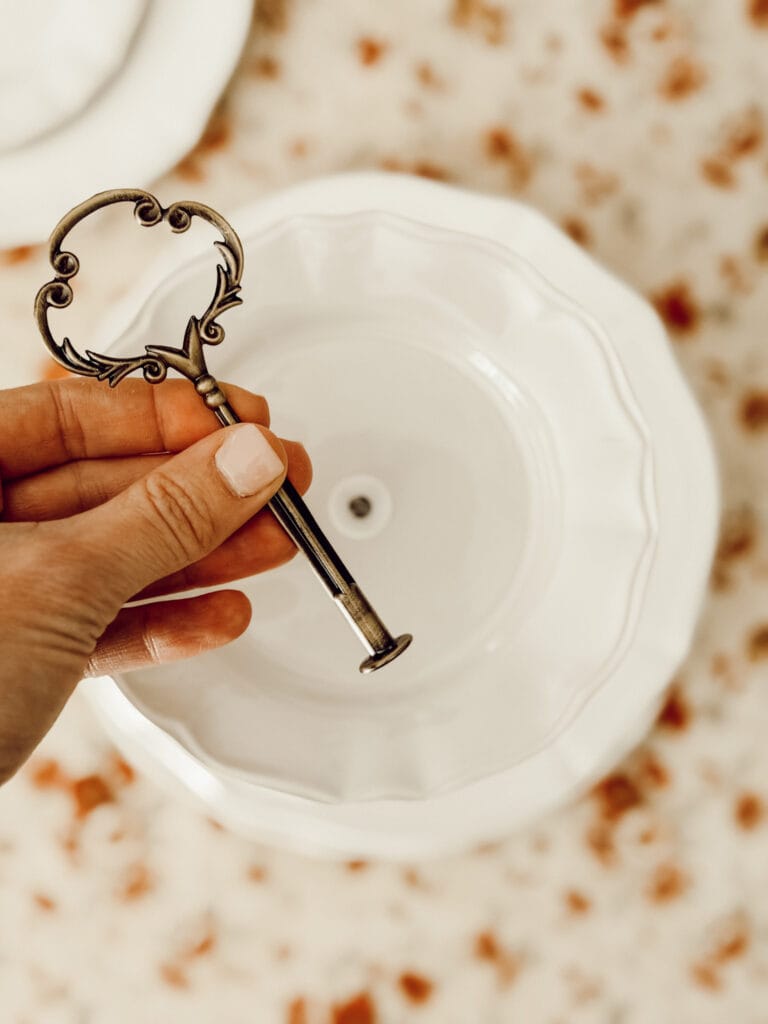
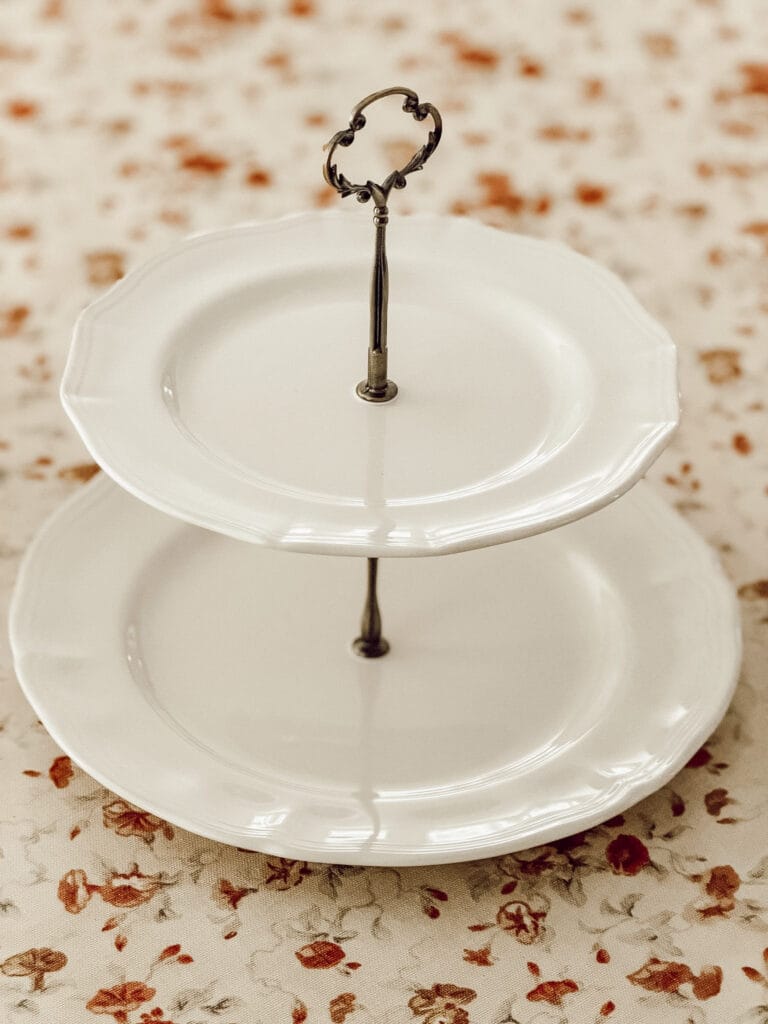
Assemble the Tiered Stand
Once all of the holes have been drilled, you can assemble your serving stand. Insert the center rod from your tiered tray hardware kit through the plates, starting with the largest plate on the bottom and working your way up. Use the included washers and spacers between each plate according to the hardware instructions. Tighten everything securely and attach the handle at the top.
Helpful Tips
- Don’t use plates with existing cracks or chips.
- Practice on an inexpensive plate you won’t mind damaging first.
- Buy an extra plate or two in case a plate accidentally breaks on you.
- Diamond drill bits are a must. A regular drill bit will shatter ceramic.
- Take your time drilling the holes to prevent breakage. Speed and pressure are what crack plates. Slow and steady wins the race!
- Keep the drill bit wet throughout the process to reduce the heat from friction.
- Choose plates with different diameters to create the tiered look.

Fridge Magnets With Vintage Plates
Here’s a step by step tutorial on how to easily add style, personality, and functionality to your kitchen decor with these DIY magnets using vintage plates.
Cozy Ways to Use Your Tiered Tray Around Your Home

You probably know by now that I LOVE things that aren’t just pretty, but practical too.
And a tiered tray checks both of those boxes!
Hey friend! What can I help you find?
Search our entire site!
It doesn’t matter if you’re entertaining guests or decorating your home, there are so many ways to use it throughout the year.
- Display cookies, cupcakes, muffins, or other baked treats.
- Create a seasonal centerpiece with greenery, candles, and decorative accents.
- Organize coffee bar essentials like sugar packets, stir sticks, and sweeteners.
- Use it as part of a charcuterie or dessert table when entertaining.
- Display fresh fruit on a kitchen island or countertop.
- Style it with mini pumpkins in the fall or ornaments at Christmas.
- Organize small items in a bathroom such as soaps, lotions, or rolled washcloths.
- Use it as a decorative catchall for keys, mail, or everyday essentials.
DIY Tiered Tray With Ceramic Plates Frequently Asked Questions
What kind of plates work best for drilling?
Ceramic and stoneware are the best options. They’re sturdy, widely available, and hold up well during drilling. Avoid anything very thin or delicate. Thrift store, Dollar Tree, or any inexpensive plates (the ones I used are from Target) are great since you’re not worried about ruining something precious. Thicker plates are generally more forgiving to drill through.
Do I need a special drill bit?
Yes, a diamond-tipped drill bit is essential for drilling through ceramic. A regular bit won’t work and will likely crack your plate. You can find diamond drill bits online or at most hardware stores, and they’re not expensive.
What if my plate cracks while I’m drilling?
This happens even to experienced crafters! The most common culprits are going too fast, not enough water to cool the bit, or pressing too hard. Buy a plate or two extra as backup so a cracked plate doesn’t stop your project.
Where do I find tiered tray hardware kits?
Amazon is your best resource. Search “tiered tray hardware kit” and you’ll find plenty of choices in different finishes like black, gold, silver, and antique brass. The kits include everything you need for a 2 or 3-tier tray.
Did you make this craft?
Mention us @eleanorrosehome or tag us using #eleanorrosehome so we can see your creations. You can also leave a comment below!
You Might Also Enjoy
-
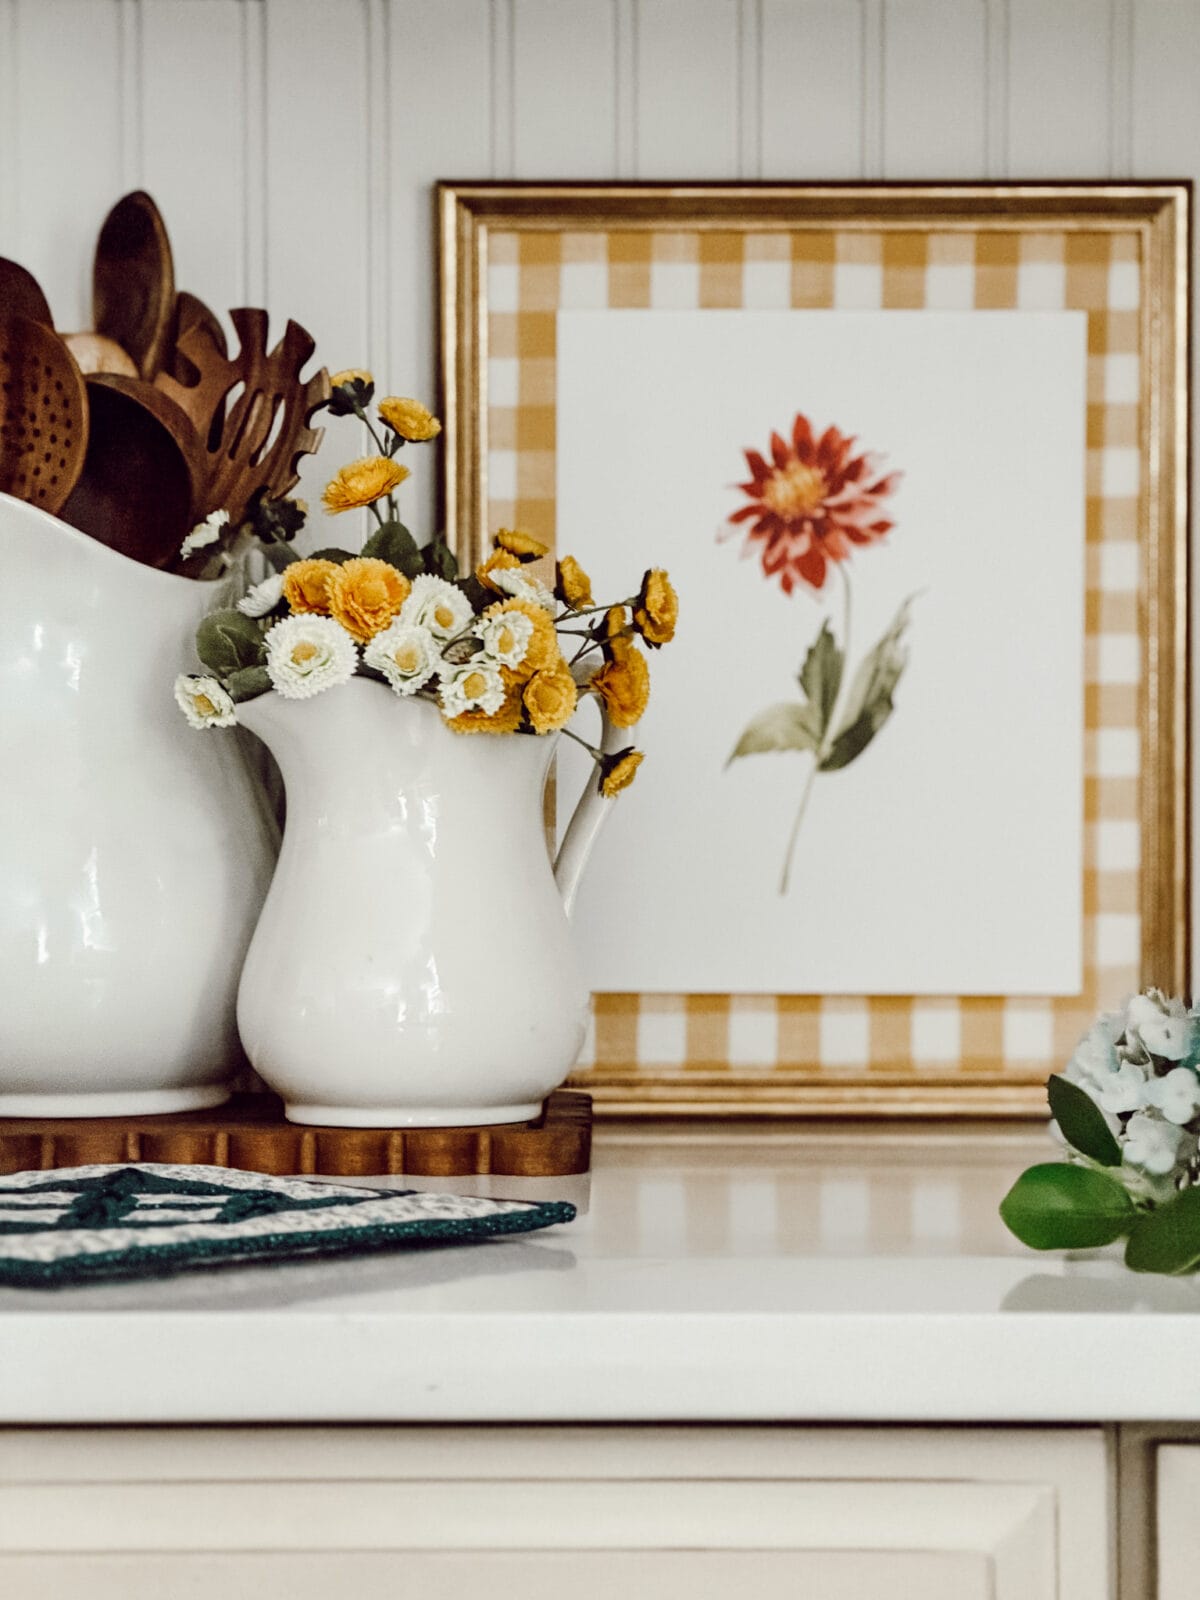
Free Summer Printable Wall Art: 20 Designs for Cozy Summer Decorating
Download and print 20 free summer printable wall art designs including coastal, herb, flower, and vegetable collections. Great for cozy…
-
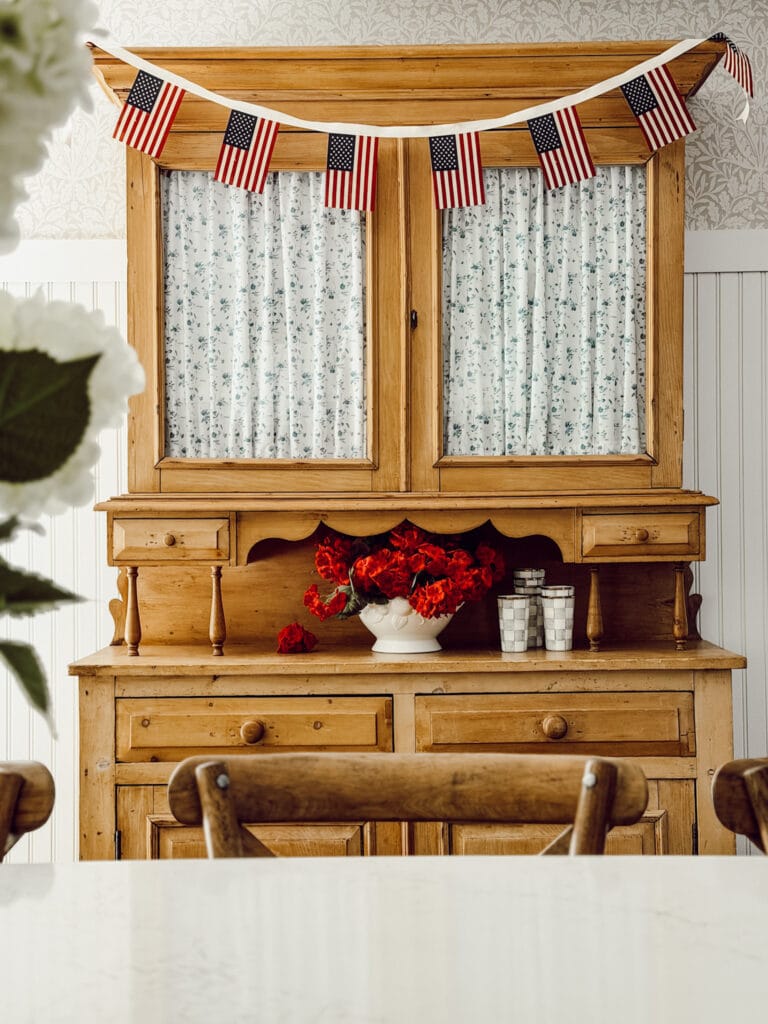
11+ Easy DIY Patriotic Decorations for Your Home
These simple and easy DIY patriotic decorations are perfect for adding red, white, and blue charm to your home. Get…
-
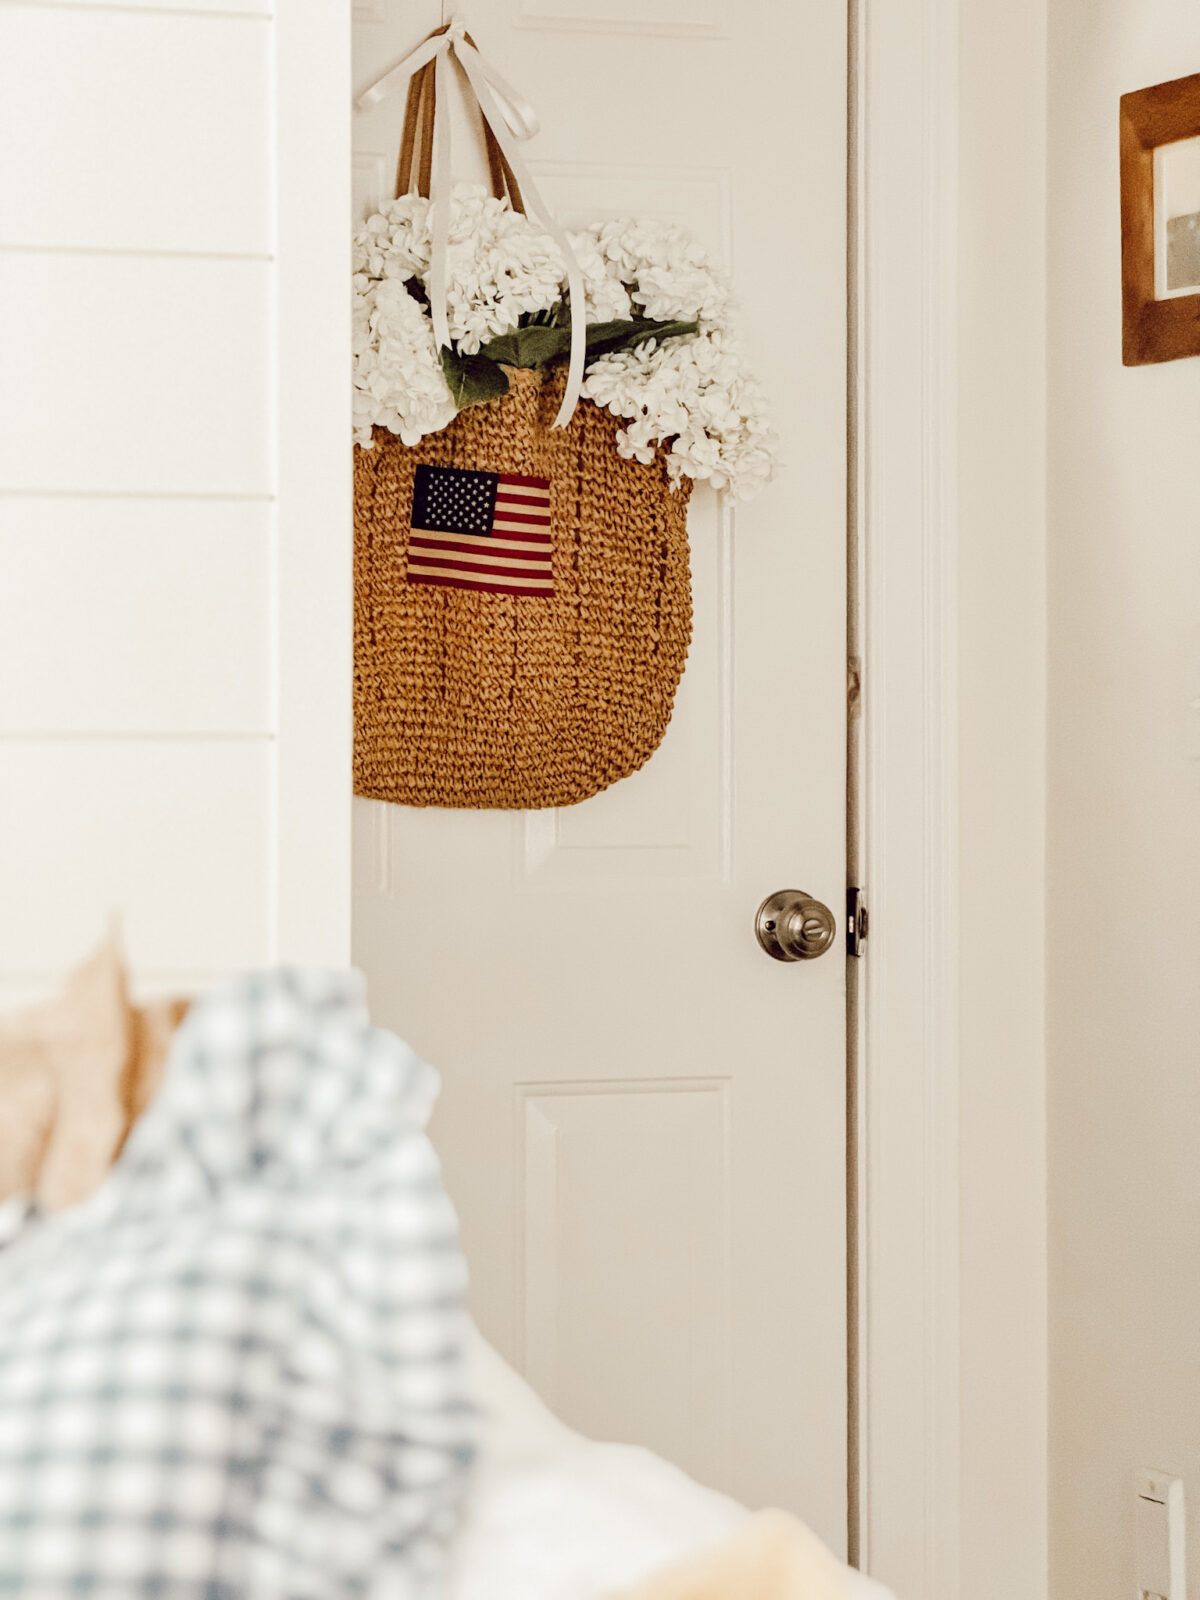
DIY Patriotic Door Basket: Easy Summer Decor in 10 Minutes or Less
Add cozy Americana charm to your door with this DIY patriotic door basket made with a woven bag, a vintage-inspired…

Shop My Favorite Products
Shop my favorite home decor & lifestyle products, my LTK sources, and my Amazon Storefront.
By making a purchase with one of my affiliate links, I earn a small commission which helps me continue to create meaningful content for you!
I look forward to sharing more of my home with you and inspiring you to enjoy simple cozy living!
Follow me on Facebook, Instagram, Pinterest, and LIKEtoKNOW.it.
xoxo, Heidi


Don’t forget to pin this for later!
Shop this post