
How to Make Toaster Oven Dried Apples for Home Decor
Discover how to make dried apples for charming home decor. I’ll share the easy methods to making dehydrated apple slices using a toaster oven, traditional oven, or dehydrator along with ideas of how you can use them in your home.

One of my favorite fall traditions is drying citrus or apple slices for simmer pots and decor to use and display in our home the entire fall season and through the holidays as well.
Using dried fruit in home decor adds a natural, rustic elegance that I find extremely cozy and homey.
As the apple slices dry the smell of delicious apple scents permeate the kitchen, and the vibrant red or green colors evolve into warm, muted tones reminiscent of the cozy atmosphere that autumn brings making them the perfect addition to fall decor.
I shared how to dry orange slices in this post, and thought I would share my easy method for drying apple slices in the toaster oven in this one.
Don’t have a toaster oven?
No worries!
I’ll also share different ways to dehydrate apples using a traditional oven or a dehydrator.
You’ll find that drying apples is extremely easy and rewarding, maybe even becoming a fall tradition in your home too.
This DIY will infuse your home with the warmth, beauty, and aroma that only dried fruit can bring.
I’ll show you how!
Choosing the Right Type of Apple to Dehydrate
When it comes to creating dried apple slices for your home decor, selecting the right apple variety is key.
You’ll want apples that not only retain their colors and shapes during the drying process but also apples that are large enough that you can use them in fall crafts & decor too.

Here are some of the best apples that are larger in size, firm, and do well during the dehydration process.
- Granny Smith: Known for their tartness and firm texture, Granny Smith apples are a fantastic choice for drying. Their vibrant green skin adds a pop of color to your decor, and their natural acidity helps them retain their shape and color beautifully after drying. These apples are an excellent addition to wreaths, garlands, and centerpieces.
- Honeycrisp: These are the apples I used and dried for our home. Honeycrisp apples hold up well during the drying process, maintaining their texture and flavor (they’re a delicious snack too with their sweet flavor).
- Fuji: Fuji apples retain their shape and flavor even after drying, ensuring that your decor not only looks but also smells inviting.
- Jonagold: Jonagold apples are a cross between Jonathan and Golden Delicious varieties. Their large size and firm texture make them well suited for drying. The combination of their yellow and red skin creates a beautiful contrast that complements fall and holiday decor.
- Rome Beauty: Rome Beauty apples are known for their deep red skin and mildly sweet flavor. Their dense texture helps them maintain their shape after drying, making them great for various decorative applications.
Using a Toaster Oven for Drying Apples
When it comes to crafting dried apples for home decor, there’s an array of dehydrating methods to choose from.
The most convenient and easiest way to dehydrate apples is with a toaster oven.
While traditional dehydrators and ovens have their benefits, the toaster oven offers a compact yet efficient alternative that’s perfect for both beginners and seasoned DIY’ers.
Why You’ll Love Using a Toaster Oven
How to Make Dried Apples
Whether you opt for the simplicity of a toaster oven, the reliability of a conventional oven, or the precision of a dehydrator, making dried apples for home decor is a great way to infuse your space with natural beauty.
Supples You’ll Need to Make Dried Apple Slices in the Toaster Oven
materials you’ll need

*If you make a purchase using one of these links, I may receive a small commission. This does not add any cost to you, but helps me to continue to create & share meaningful content. Thank you for supporting my small business!
I’m Heidi, the heart and hands behind Eleanor Rose Home.

I’ll show you that your home can become a place of warmth, comfort, and style with practical tips, creative ideas, and my own journey to help you create a space that feels like you…welcoming, personal, and full of charm.
Instructions for Toaster Oven Drying Apple Slices
Preheat your toaster oven to the lowest temperature setting, usually around 150°F (65°C).
If your toaster has the dehydrator setting (like mine), turn to the setting to dehydration.
Place the top of the apple (do not peel apples, leave the apple skins attached) on the mandolin, and thinly slice the apples about 1/8″ thick.


NOTE: Mandolins are incredibly sharp. Use the handguard that comes with the mandolin to protect your fingers and maintain a safe distance from the blade while slicing. Hold the apple firmly against the mandolin’s handguard and slide it across the blade with steady pressure. Avoid rushing to maintain even slices. Consistent pressure yields consistent results.
Place the sliced apples on a wire rack (my toaster oven came with a wire rack for dehydrating) or a parchment lined baking sheet, making sure they don’t overlap.

Insert the rack or baking sheet in the toaster oven.
Allow apples to dry anywhere from 2-3 hours to 4-6 hours. Dehydration time will depend on the size of the apples and moisture content. Flip apples halfway through cooking time.
Check the dehydrated apple chips for desired texture.
They should be pliable but not sticky.

Instructions for Oven-Dried Apples
Preheat your oven to the lowest temperature setting, usually around 150°F (65°C).
Place the top of the apple (do not peel apples, leave the apple skins attached) on the mandolin, and thinly slice the apples about 1/8″ thick.
Place apple slices on a parchment lined baking sheet, making sure they don’t overlap.
Insert the baking sheet in the oven.
Allow apples to dry anywhere from 3-6 hours. Dehydration time will depend on the size of the apples and moisture content. Flip apples halfway through cooking time.
Check the dehydrated apples for desired texture. They should be pliable but not sticky.
cozy ideas delivered to your inbox
When you join our newsletter!
Instructions for Drying Apples Slices in a Food Dehydrator
Place the top of the apple on the mandolin, and thinly slice the apples about 1/8″ thick.
Arrange the apple pieces on the dehydrator trays, ensuring the apples don’t touch.
Set the dehydrator to 135°F (57°C) and let it work its magic for 6-8 hours.
The time can vary depending on your dehydrator’s specifications and the thickness of the slices.
Check the dehydrated apples for your preferred texture.
Helpful Tips
- Choose the Right Apples: Opt for firm and flavorful apple varieties such as Granny Smith, Honeycrisp, or Fuji. Their texture will hold up well during drying.
- Use a Mandolin: Using a mandolin slicer helps achieve uniform slices, which ensures even drying. Aim for slices around 1/8 to 1/4 inch thick.
- Arrange Evenly: Arrange the apple slices on dehydrator trays or baking sheets in a single layer, ensuring they don’t overlap. This promotes consistent drying.
- Monitor Regularly: Check the drying progress periodically. Thinner slices may dry faster than thicker ones, so you might need to remove some slices earlier.
- Check for Dryness: The apple slices are fully dried when they are leathery, crisp, and free from moisture. They should not feel sticky or have any moisture droplets.
How can you be sure apple slices are fully dehydrated?
The simplest way to determine if your apple slices are fully dried is by touching them.
They should feel dry and crisp to the touch, without any residual moisture.
If they still feel soft or leathery, they likely need more time.
Hey friend! What can I help you find?
Search our entire site!
Another great way you can also try is bending the dry apples.
It should bend without breaking, but not be so flexible that it snaps.
If it snaps easily, it’s over-dried. If it doesn’t bend at all, it’s not dried enough.
When in doubt, it’s better to err on the side of caution and give the slices a bit more drying time.
However, over drying can make them too brittle, but under drying can lead to spoilage.

What’s the best way to store dehydrated apple slices?
The best way to store dried apple slices is in an airtight container in a cool, dry, and dark location.
This helps preserve their texture and color while extending their shelf life.
You can use a glass jar, plastic containers, or vacuum-sealed bags.
NOTE: If you want a longer storage option, you can store them in the refrigerator or freezer, but make sure they’re in an airtight container to prevent moisture and freezer burn. Regularly check for signs of moisture, mold, or texture changes to ensure their quality.
How long will dried apples last?
Dried apple slices can last quite a while if they are properly prepared, stored, and handled.
Generally, well dried apple slices can last anywhere from 6 months to a year or even longer.
You can maximize their shelf life by doing the following:
- Make sure your apple slices are fully dehydrated before storing them. Any remaining moisture can lead to mold growth. Slices should be crisp, pliable, and free of moisture.
- After drying, allow the apple slices to cool completely. Then, store them in airtight containers such as glass jars, plastic containers, or vacuum-sealed bags. This prevents moisture and air from getting in, helping to preserve their freshness.
- Moisture is the enemy of dried fruit. Store your dried apple slices in a cool, dry place, away from direct sunlight, humidity, and sources of moisture. A pantry or cupboard is usually a good choice.
- If you want to extend the shelf life even further, you can store your dried apple slices in the refrigerator or freezer. This is particularly useful if you live in a humid climate with moist air or if you’re planning to store them for a very long time. Just make sure to use an airtight container to prevent freezer burn.
Decorating With Dehydrated Apples
Once your dried apples are ready, it’s time to get creative with your decor!
You Might Also Enjoy
-
When to Decorate for Fall: 6 Signs It’s Time to Get Cozy
Wondering when the right time to decorate for fall is? Discover the signs plus simple ideas for slowly transitioning your…
-
Fall 2026 Hearth and Hand With Magnolia Target Collection
See and shop the fall 2026 Hearth and Hand with Magnolia collection at Target, including my favorite cozy home decor…
-
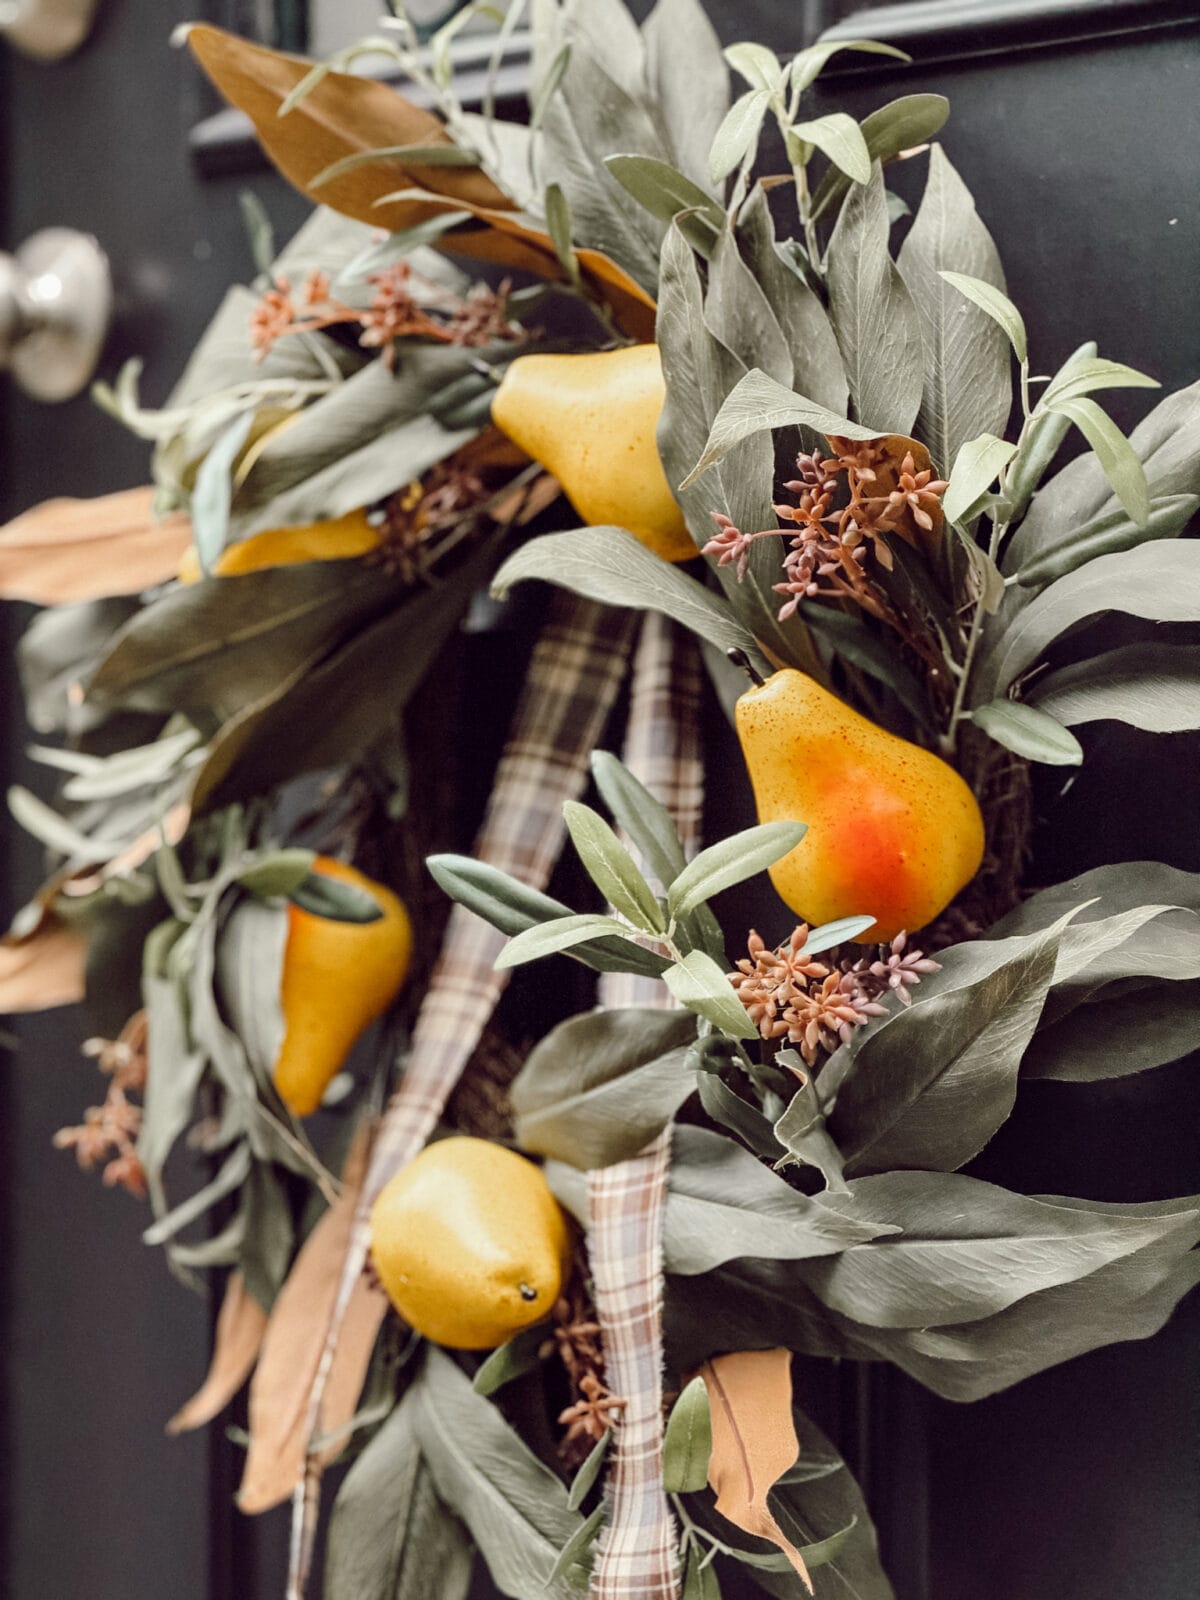
DIY Faux Pear Wreath: A Simple Fall Decor Idea
This DIY faux pear wreath is the easiest fall decor you’ll make all season. A store-bought wreath, faux pears, hot…

Shop My Favorite Products
Shop my favorite home decor & lifestyle products, my LTK sources, and my Amazon Storefront.
By making a purchase with one of my affiliate links, I earn a small commission which helps me continue to create meaningful content for you!
I look forward to sharing more of my home with you and inspiring you to have a well loved home!
Follow me on Facebook, Instagram, Pinterest, and LIKEtoKNOW.it.
xoxo, Heidi


Don’t forget to pin this for later…
Shop this post


Lol!
Are you even American if you don’t make dried apples in the fall? I have to admit, I wasn’t an American until today.
Thank you Donna! The smell of dried fruit in the house is one of my favorite aromas, it’s so cozy! I’m so glad you liked this idea!
I love both dried oranges and apples!
Thank you Renae!
Hi Heidi! I am so behind on trends, but planned to dry orange slices this year for Christmas decor! Now I want to do apples too! Thanks for the detailed tutorial on how to do it! I can only imagine how good that simmer pot must smell! I’m going to share this in my weekly newsletter tomorrow!! Blessings, Donna
We did oranges last year and I loved them but I never thought to do apples. Love this! Totally doing it this year. Thanks for the great ideas. pinned
What a great idea. I love this.