
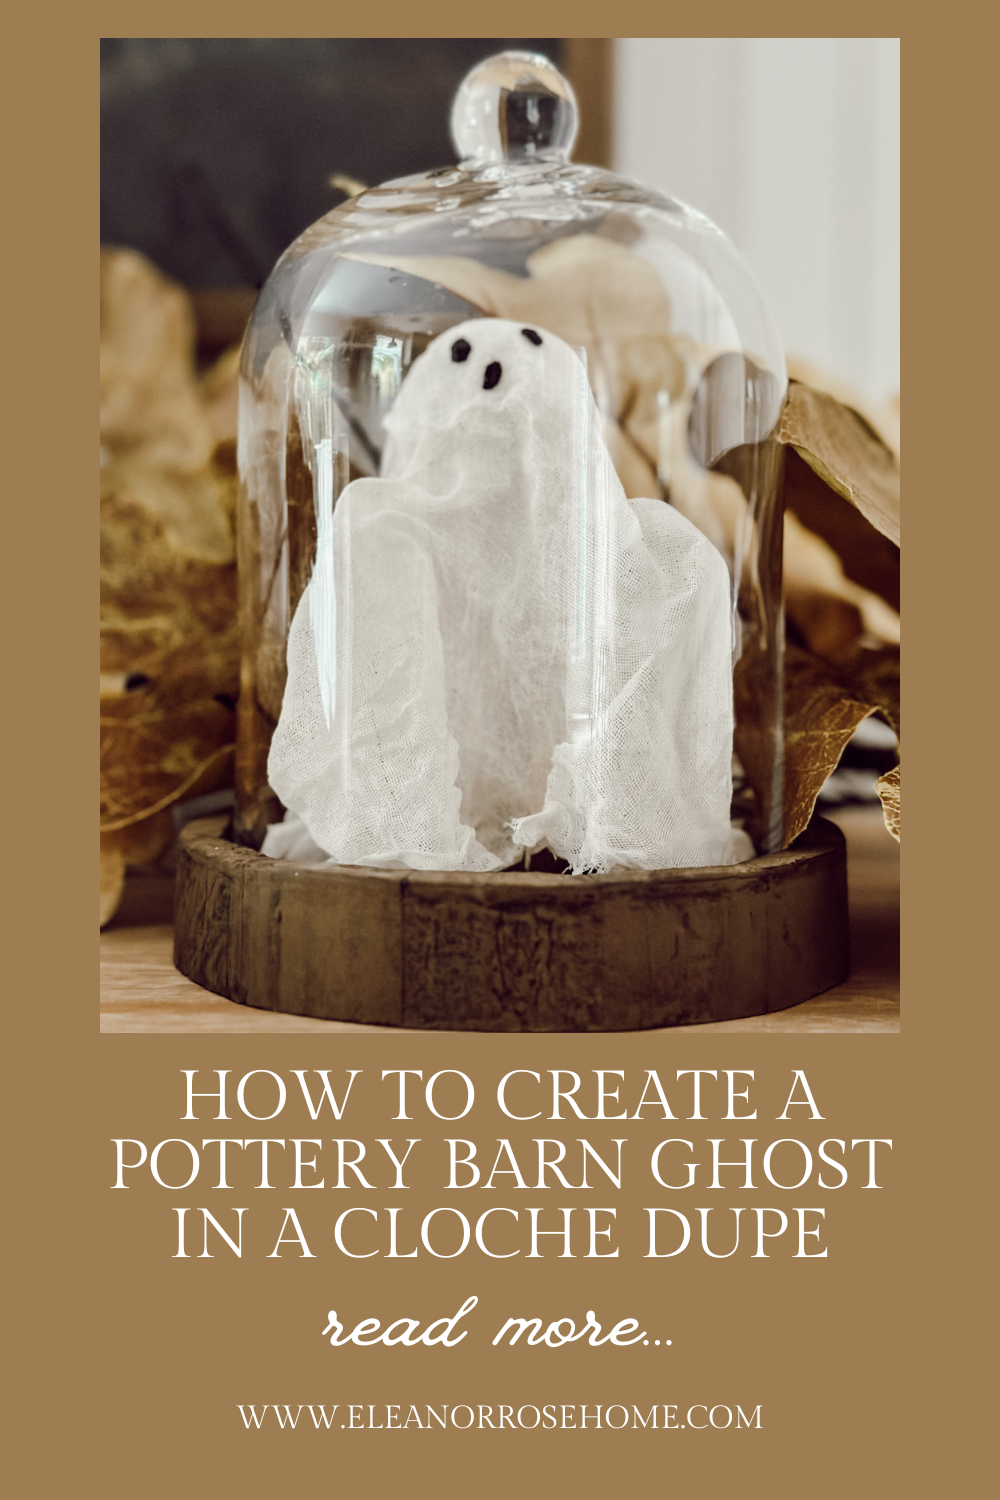
DIY Ghost in a Cloche Halloween Pottery Barn Dupe
 Shop This Post

Create a charming Pottery Barn dupe for Halloween with this DIY ghost in a cloche! It’s easy to make, budget friendly, and you’ll love that you created your own spooky, cute decor that looks just like the Pottery Barn original.

I was recently browsing Pottery Barn’s new arrivals and their new fall and Halloween collections.
As I was scrolling and making a mental list of all the things I needed (I’m sorry wanted for the upcoming fall season) I stumbled upon the cutest Halloween decoration.
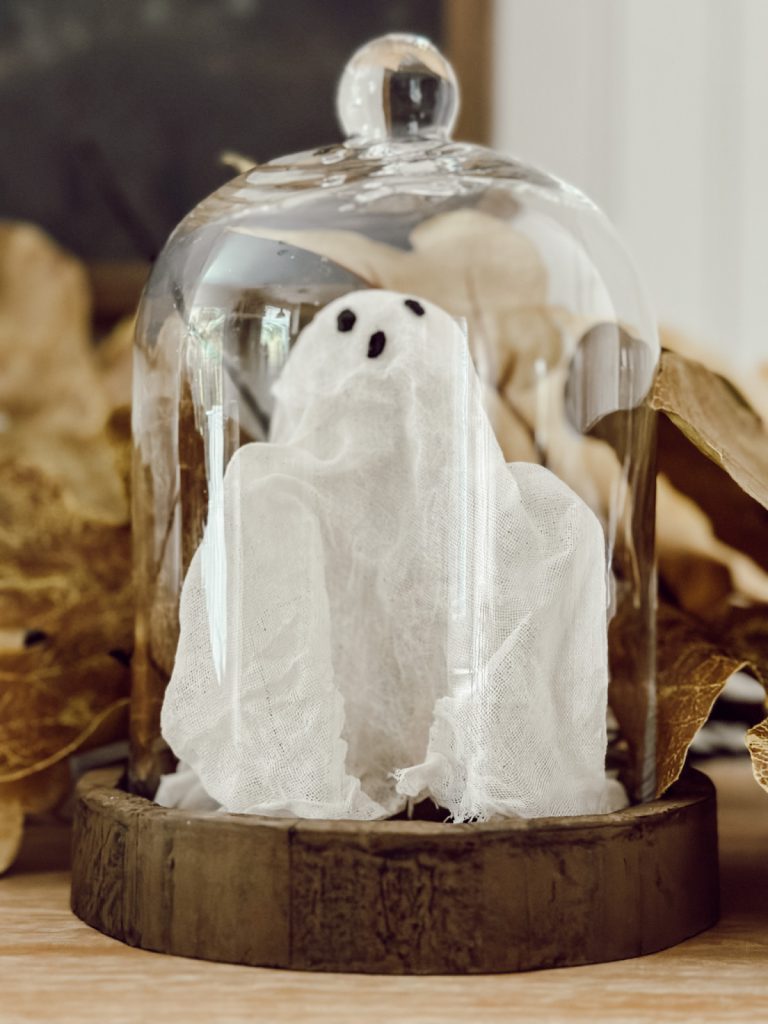
A ghost in a cloche.
For those of you that have been around here for a couple of years you know that I am not a Halloween person.
In fact, it’s my least favorite holiday and has been since my first vivid memory of trick or treating at the age of 5 (I cried the entire time my parents took us around the neighborhood for candy).
Needless to say there isn’t much Halloween decor that goes up at Eleanor Rose Home.
However, when I saw this adorable yet spooky ghost in a cloche on Pottery Barn’s website I knew I needed this for our home.
Adorable and spooky Halloween decor is the kind I like!
But the price tag?
A little steep for me at $29 plus the cost of tax & shipping.
Instead of splurging on the original ghost in a cloche, I decided to make a Pottery Barn dupe and DIY my own for a fraction of the original cost!
I was surprised at how easy this craft was to make, and I love that I was able to save a little money by making this at home with supplies I already had on hand.
Here’s my easy step by step tutorial on how you can make your own ghost in a cloche that looks similar to the original from Pottery Barn without spending a fortune!

What You’ll Love About This DIY:
How to Make This DIY Pottery Barn Dupe Ghost in a Cloche
This project is both easy and budget-friendly.
With a few simple materials and a little creativity, you’ll have Halloween decor that looks just like it came from Pottery Barn.
Supplies You’ll Need to Make a DIY Ghost in a Cloche
Here are the materials you’ll need…
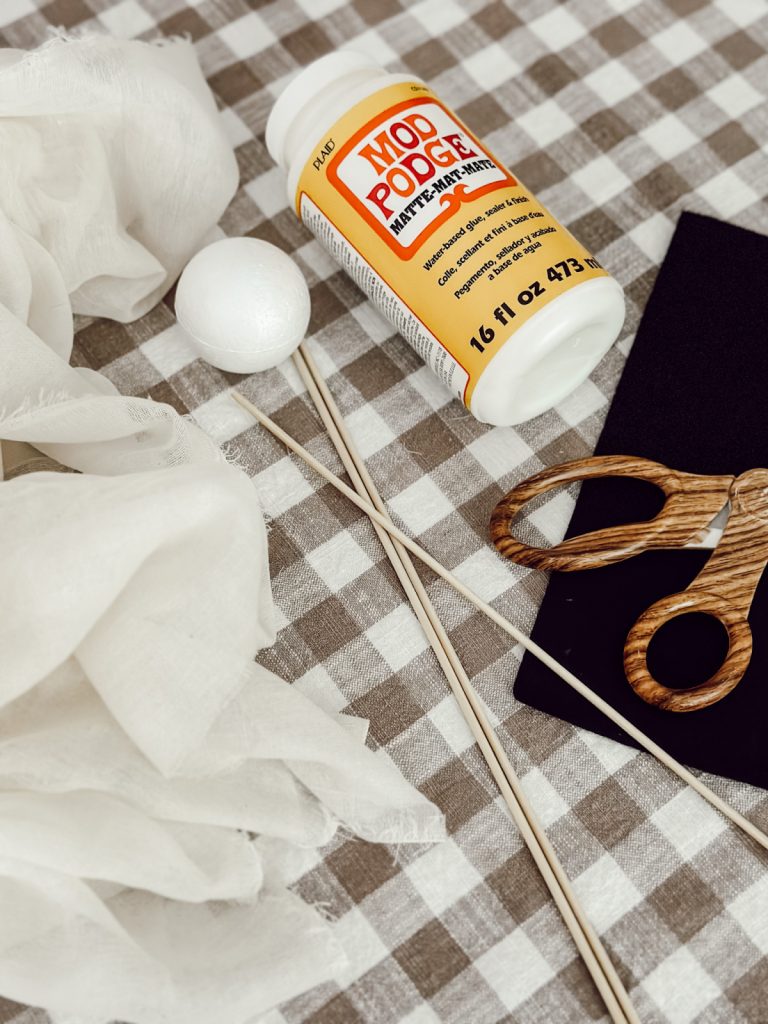
supplies you’ll need
*If you make a purchase using one of these links, I may receive a small commission. This does not add any cost to you, but helps me to continue to create & share meaningful content. Thank you for supporting my small business!
I’m Heidi, the heart and hands behind Eleanor Rose Home.

I’ll show you that your home can become a place of warmth, comfort, and style with practical tips, creative ideas, and my own journey to help you create a space that feels like you…welcoming, personal, and full of charm.
Making the Easy Cheesecloth Ghosts
Here’s the easy step by step instructions on how to make your own spooky, cute Halloween decoration…
cozy halloween inspiration delivered to your inbox
When you join our newsletter!
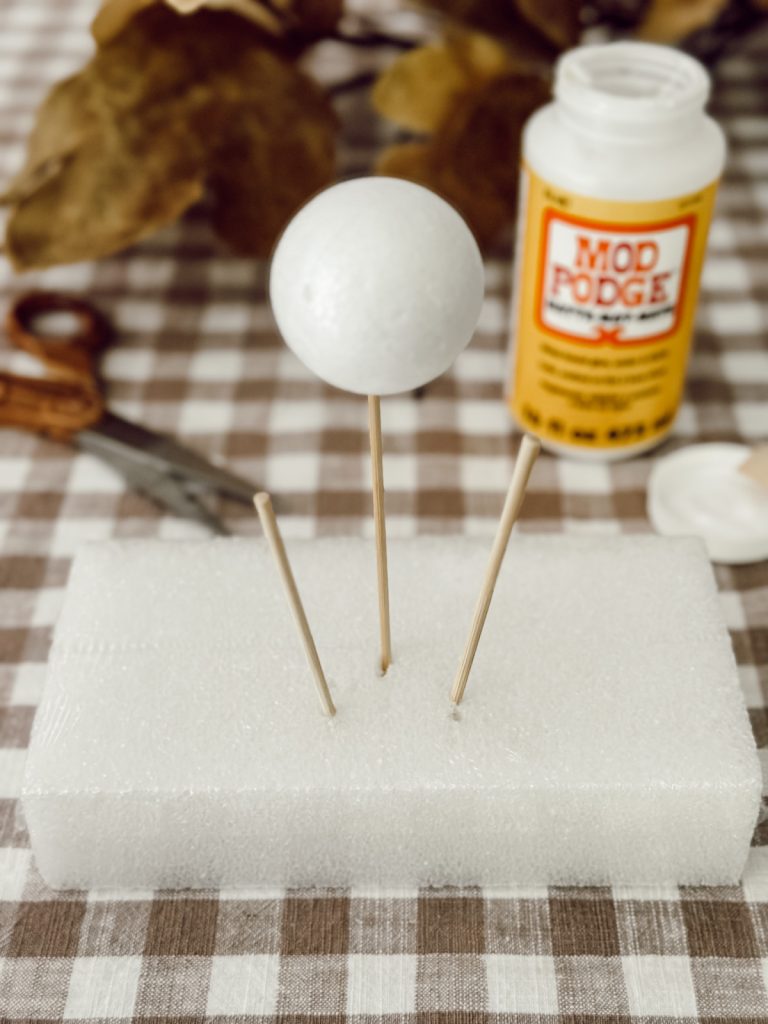
Step 1: Prepare the Ghost Structure
You’ll need a styrofoam base for this tutorial to hold the ghost upright.
Wrap your styrofoam base in foil or plastic wrap to keep it clean for future projects.
Once the base is ready, insert the wooden skewers into the styrofoam.
Make sure that the skewers are short enough so that the ghost will fit inside your glass cloche.
Place a styrofoam ball on top of the skewer to form the head of the ghost.
To make the shape of arms, add more skewers at shorter heights.
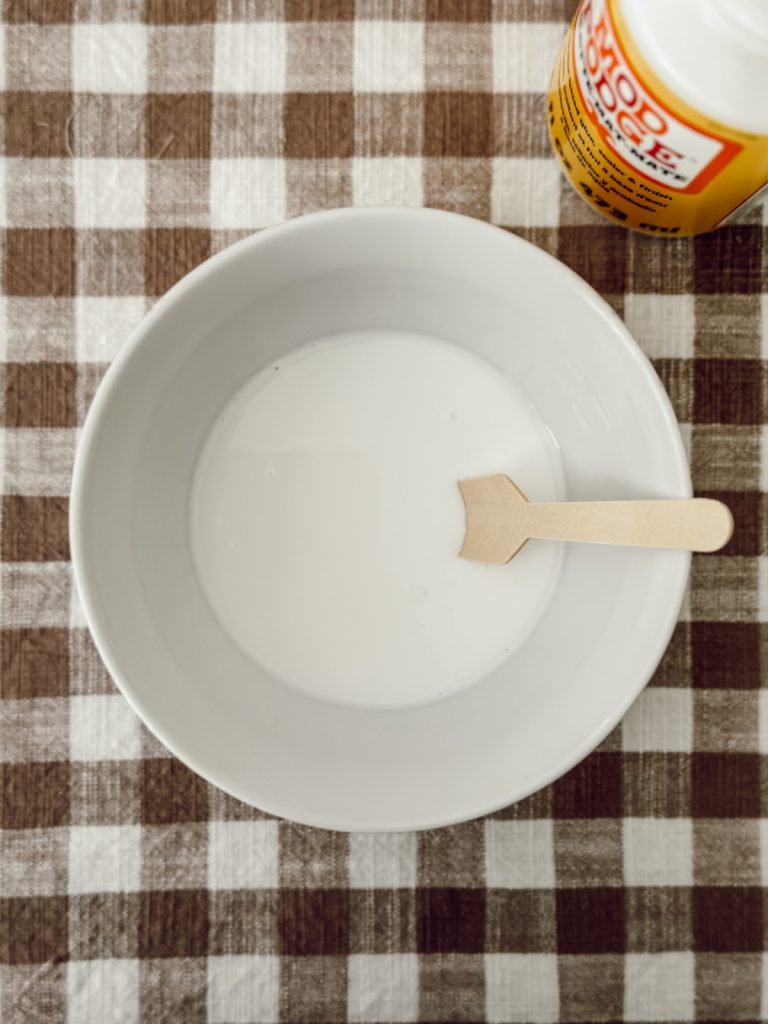
Step 2: Prepare the Glue Mixture
Mix together two parts Mod Podge to one part water to create a thin glue mixture.
More Mod Podge can be added to the solution if the mixture is too runny.
You’ll want a consistency that is thin enough to wring out the excess glue but think enough to create stiffness when it dries.
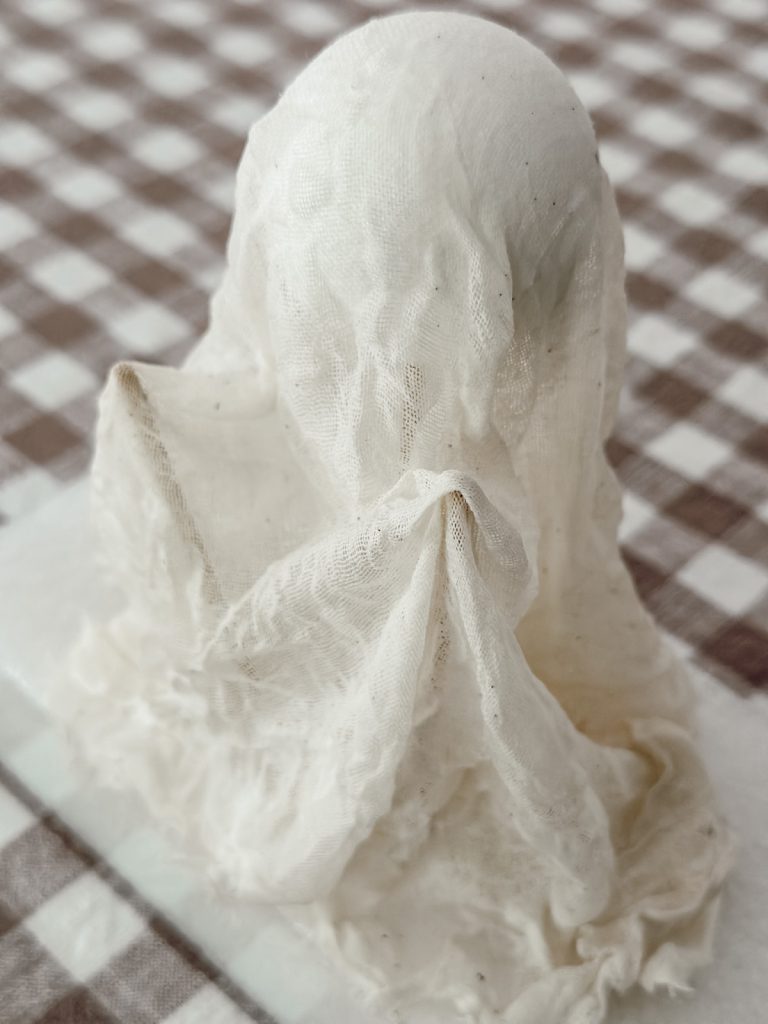
Step 3: Add the Cheesecloth to the Glue Mixture, Drape, & Let Dry
Cut a rectangle of cheesecloth to your desired length (make sure it will fit in the cloche), then dredge the cheesecloth in the glue solution until it fully absorbs the glue.
Wring out the fabric completely.
Untangle the cheesecloth, spread it out, and drape it over the ghost structure.
To make sure the ghost will stand upright, gather together the cheesecloth into bunches where the fabric meets the bottom base.
The ghosts can take 1-2 days to dry completely based on humidity and the amount of glue in the cheesecloth.
Step 4: Add Eyes & Mouth to Cheesecloth Ghost
To add a little character to your cheesecloth ghosts, add small felt eyes and mouth with fabric or hot glue.
You could also use paint or vinyl to attach facial features to your ghost.
Step 5: Adding the Ghosts to the Cloche
Once your cheesecloth ghosts are dried and you’ve added eyes and a mouth, it’s time to add the ghost to the inside of the cloche.
Before you place the ghost in the cloche, take the fairy lights and place them up and inside the ghost leaving the battery pack exposed (that will stay outside of the cloche).
Once all of the lights are inside the ghost, place the ghost on the base, and cover with the glass cloche.
Helpful Tips
- When covering the plastic or foam ball with fabric, make sure the draping is loose and flows naturally. This will give your ghost a more spooky appearance.
- Don’t be afraid to try different facial expressions for your ghost. Experiment with various shapes and sizes for the eyes and mouth until you achieve the look you love.
- Look for old clothing or fabrics that you can upcycle into your ghost’s form.
- Take your time and enjoy the process. Let your creativity flow, and don’t worry about perfection. The charm of this project lies in its handmade appeal!
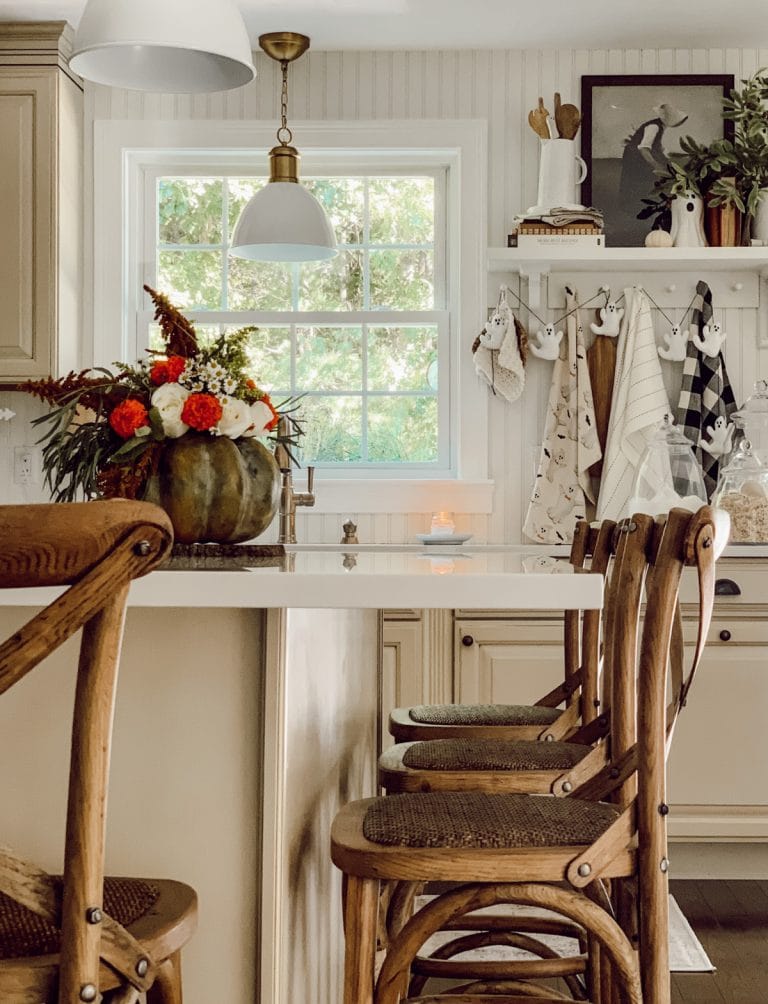
Displaying Your Pottery Barn Dupe Ghost in a Cloche
Find the perfect spot to display your DIY ghost in a cloche whether it’s on your dining room table, fireplace mantel, or entryway table.
This spooky centerpiece will be the star of your Halloween decor!
Hey friend! What can I help you find?
Search our entire site!

Ghost in a Cloche Frequently Asked Questions
Can I make this Halloween DIY without a glass cloche?
Yes, you can use a large mason jar, an apothecary jar, or even a clear plastic container as a budget-friendly alternative.
What if I don’t have Mod Podge?
You can use a mixture of white school glue and water (roughly a 1:1 ratio) as a substitute to stiffen the cheesecloth.
Where can I find cheesecloth?
Cheesecloth is available at most grocery stores (near the canning supplies), craft stores, or online. You can also check the kitchen section of big box stores.
Do I have to use fairy lights?
Not at all! They’re optional, but they do add a magical touch, especially if you’re displaying your cloche at night or on a mantel.
How do I store this ghost for next year?
Carefully remove the ghost and place it in a small box with tissue paper to maintain its shape. Store the cloche separately to prevent it from breaking.
Did you make this craft?
Mention us @eleanorrosehome or tag us using #eleanorrosehome so we can see your creations. You can also leave a comment below!
You Might Also Enjoy
-
Halloween Ghost Peep S’mores With Free Treat Bag Printable
A spooky twist on traditional s’mores! Make Halloween ghost peep s’mores treat bags with ghost shaped Peeps, chocolate, graham crackers,…
-
40+ of the Best Spooky Cute Halloween Decor Ideas
Discover over 40 of the best ghostly cute Halloween decor ideas to create a cozy and spooky aesthetic in your…
-
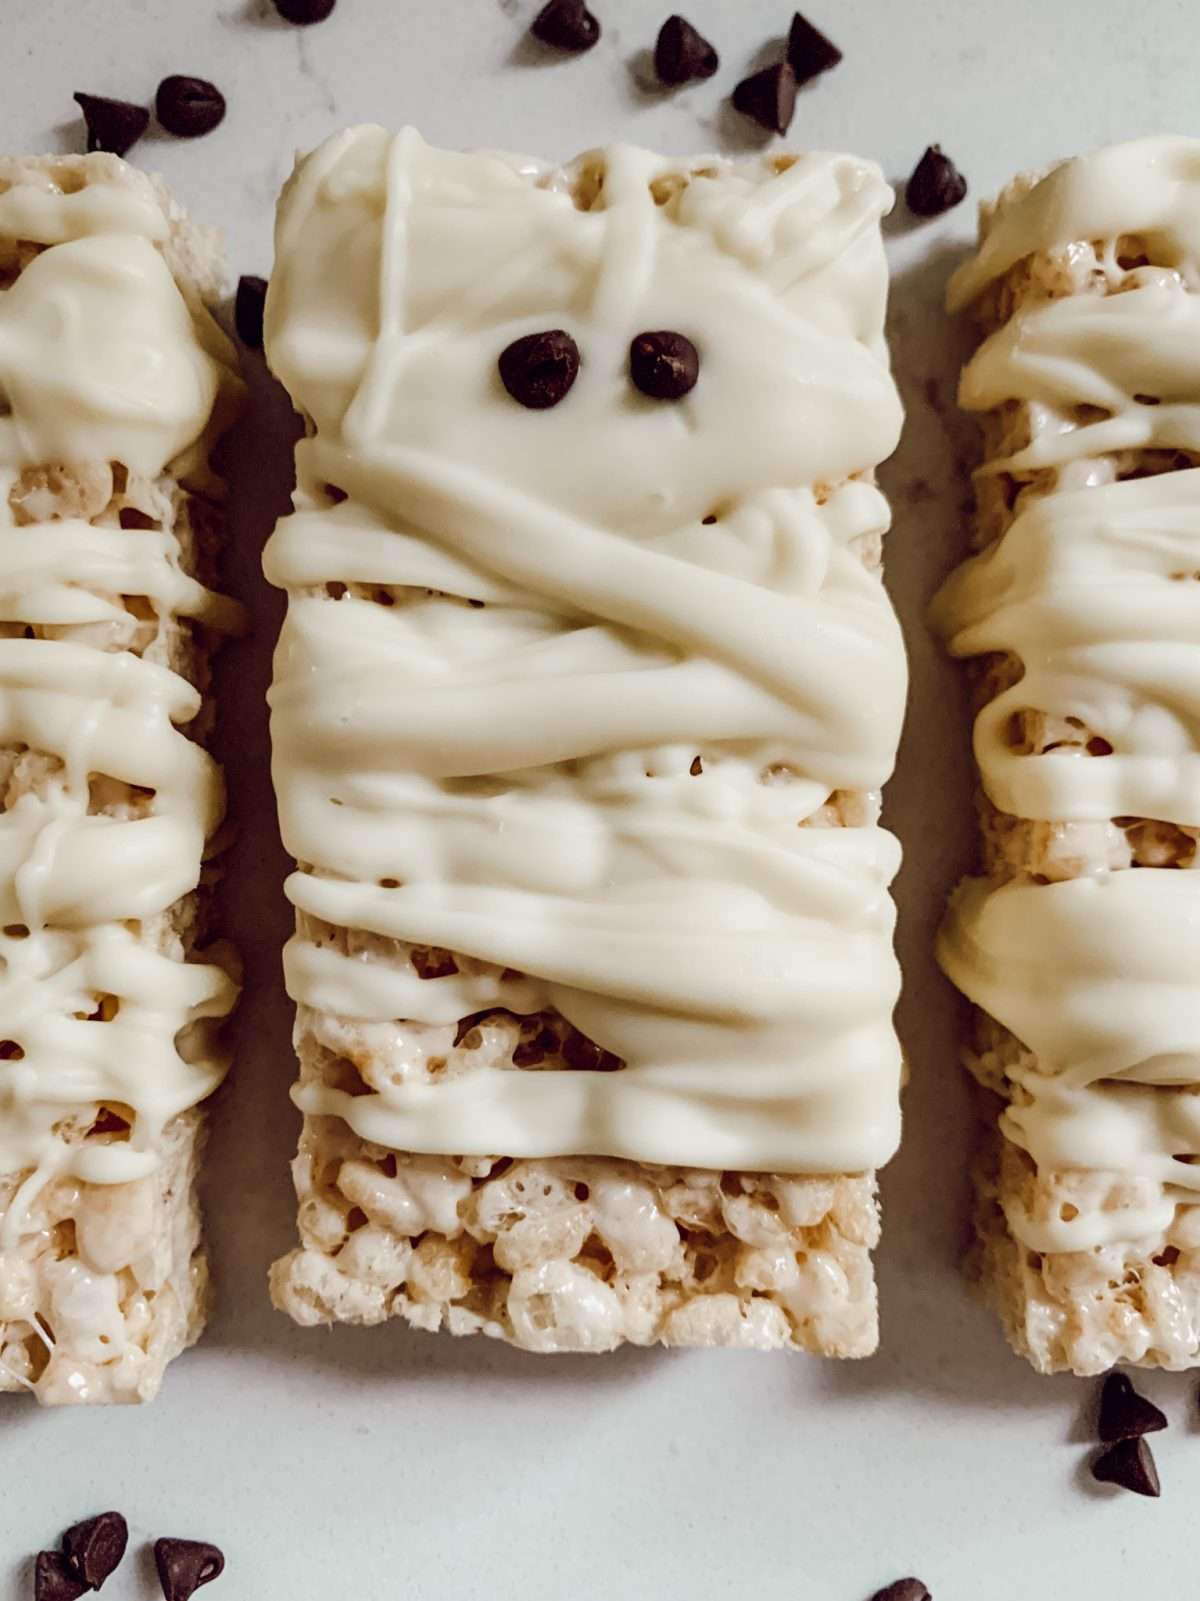
Mummy Shaped Rice Krispie Treat Recipe for Halloween
These mummy shaped Rice Krispie treats for Halloween are not only adorable but also a fun and interactive way to…


Shop My Favorite Products
Shop my favorite home decor & lifestyle products, my LTK sources, and my Amazon Storefront.
By making a purchase with one of my affiliate links, I earn a small commission which helps me continue to create meaningful content for you!
I look forward to sharing more of my home with you and inspiring you to have a well loved home!
Follow me on Facebook, Instagram, Pinterest, and LIKEtoKNOW.it.
xoxo, Heidi

Don’t forget to pin this for later!
Shop this post


Thank you Donna!
This is such a cute ghost Heidi! I love a good PB dupe! I’m going to share it in my weekly newsletter on Friday! Have a great week!
This is so easy Cindy! Thank you!
Such a fun idea! Stuff like this always intimidates me but it looks easy enough. My daughter will love this. So cute!
Thank you!
Such a cute idea. I love it.