
How to Make an Easy DIY Halloween Garland in Minutes
Learn how to make an easy DIY halloween garland in minutes with only a few supplies. This ghost garland is the perfect craft to add cute spookiness wherever it is hung!

As a fan of all things cozy, the Halloween decorations in our home tends to be on the spooky side rather than the scary.
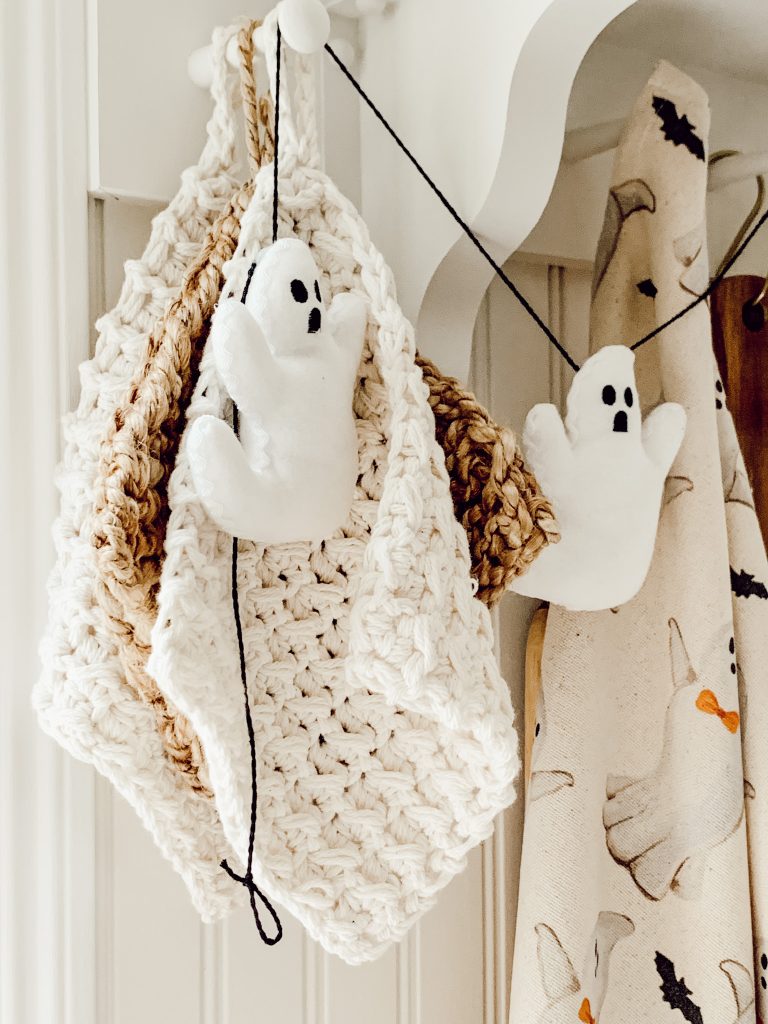
When I saw these adorable fabric stuffed ghost picks at Michael’s, I knew they would be the perfect spooky addition to our holiday decor. I bought every single ghost pick they had in the store (In full transparency there was only 6!).
My vision for these adorable stuffed ghosts…an easy halloween garland!
Before we discuss this DIY project, can we take a second and talk about why I am obsessed these little stuffed ghosts?
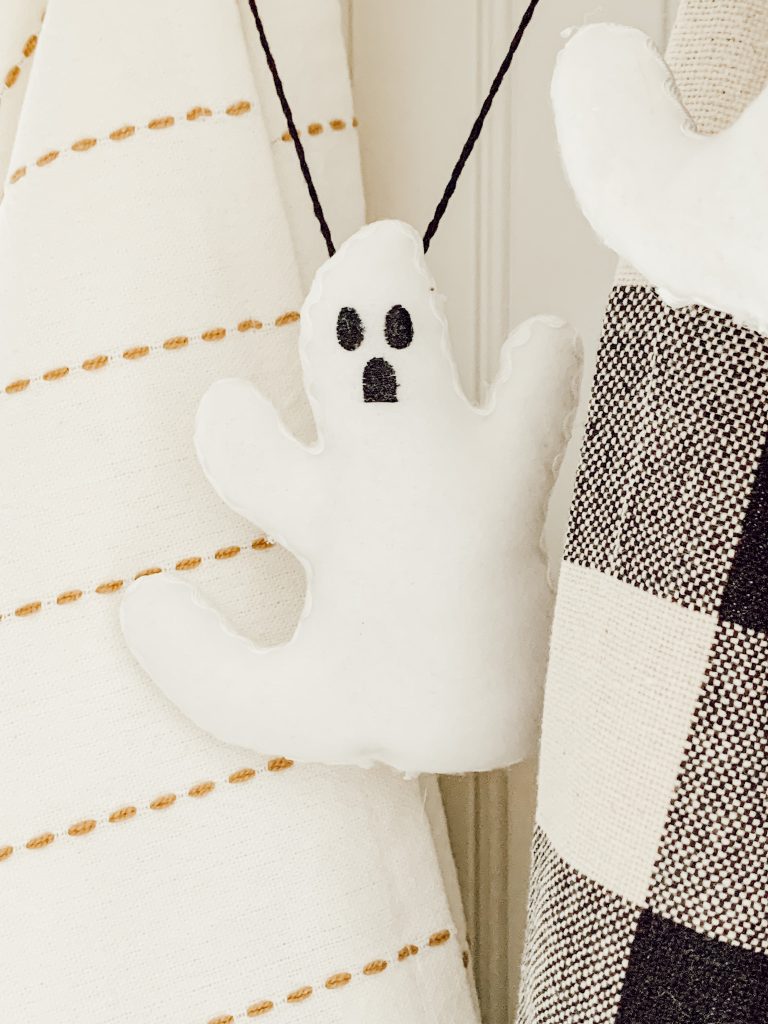
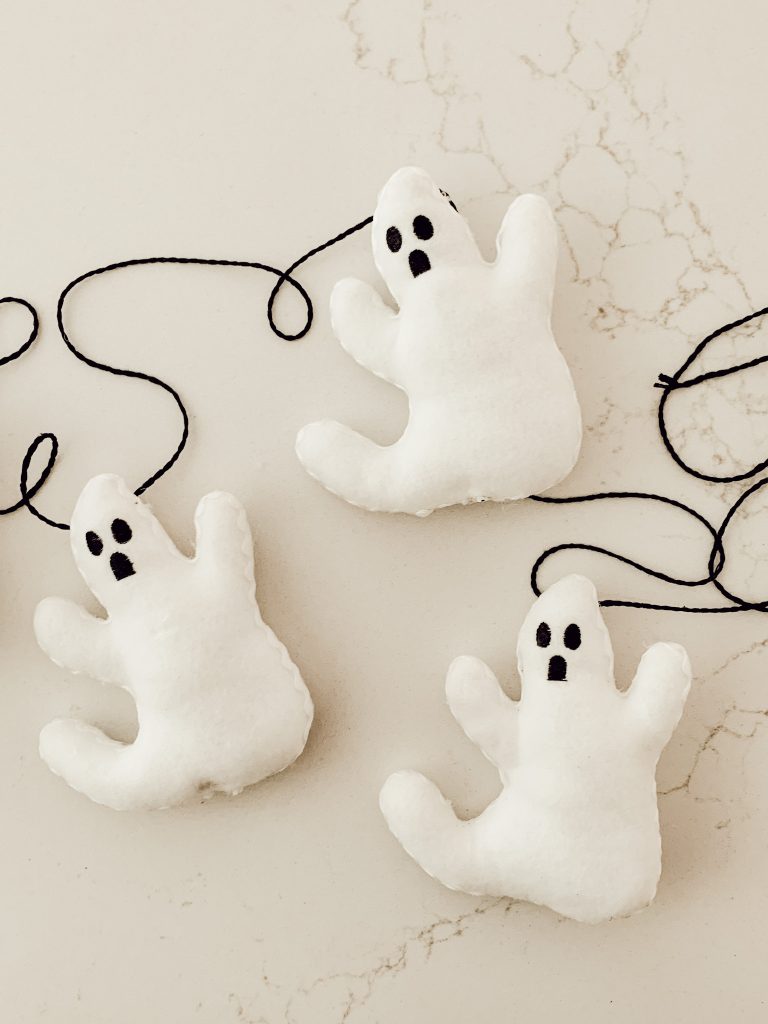
There is a lot to love about these little guys between their small size, puffy shape, and adorable ghostly faces. But what I love the most about them…the rick-rack edges!
Can you stand the cuteness?? It’s the cutest and coziest detail to these adorable, spooky little ghosts.
Now that we’ve established how much I adore these little guys, let’s turn them into an easy garland for Halloween decorations.
Here’s Why You’ll Love This Inexpensive Craft Project
Hey friend! What can I help you find?
Search our entire site!
What You’ll Need to Make This DIY Halloween Decor
All you need are a few supplies, all of which can be found at your local craft stores, to make this spooky garland.
- Ghost Picks
- Roll of Black Twine or Black Yard
- Pair of Scissors
- Measuring Tape
- Hot Glue Gun
Shop Halloween Garland Supplies

How to Make This Easy Halloween Garland
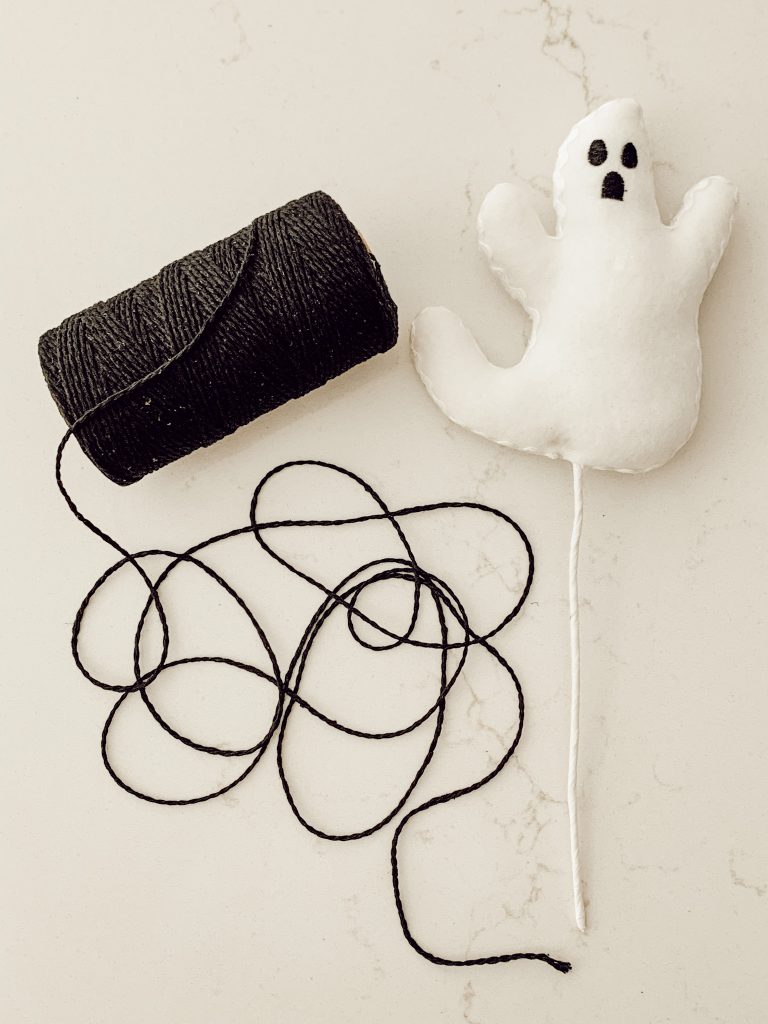
To start your own halloween garland, you will need to remove the stick on the bottom of each ghost. The easiest way to do this is by twisting and turning the stick until it becomes loose enough to easily remove.
If the stick is hard to remove, you can take a wire cutter and cut the stick as close to the ghost as possible. Then, either remove the rest of the stick from the ghost or push the rest of the stick inside of the ghost further until it disappears.
Roll out the twine into a straight line on a flat surface. Leave about 1 foot of extra twine at the start of your garland.
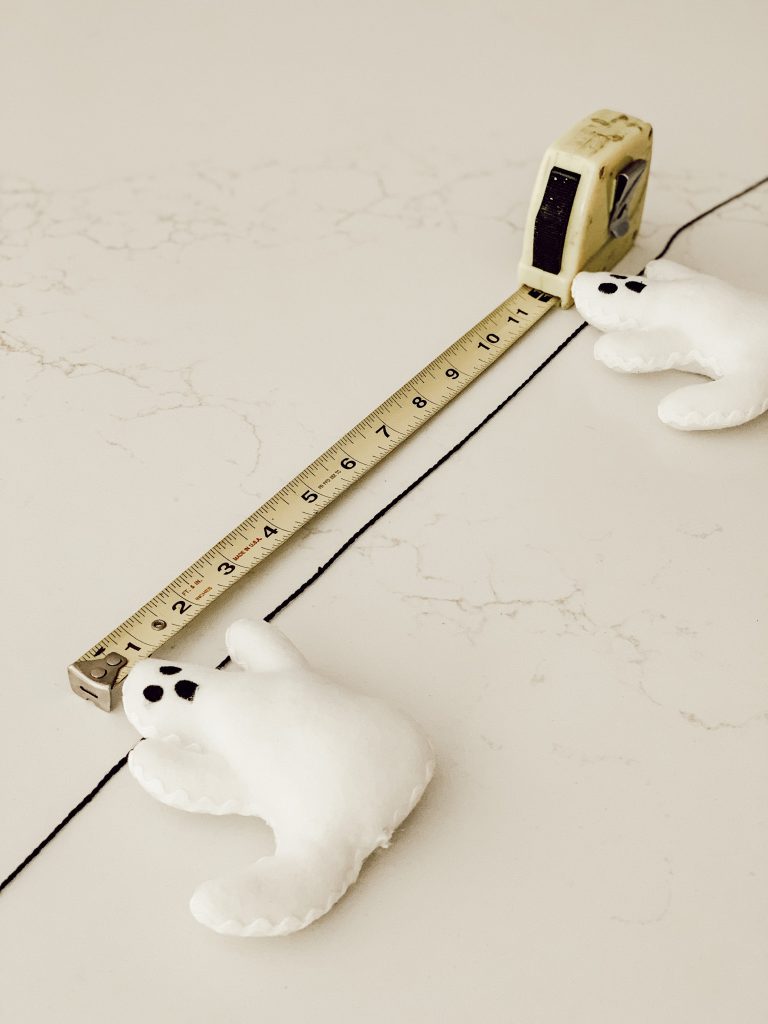
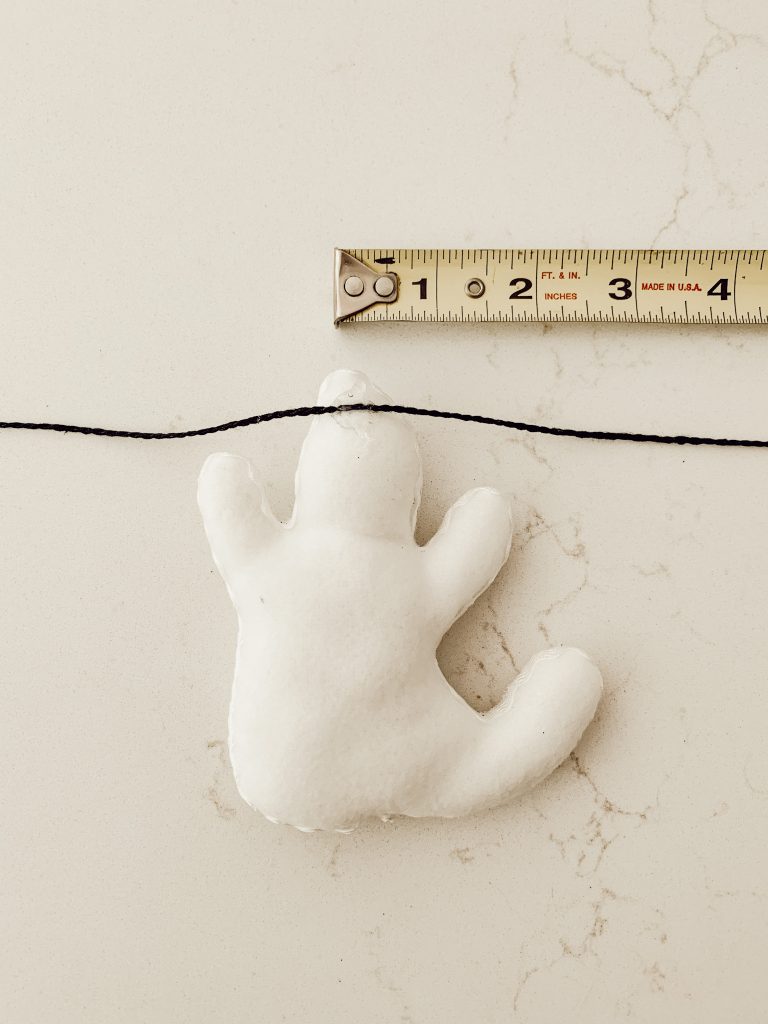
Place your first ghost on the piece of twine, measure out about 12 inches from the first ghost, and then place your next ghost. This will give you an idea of where you want to glue your ghosts to the twine.
I liked spacing the ghosts 12 inches apart, but you could certainly place the ghosts closer or further apart depending on your preference.
Flip your first ghost over and place a small dollop of hot glue on the back of the ghosts head. Quickly and carefully place the black twine into the hot glue. Using the end of the hot glue gun, smudge the hot glue so the twine is fully emerged into the glue.
Allow glue to fully dry (takes just a minute or two) before moving onto the next ghost.
Continue hot gluing each ghost to the twine. Measuring about 12 inches between each ghost.
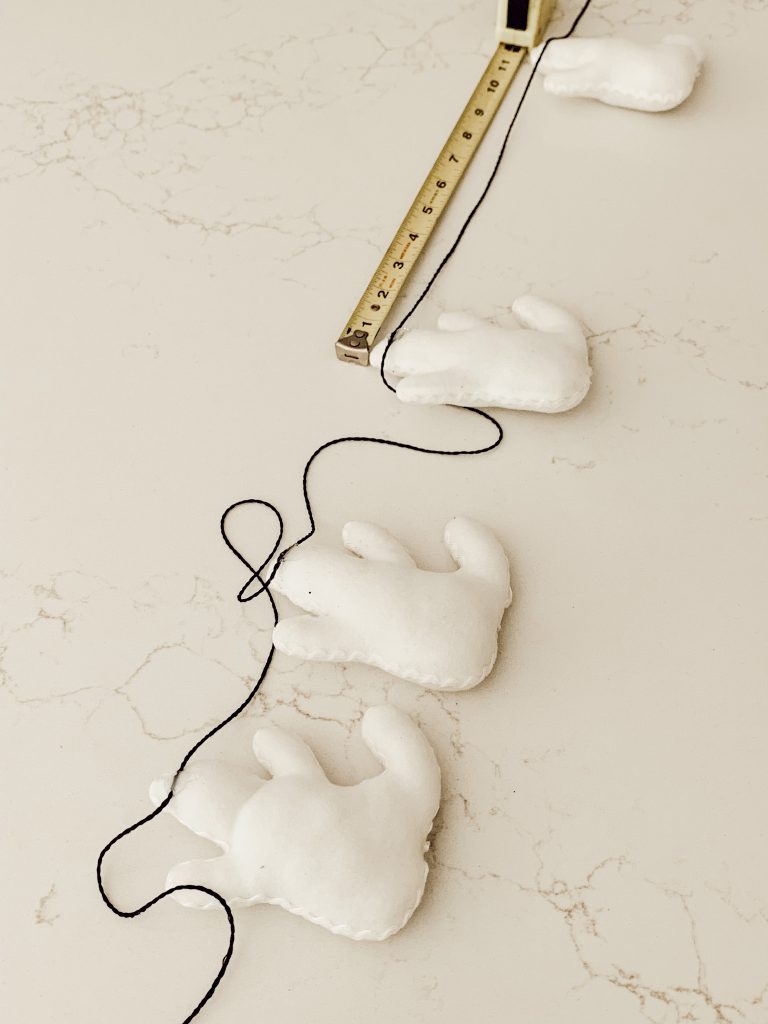
Once you have hot glued the sixth and final ghost to the twine, leave about 1 foot of additional twine at the end of the garland.
Add a small loop to both ends of the twine tied in a double knot to finish the garland. The finished garland will be about 6 1/2′ in length.
Tip
- Don’t limit yourself to just ghosts. Mix up your Halloween garland by incorporating other Halloween themed elements, such as bats, black cats, or witch hats. This allows you to infuse your personal style and create a truly unique decoration that stands out.
Where to Hang Your DIY Garland for Halloween Fun
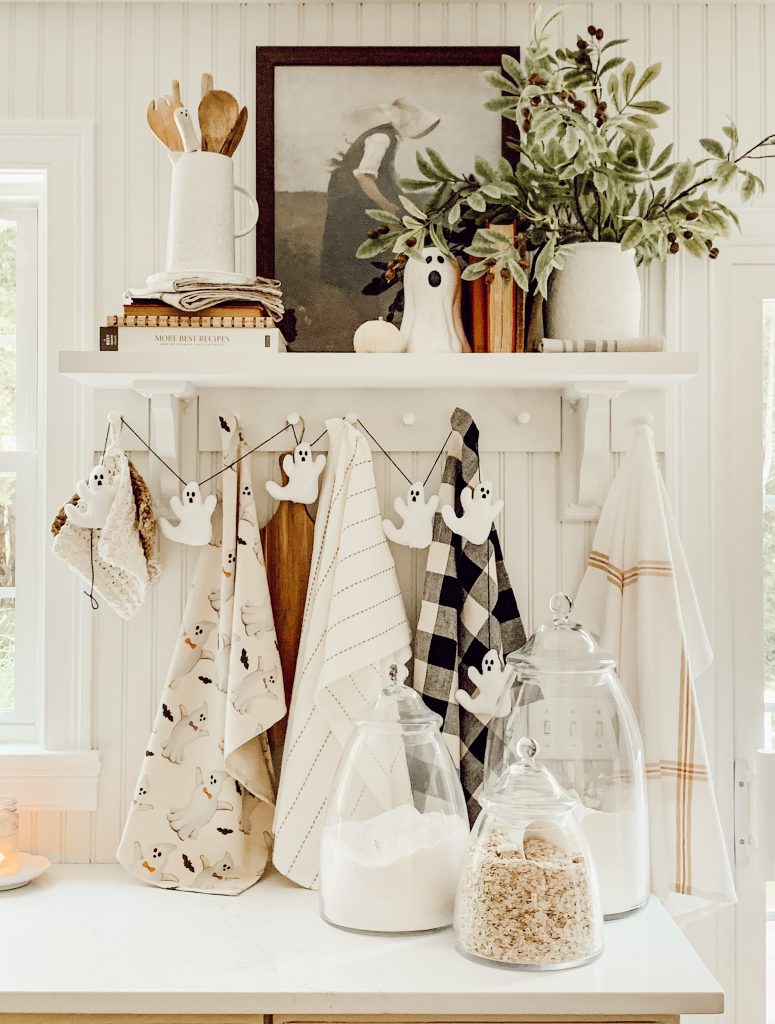
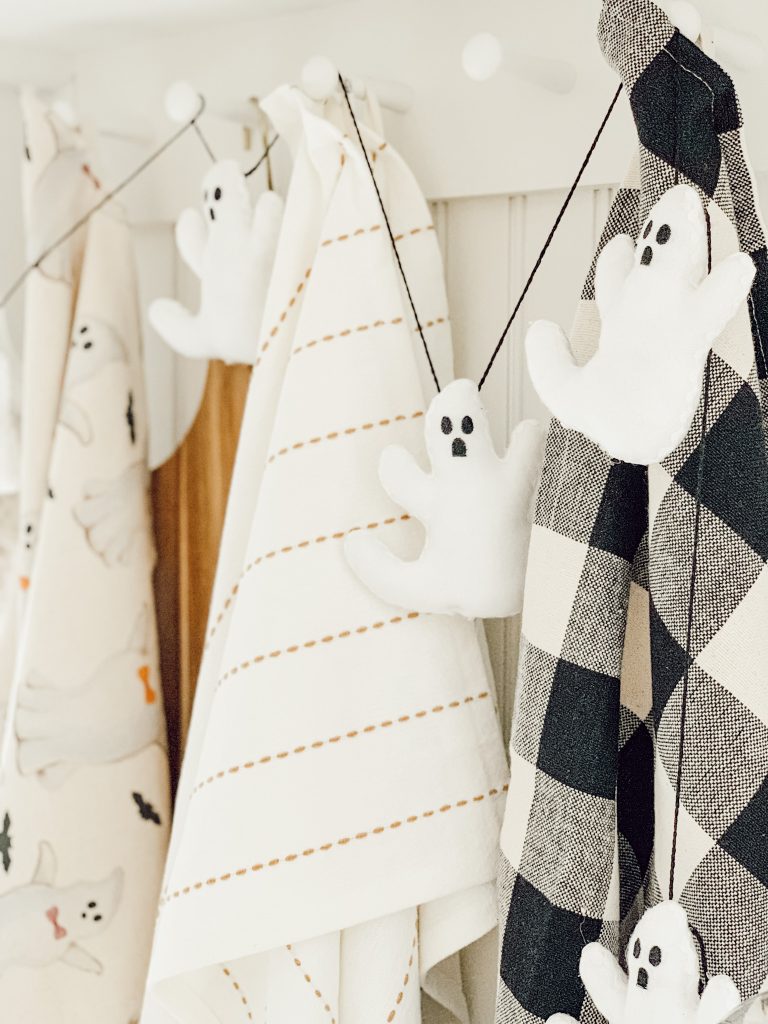
I hung our ghost garland on our peg rail in the kitchen. The garland looks so cute & cozy hanging with our Halloween hand towels!
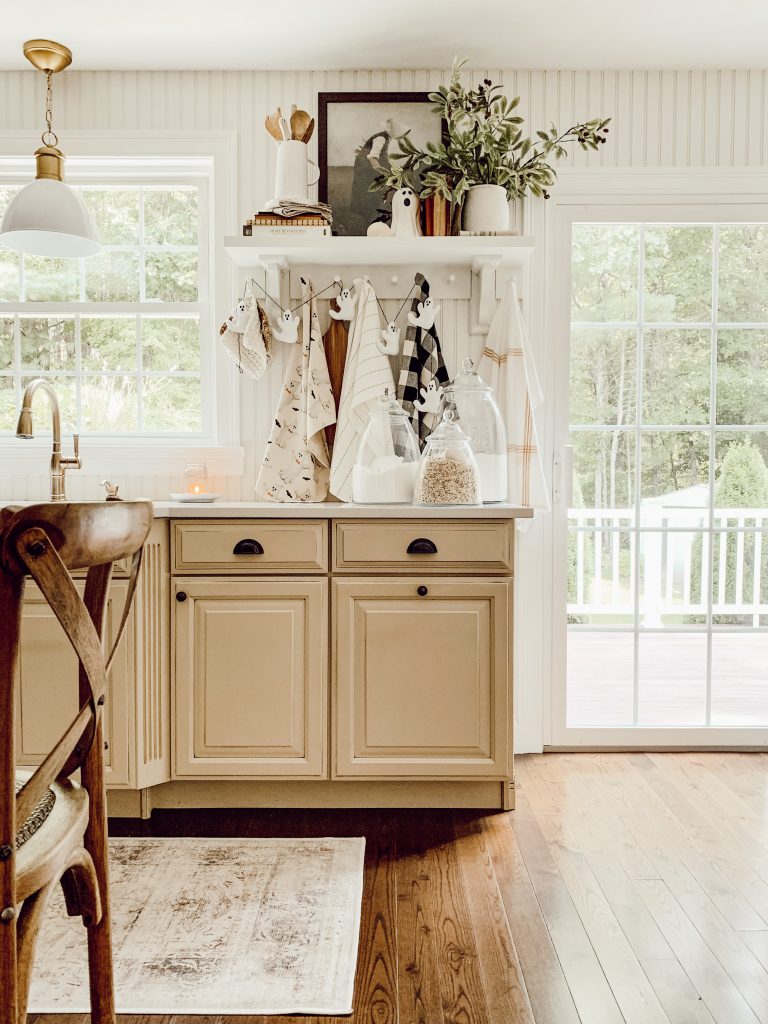
But, the beauty of this DIY Halloween garland is that you can hang in any part of your home. It can be hung in various areas to infuse your space with cute, festive, and spooky ambiance.
- Fireplace Mantel: Drape your garland along the mantel’s edge for a focal point that sets the Halloween tone in your home.
- Front Porch: Greet trick-or-treaters and guests with a touch of Halloween spirit by hanging your garland across the front porch railing or above the entrance.
- Staircase: Drape the garland along the railing of a staircase.
- Doorway: Frame your front door with the garland to create an inviting entrance.
- Party Decor: If you’re hosting a Halloween party, drape the garland on a dining table or weave through a tablescape.
Other Halloween Craft Ideas
These adorable little stuffed ghosts can be used in a variety of creative Halloween crafts beyond just this garland.
Here are some other fun craft ideas:
- Craft a wreath using a foam or wire wreath base. Attach the mini stuffed ghosts to the wreath with hot glue.
- Create a whimsical ghost mobile by hanging the stuffed ghosts from a hoop or a branch.
- If you have a small decorative tree, hang the stuffed ghosts from its branches to create a haunted tree display.
- Attach the mini stuffed ghosts to the tops of Mason jars or glass containers. Fill the jars with Halloween themed items like candy, decorative pebbles, or LED lights.
- Use the mini stuffed ghosts as table decorations for a Halloween party.
This DIY ghost in a cloche is another simple project for Halloween that’s fun and spooky too.
you might also
Enjoy These Posts
Shop My Favorite Products
Shop my favorite home decor & lifestyle products here, my LTK sources here, and my Amazon Storefront here. By making a purchase with one of my links, I earn a small commission which helps me continue to create meaningful content for you!
I look forward to sharing more of my home with you and inspiring you to have a well loved home! Follow me on Facebook, Instagram, Pinterest, and LIKEtoKNOW.it.
xoxo, heidi
Don’t forget to pin this for later…
shop the post


Heidi this garland is adorable! Just pinned it too!
Thank you Cindy! I just love those little guys!!!
Thank you Sandi! I hope your Michael’s has them, they are so cute!!!
Hi Cindy! I am not a Halloween person either, but I just love these little ghost!
That is definitely adorable! Great tutorial and I love where you hung it. So stinkin’ cute!
This is my kind of Halloween. I’m not a Halloween person but this is adorable.
Pinned
Heidi, this is so adorable! I’m going to see if my Michaels still have the little ghosties (as I call them) Of course your kitchen is so precious without them!