
How to Make a Homemade DIY Candle in an Old Tea Tin
 Shop This Post

Follow this easy tutorial on how to make a homemade DIY candle using a tea tin. Discover the joy of repurposing while creating a warm and inviting atmosphere in your home or use as personalized gifts for your loved ones.

Tins, boxes, and bags of tea are something I always have in our house.
I’ve been a tea drinker since first sipping on homemade sun tea during the hot months of summer as a child. There is something so comforting to me about the bitter, refreshing taste of tea.
My love of tea (hot or iced) has carried into adulthood, offering comfort during cold winter nights and a refreshing escape on warm afternoons.
However, as much as I love my tea collection, I’ve recently found a new way to appreciate the tea containers in my cupboard by transforming them into charming homemade candles.
Join me as I show you how to easily turn ordinary tea tins into vessels of warmth, light, and coziness.
Let’s dive into the steps of making your own DIY candle, transforming the tea tins that most of us probably have in our homes, into sources of comfort or perfect gifts for family and friends.

What You’ll Love About This DIY
How to Make a DIY Candle in a Tea Tin
Crafting your own homemade candle in a tea tin is a rewarding and fun project, and gathering the right supplies is the first step towards creating a personalized masterpiece.

Supplies You’ll Need to Make a Homemade Tea Tin Candle
Keep in mind that the size of the tea tin you decide to use will influence the amount of wax you’ll need.
I used a 2.8 ounce tea tin which needed about 3 16-ounce bags of candle wax to fill the tin (there was a little leftover to fill a smaller tin).
The supplies you’ll need…
tools you’ll need
*If you make a purchase using one of these links, I may receive a small commission. This does not add any cost to you, but helps me to continue to create & share meaningful content. Thank you for supporting my small business!se.
I’m Heidi, the heart and hands behind Eleanor Rose Home.

I’ll show you that your home can become a place of warmth, comfort, and style with practical tips, creative ideas, and my own journey to help you create a space that feels like you…welcoming, personal, and full of charm.
Step by Step Guide on How to Make a DIY Candle in a Tea Tin
Here’s the tutorial on how to transform a humble tea tin into a charming homemade candle. Each step of this project is easy and enjoyable.
Get ready to light up your space with the warm glow of your own DIY candle!
cozy ideas delivered to your inbox
When you join our newsletter!
Step 1: Choose Your Tea Tin
Start by selecting an empty tea tin that speaks to you.
Whether it’s a thrift store find or a tin adorned with intricate patterns, the possibilities are endless.
The tea tin will not only serve as a vessel but will also add a personal touch to your homemade creation.
Step 2: Melting the Wax
Place soy wax melts into a microwavable bowl. I used a Pyrex measuring cup so that I could easily pour the melted wax into the tea tin.
Microwave the soy wax for 1 minute then stir.
Microwave for another minute, stir, and then microwave the wax in 30 second increments until it is completely melted and in liquid form.
Place the melted wax off to the side and allow to cool slightly. Wax will become slightly cloudy as it cools.
Step 3: Place the Candle Wick Inside the Tea Tin
With a glue gun add a small dab of hot glue to the bottom of the candle wick (the metal part) or I used a double sided sticker that came with the candle wicks to secure the wick to the bottom of the tin.
Handy tip!
Here’s an easy way to secure the wick to the bottom of a deeper tea tin. Grab the cover of a meat thermometer, slide the wick through the cover, press the cover with the wick inside down to the tin’s base, and then simply slide the cover off. This technique not only ensures a centered and secure wick placement but also makes the process so much smoother.
Step 4: Pour the Wax
Carefully pour the melted wax into the tea tin, ensuring the wick stays centered. Use a wick holder or popsicle stick to keep the wick in place as the wax cools and solidifies.

Step 5: Allow the Candle to Set & Trim the Wick
Allow your candle to set and fully solidify for about 24 hours, then trim the wick to your desired length using a wick trimmer.
Get ready to enjoy the cozy glow of your homemade candle!
Helpful Tips
- Use hot glue or a candle sticker to secure the wick to the bottom of the tea tin. This prevents the wick from moving during the pouring and setting process.
- Keep the wick centered during the pouring and cooling process by using a wick holder or by simply placing chopsticks across the top of the tin.
- Allow the candle to cool gradually to prevent cracks in the wax. Avoid placing it in a drafty or overly cool area during the setting process.
- Once the wax has set but is still slightly soft, you can add decorative natural elements like dried flowers or herbs to the surface of your DIY candle for a rustic look.
- Trim the wick to about 1/4 inch above the surface of the candle using a wick trimmer after the wax has fully solidified. This helps ensure a clean and efficient burn.

How much wax will I need to fill a tea tin to make a candle?
The amount of wax you will need will depend on the size of your tea tin.
A general rule of thumb is to calculate the volume of the tin and then use approximately 1 ounce of wax per cubic inch.
Can I use any tea tin when I’m making homemade candles?
Yes, you can use any size or shape tea tins for candle making.
Just make sure that they are clean and dry.
Vintage, modern, or decorative tins can all be used for this DIY.
Hey friend! What can I help you find?
Search our entire site!
What type of wax is best for DIY tea tin candles?
Soy wax and paraffin wax are commonly used for tea tin candles.
Each has its own characteristics, with soy being eco-friendly and paraffin offering a longer burn time.

What can I do with the tea tin once the candle has burned out?
Once your tea tin DIY candle has burned out, don’t throw the tin away!
You can repurpose the tea tin in other creative and practical ways.
Here are some ideas:
- Storage Container: Clean the tea tin thoroughly, remove any leftover wax residue, and use it as a storage container. It’s perfect for holding small items like office supplies or trinkets.
- Plant Pot: Drill a few drainage holes in the bottom, add some soil, and transform your tea tin into a unique plant pot.
- Desk Organizer: Store pens, pencils, paperclips, or other office supplies in tea tins for easy access on your desk.
- Bathroom Storage: Use the tea tin to organize and store small items in your bathroom, such as cotton balls, Q-tips, or hair accessories.
- Gift Container: Get creative with gift-giving by using the tea tin as unique packaging for homemade cookies or candies.
- Mini First Aid Kit: Create a compact first aid kit by storing bandages, antiseptic wipes, and other small medical supplies in the tea tin. It’s portable and convenient too!
- Craft Supplies Organizer: Corral small craft supplies like buttons, beads, or thread in the tea tin. It not only keeps things organized but also adds a decorative element to your crafting space.

Did you make this craft?
Mention us @eleanorrosehome or tag us using #eleanorrosehome so we can see your creations. You can also leave a comment below!
You Might Also Enjoy
-
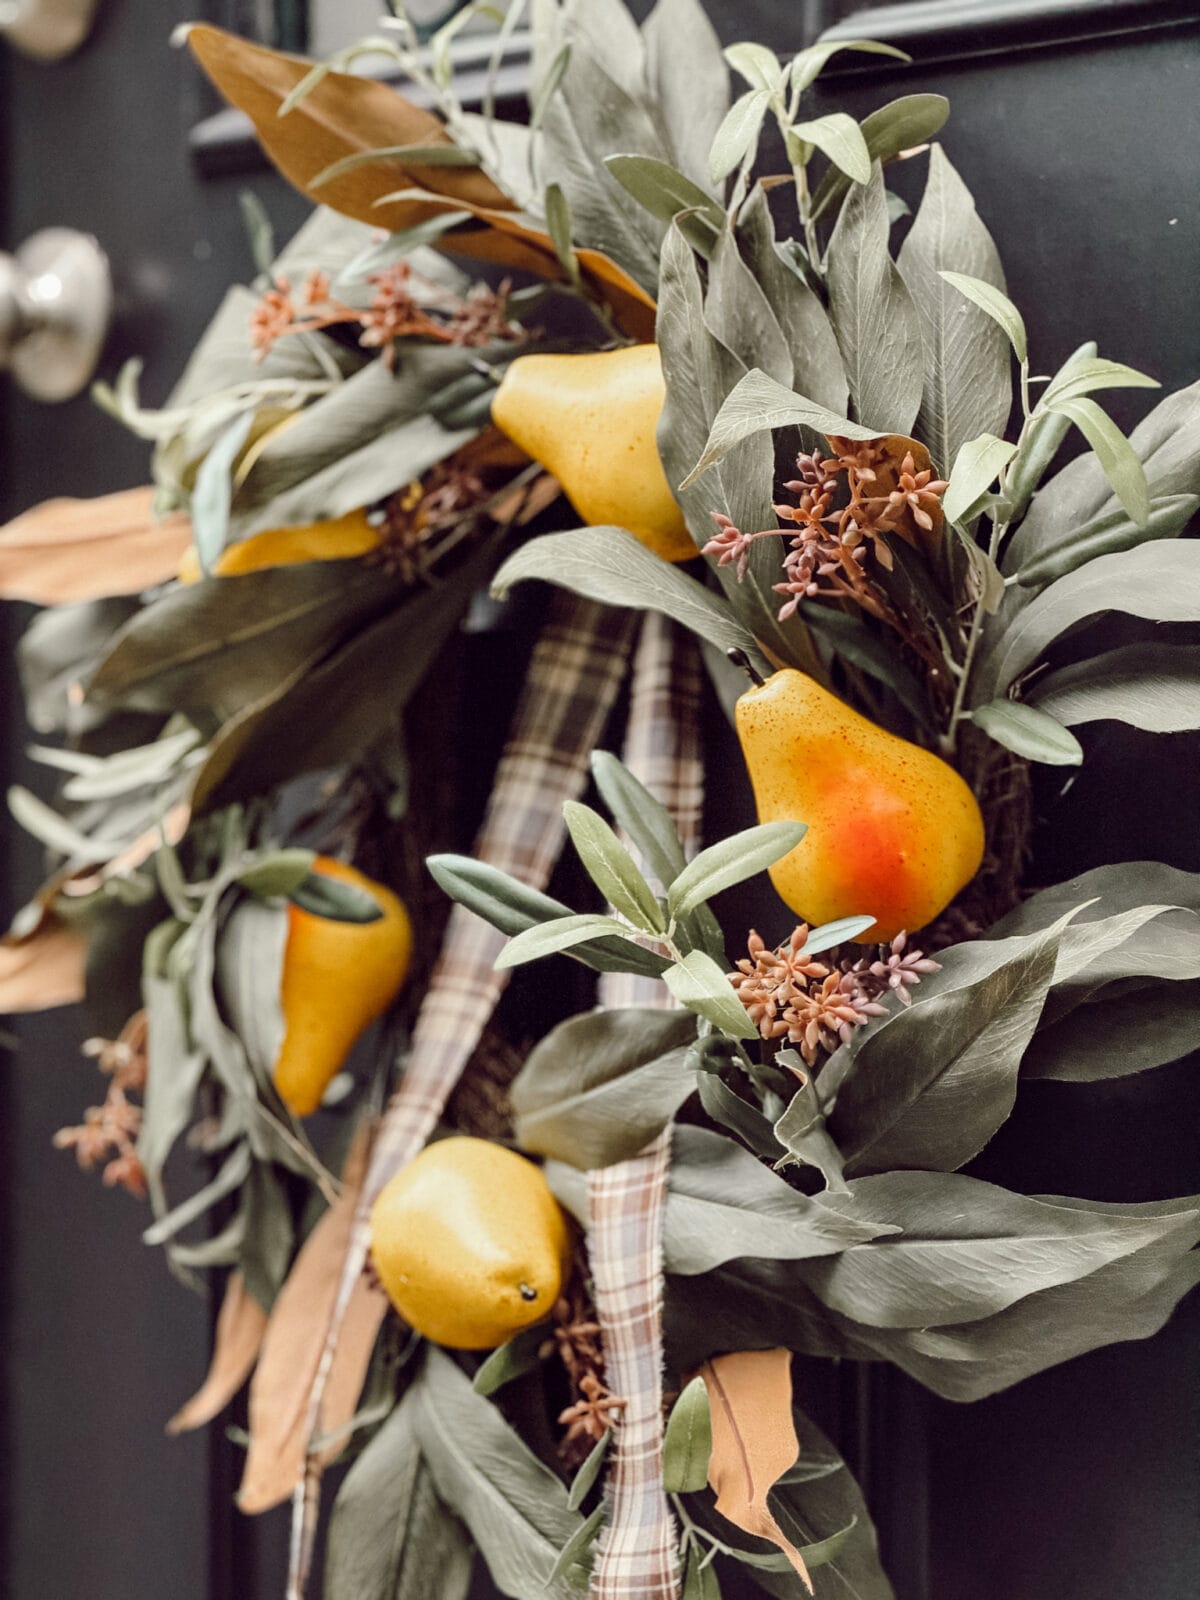
DIY Faux Pear Wreath: A Simple Fall Decor Idea
This DIY faux pear wreath is the easiest fall decor you’ll make all season. A store-bought wreath, faux pears, hot…
-
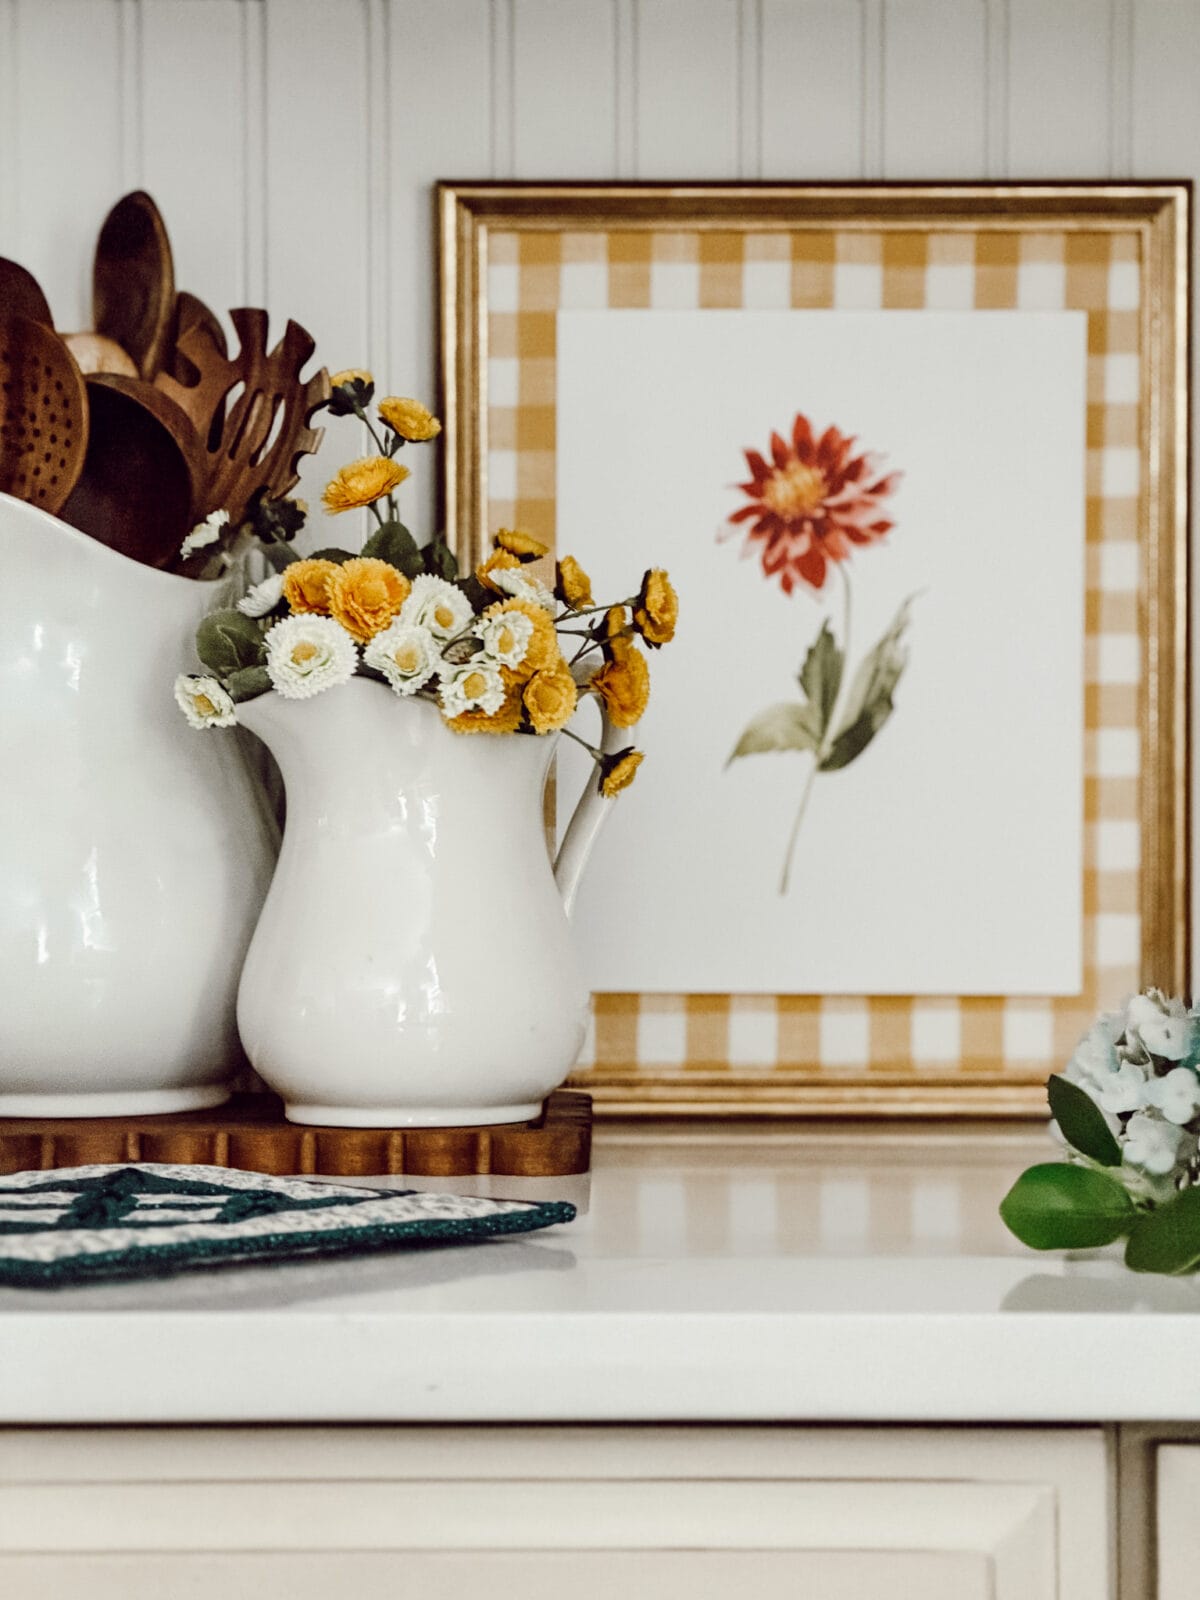
Free Summer Printable Wall Art: 20 Designs for Cozy Summer Decorating
Download and print 20 free summer printable wall art designs including coastal, herb, flower, and vegetable collections. Great for cozy…
-
11+ Easy DIY Patriotic Decorations for Your Home
These simple and easy DIY patriotic decorations are perfect for adding red, white, and blue charm to your home. Get…

Shop My Favorite Products
Shop my favorite home decor & lifestyle products, my LTK sources, and my Amazon Storefront.
By making a purchase with one of my affiliate links, I earn a small commission which helps me continue to create meaningful content for you!
I look forward to sharing more of my home with you and inspiring you to enjoy simple cozy living!
Follow me on Facebook, Instagram, Pinterest, and LIKEtoKNOW.it.
xoxo, Heidi


Don’t forget to pin this for later…
Shop this post


I absolutely love this idea Heidi! These tins are the cutest.
I love tea too Laura! This is a fun way to repurpose those tea tins!
Thank you Cindy!
I LOVE tea! You have no idea. But, I have never seen these tea tins before. I am so excited to try them out because the tins are so cute!
Well if that isn’t the cutest idea ever! And it’s perfect for all of spring. You make me realize I need to stop throwing things away. Love it! pinned