

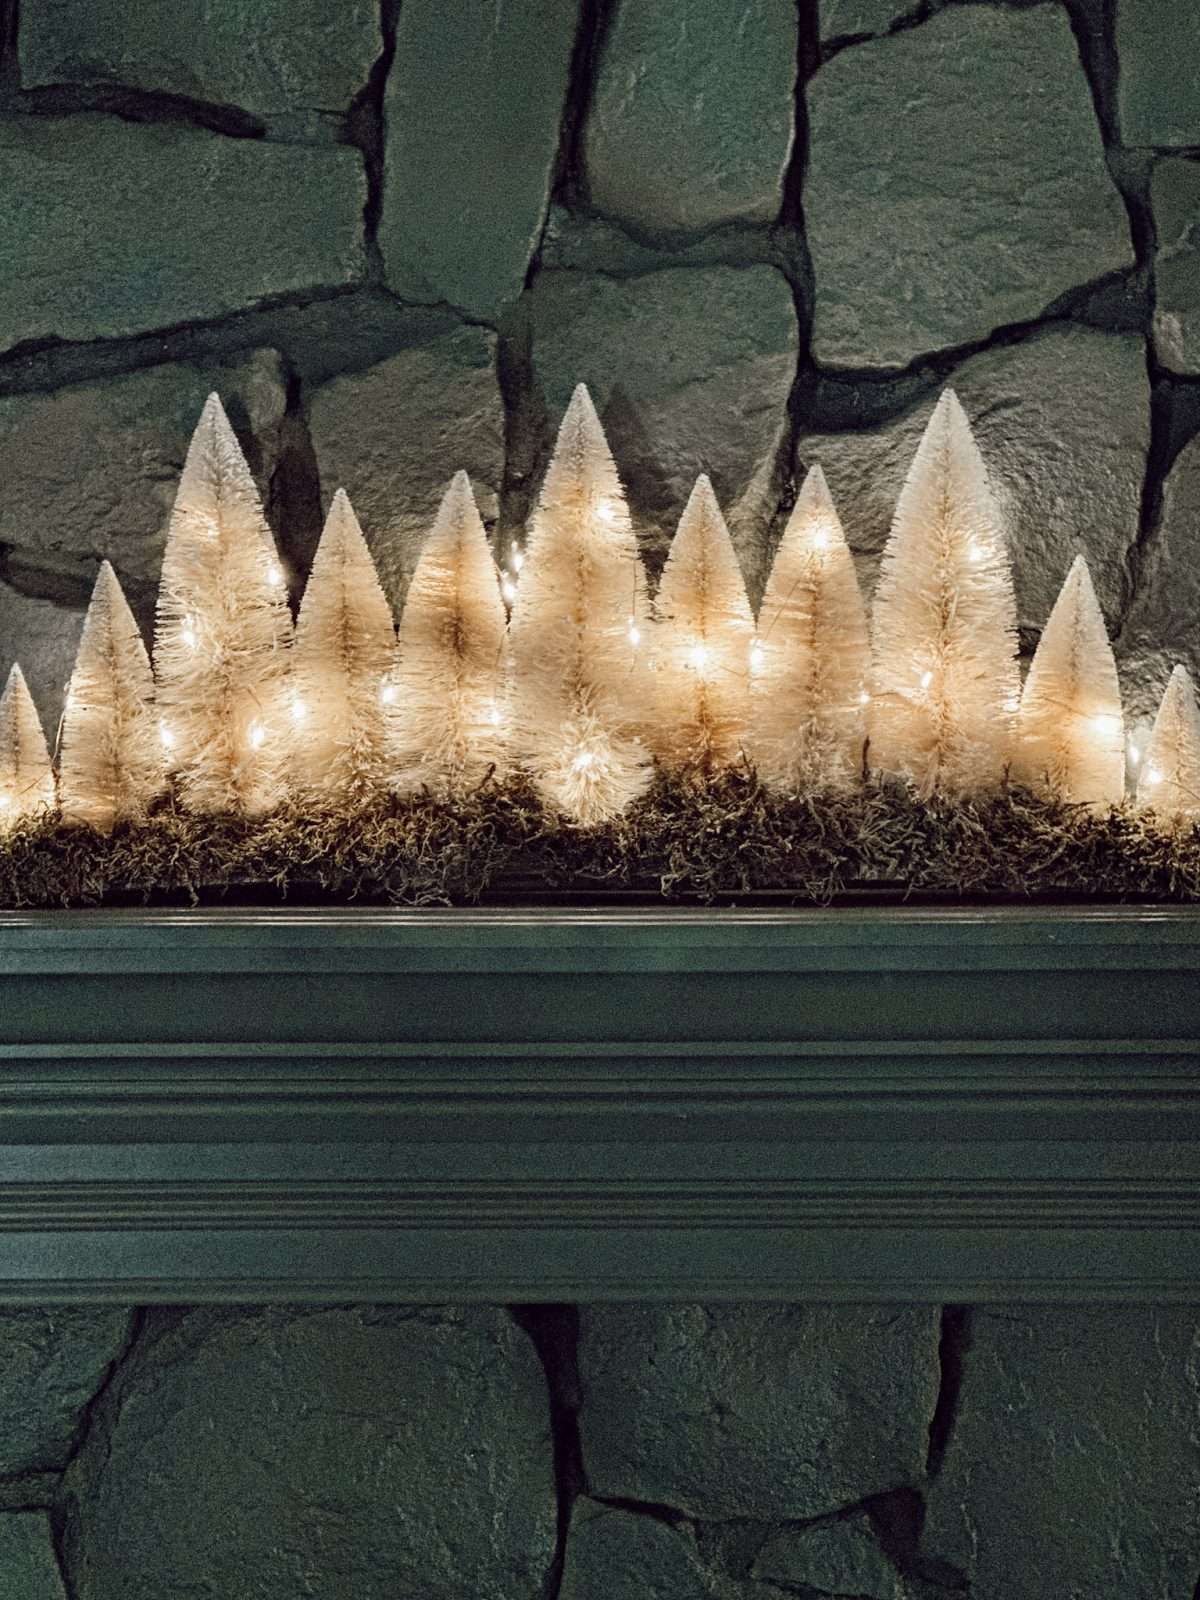
DIY Christmas Centerpiece on a Budget: Anthropologie Dupe
Create a beautiful DIY Christmas centerpiece on a budget with this easy Anthropologie inspired tutorial using bottle brush trees, moss, and fairy lights.

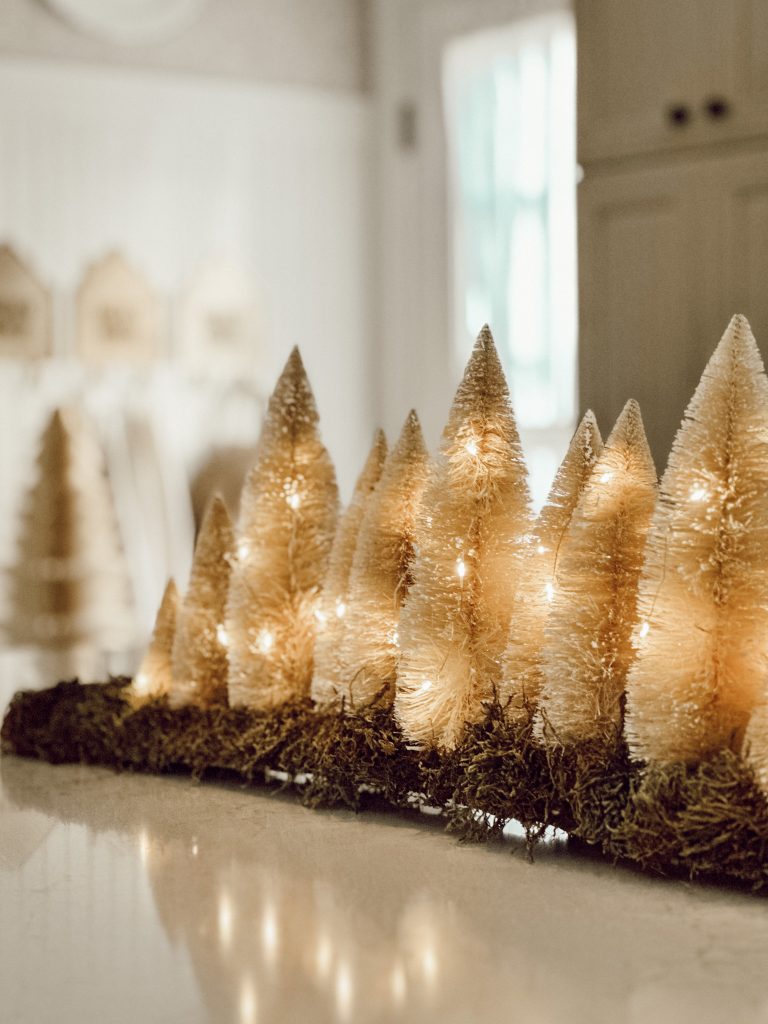
I’ve had my eye on this charming mossy bottle brush tree centerpiece from Anthropologie for weeks now.
It’s the perfect mix of rustic and cozy, but when I saw the price tag, my mouth literally dropped.
$118 bucks for a Christmas centerpiece??!!
Ummm yea…no thank you!
So, instead of wishing I was a millionaire, I decided to get crafty and make my own version at a fraction of the cost.
The best part about this DIY project is that not only was I able to save a little bit of money, but it also allowed me to put a personal touch on our holiday decor.
And let’s be honest, nothing beats the satisfaction of creating something beautiful with your own two hands.
With just a few supplies, I was able to create a cozy, charming Christmas centerpiece that looks just as dreamy as the Anthro original, but for way less!
Is this Anthropologie inspired centerpiece worth DIY’ing?
Sometimes I’m asked, “Is this DIY really worth the time? Wouldn’t it be easier to just spend the money on the original?”
And honestly, I get it.
Life is busy, and it can be tempting to click ‘add to cart’ instead of diving into a craft project.
But here’s the thing…this project took less than an hour of my time, cost under $50, and I got to enjoy the simple act of creating something for our holiday decorations.
Sure, you could spend $118 for the Anthropologie version, but why not save some money and enjoy the creative process this holiday season?

What you’ll love about this diy:
Materials You’ll Need for This DIY Project
Gather these materials to create a beautiful and budget friendly DIY Christmas centerpiece…
SUPPLIES YOU’LL NEED

*If you make a purchase using one of these links, I may receive a small commission. This does not add any cost to you, but helps me to continue to create & share meaningful content. Thank you for supporting my small business!
How to Make This Unique Christmas Centerpiece
Now that you’ve got all your craft supplies ready, here are the simple steps to create this Anthro inspired Christmas centerpiece to bring cozy, holiday charm to your home.
ELEANOR ROSE HOME FOR THE HOLIDAYS
Christmas Decor, DIY’s, Recipes, & More!
Find everything you need for the most wonderful time of the year.
Step One. Prepare the Wooden Base
Start by finding or cutting a piece of wood that will serve as the base of your centerpiece.
It can be a reclaimed piece of wood, a wooden slab, or any sturdy piece you have on hand.
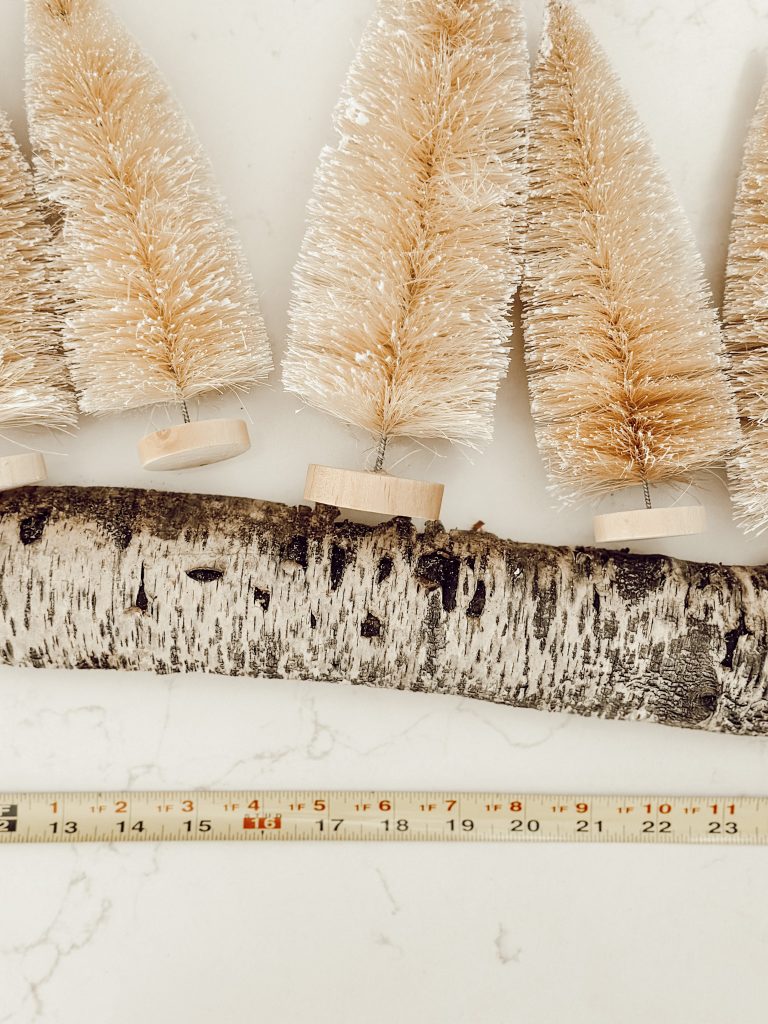
Make sure it’s about 36″ long so you can recreate the rustic woodland look of Anthropologie’s centerpiece.
I left our wooden birch wood base unfinished with the bark still attached ( I like how rustic it looks) but you could also stain or paint the base if you like.

Note: You can use a basic 2×4 for this project! If you don’t have a saw to cut it down to your desired length, most Home Depot or Lowe’s stores will cut it for you, just ask an associate for help.
Step Two. Attach the Bottle Brush Trees
Once your wooden base is ready, grab your assortment of bottle brush trees in varying heights and sizes.
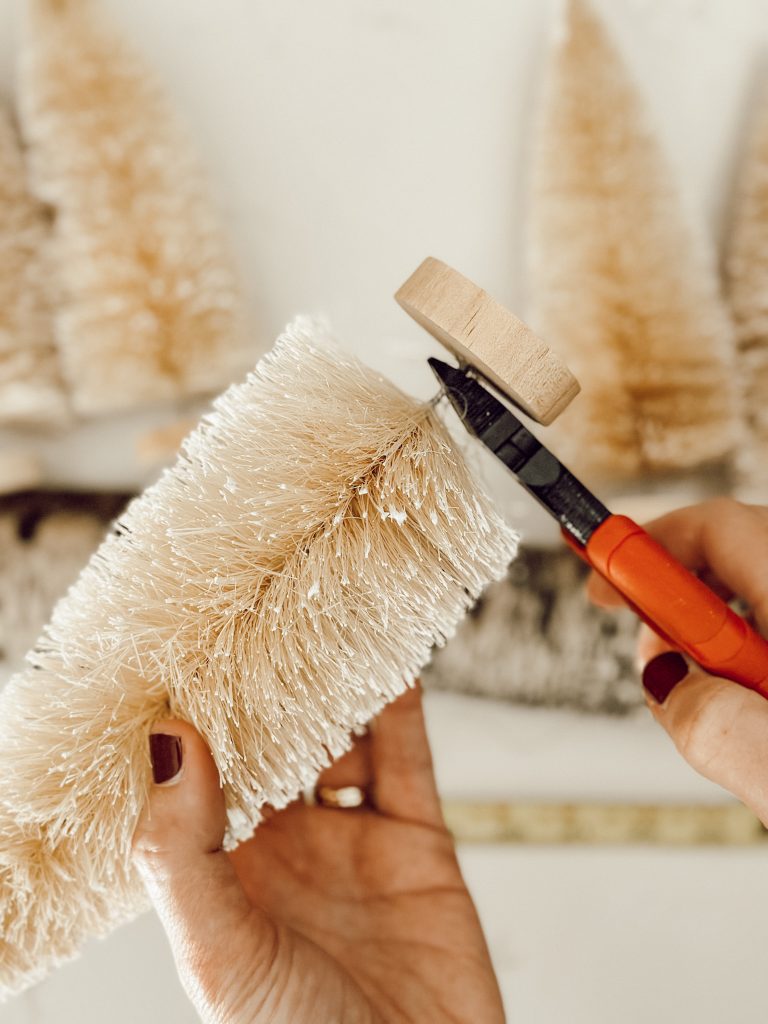
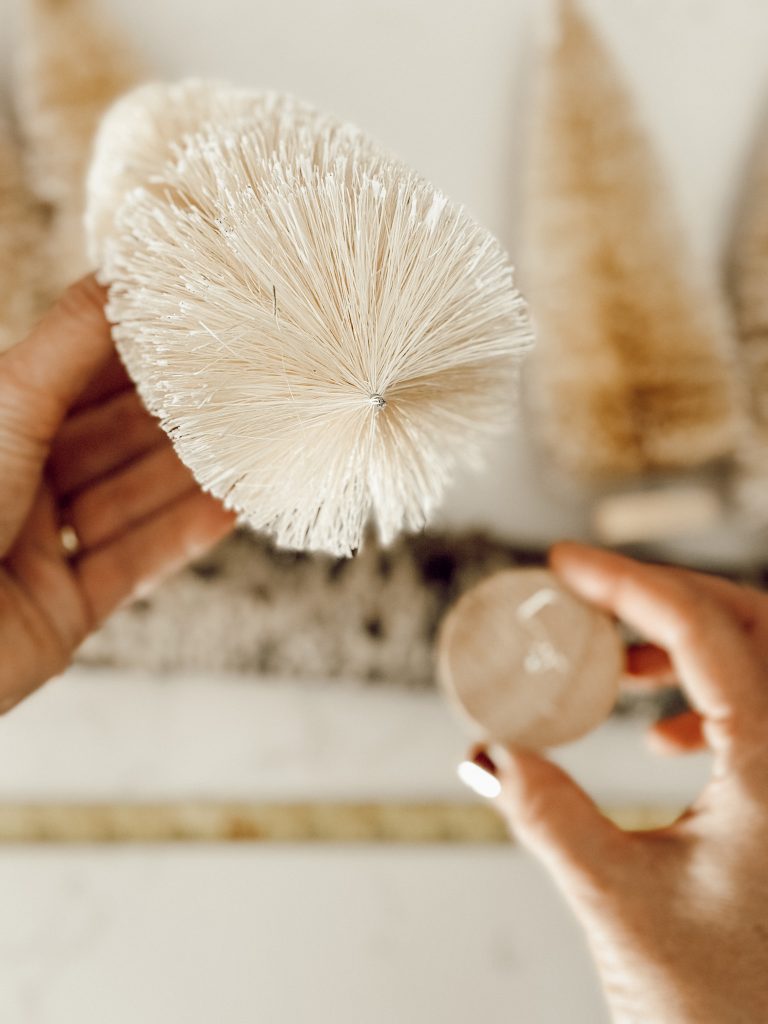
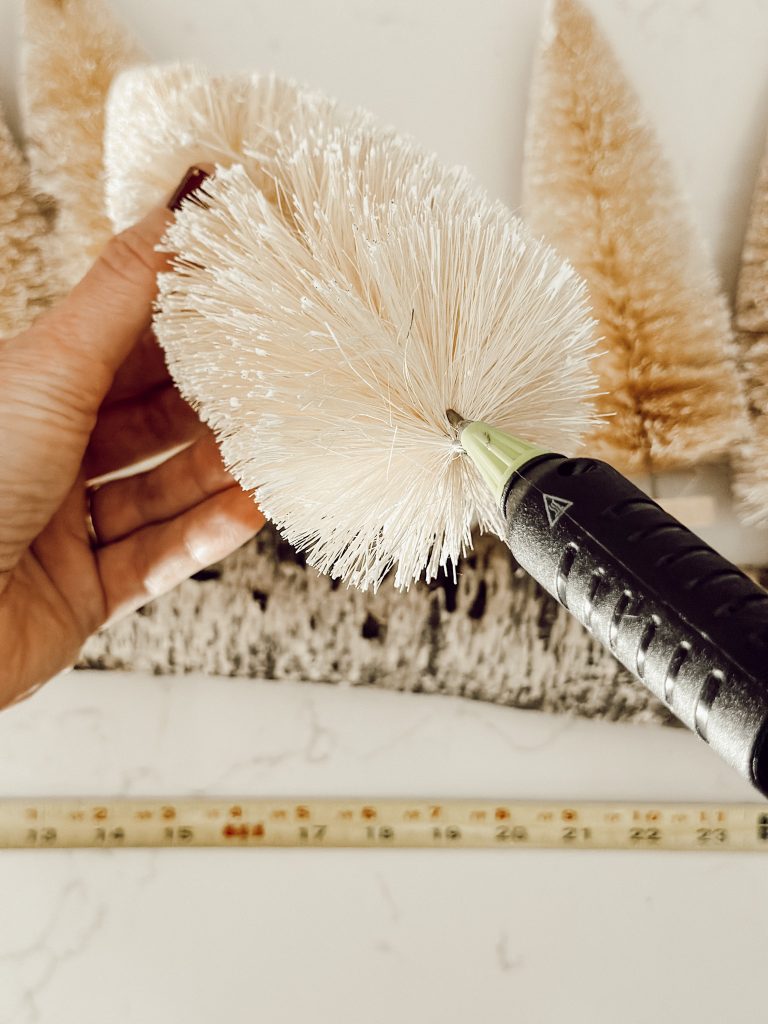
Using the pliers or wire cutters, cut off the wooden base at the bottom of the trees.
To make sure the trees would be centered on the log, I used a tape measure to find the middle.
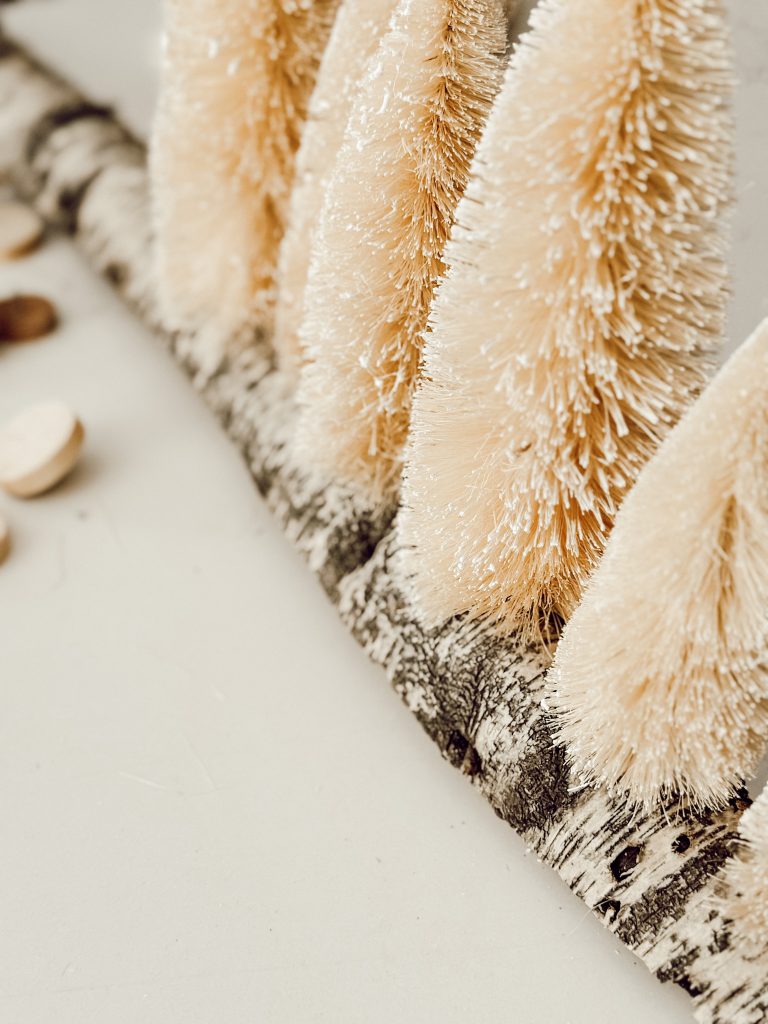
Using a hot glue gun, I attached one of the 10″ trees to the wood, at the center of the centerpiece.
Then, I glued the trees to the right of the center tree, and then did the same thing on the left side.
Don’t worry about being too precise, a little asymmetry adds charm and character!
Step Three. Add Moss
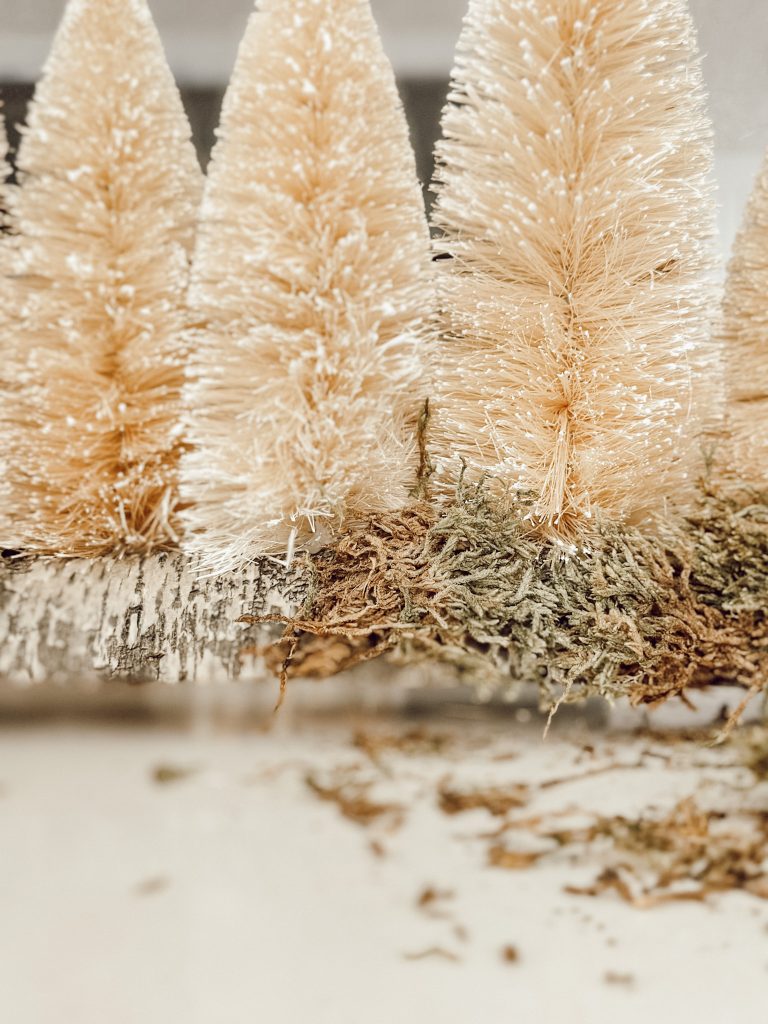
Next, with a little hot glue take the moss and tuck it under the trees, covering the exposed wood.
The moss will give your centerpiece a soft, natural look while hiding any glue or rough spots on the base.
This step really brings the woodland vibe to life and adds a layer of texture that makes the entire piece feel extra cozy and festive.

Download Our Free Cozy Magazine
Step Four. String The Fairy Lights Through the Trees
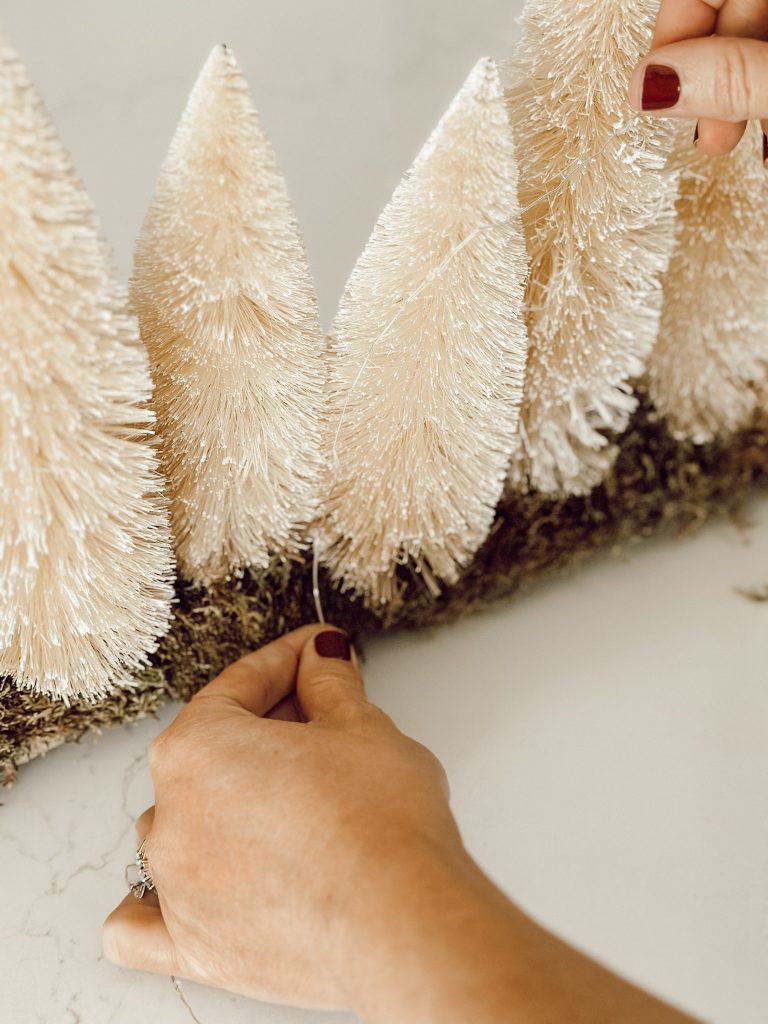
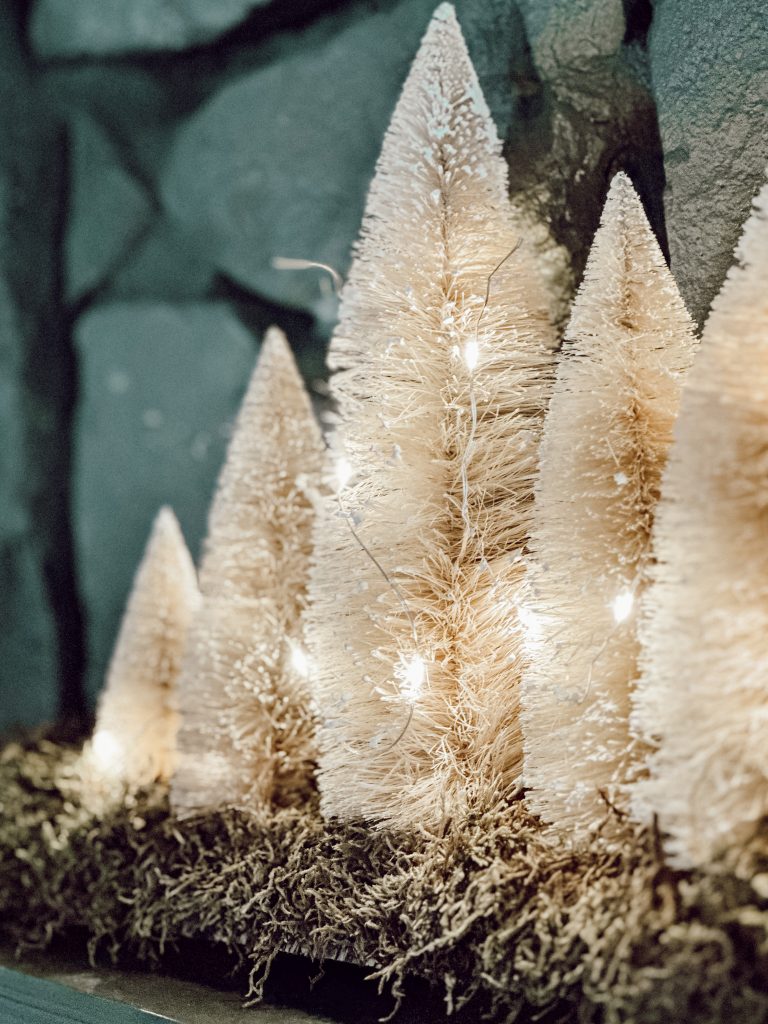
Starting from one end of the wooden base, carefully weave the string lights through the bottle brush trees.
Make sure the lights wrap around the trees and tuck in the wire as much as possible.
You can also secure any loose wires with a dab of hot glue to keep the light strand looking neat and tidy.
Step Five. Light Up & Enjoy
Once everything is in place, add batteries to your fairy lights, and voilà!
You’ve just created a stunning Christmas centerpiece that looks like it came straight out of Anthropologie’s website.
Tips
- Customize the centerpiece with bottle brush trees in colors that match your holiday decor. Green or red trees would be a great way to add pops of color…or maybe a combination!
- Mix tall and short bottle brush trees for depth and dimension.
- Make the centerpiece as long or short as you like to fit your dining room table or mantle.
- Conceal the LED string lights battery pack under the moss or behind the centerpiece for a clean look.
- Include other embellishments like small pine cones, mini ornaments, or pine branches for extra texture and charm.
Where can I display my Christmas centerpiece?
The great thing about this Christmas decoration is that you can display it in a number of different places throughout your home to add a festive touch.
- Dining Room Table: Use it as the focal point for your holiday tablescapes.
- Coffee Table: Place it on your living room coffee table for a warm, inviting holiday vibe.
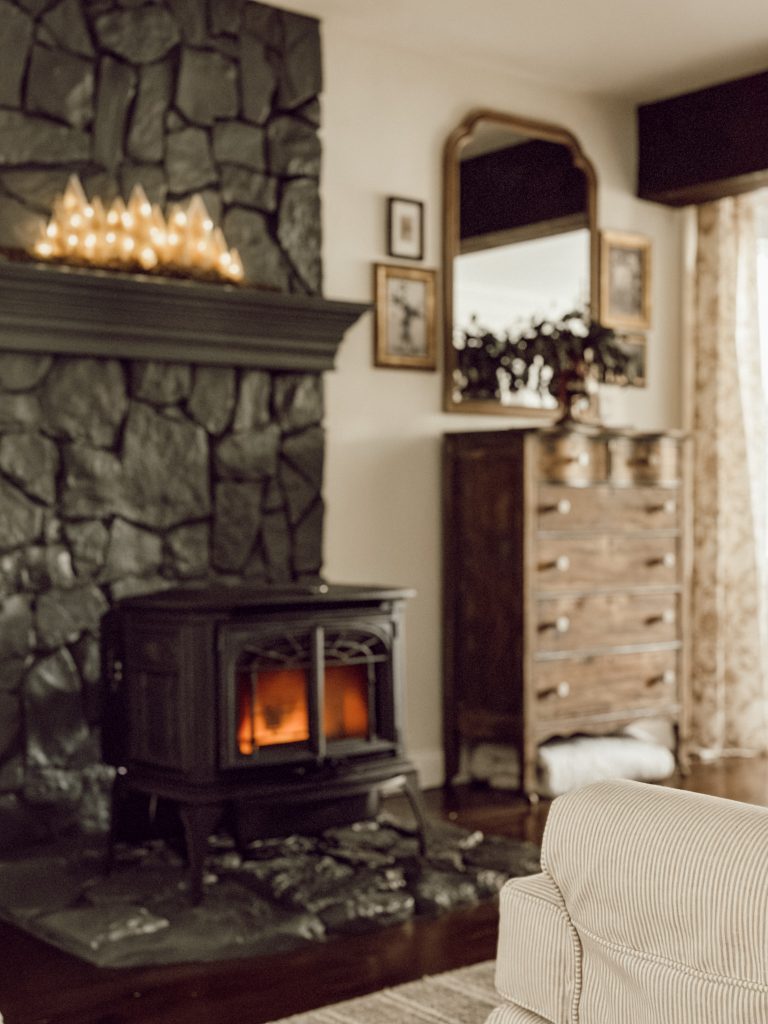
- Mantel: Add it to your fireplace mantle alongside garlands and candles.
- Entryway Table: Say Merry Christmas to your guests by placing the centerpiece on your entryway or console table.
- Kitchen Island: This centerpiece is perfect for adding a touch of Christmas time to your daily routine.
Where can I find bottle brush trees?
You can find affordable bottle brush trees at craft stores like Hobby Lobby, Dollar Tree, or online retailers like Amazon or Etsy.
They come in a variety of colors and sizes, so you can easily find ones that fit your style.
FAQ’s: Easy Christmas Centerpiece
Can I use a different type of base instead of wood?
I think you could. A wooden base gives a rustic feel, but you can use other materials like a decorative tray, a long ceramic dish, or even a flat stone to create a unique Christmas table centerpiece.
What size should my wooden base be?
The size is completely up to you. The centerpiece I created is 36″ long. You can make a long, narrow centerpiece for a dining table or a smaller version for a coffee table or mantel. Adjust the length based on the space you want to fill.
How long did this project take to make?
It only takes about 45 minutes to an hour to complete, making it one of those quick and easy DIY Christmas projects for pretty much any skill level.
What other Christmas projects can I make with bottle brush trees?
Bottle brush trees are incredibly versatile, and I love using them in our Christmas decor every year.
Hey friend! What can I help you find?
Search our entire site!
Here are a few creative ideas for you…
- Mini Ornaments: Glue a small bottle brush tree to a candle clip and attach the Christmas ornaments to the branches of your Christmas tree.
- Christmas Village Display: Use mini trees alongside ceramic houses or vintage village pieces to create a nostalgic Christmas village scene.
- Winter Wonderland Cloche: Arrange a few trees inside a glass cloche with faux snow for a winter wonderland display.
- Christmas Wreath: Glue small bottle brush trees to a wreath form along with small wooden houses to make a unique and whimsical Christmas wreath.
- Gift Toppers: Attach mini bottle brush trees to the top of wrapped presents with ribbon or twine.
- Place Cards: Use small bottle brush trees as place card holders for your holiday table. Stick a small tag or name card in the bristles of the tree.
you might also
Enjoy These Christmas DIY Projects
Shop My Favorite Products
Shop my favorite home decor & lifestyle products, my LTK sources, and my Amazon Storefront.
By making a purchase with one of my affiliate links, I earn a small commission which helps me continue to create meaningful content for you!
I look forward to sharing more of my home with you and inspiring you to have a well loved home!
Follow me on Facebook, Instagram, Pinterest, and LIKEtoKNOW.it.
xoxo, heidi
Don’t forget to pin this for later…
shop the post





Absolutely!
I am not sure how you do it, but you have a way of making DIY decorating look so easy. I tried to do it myself, but I think I will just try to copy what you do, if that is ok?
Hi Dee! I’m putting the link to the exact trees I bought here. Unfortunately, the the cream colored tree set is sold out (not sure if or when they will restock). However, you could use a mix of colored trees and you could also use different sized trees than the sizes I used. Please let me know if you have any other questions! https://urlgeni.us/amzn/SisalBottleBrushTrees
Really like this idea….but I’m having a little trouble finding the 10″ and 8″ trees. The links I searched didn’t have those sizes. Is there a particular link you used? Thanks.
Dee
Thank you Yvonne! I think this centerpiece would look beautiful in your home for the holidays!
You are the queen of the most beautiful easy home DIYs! I love every one you do, and this one is gorgeous. I’m making this to add warmth and Christmas magic to my kitchen. xo