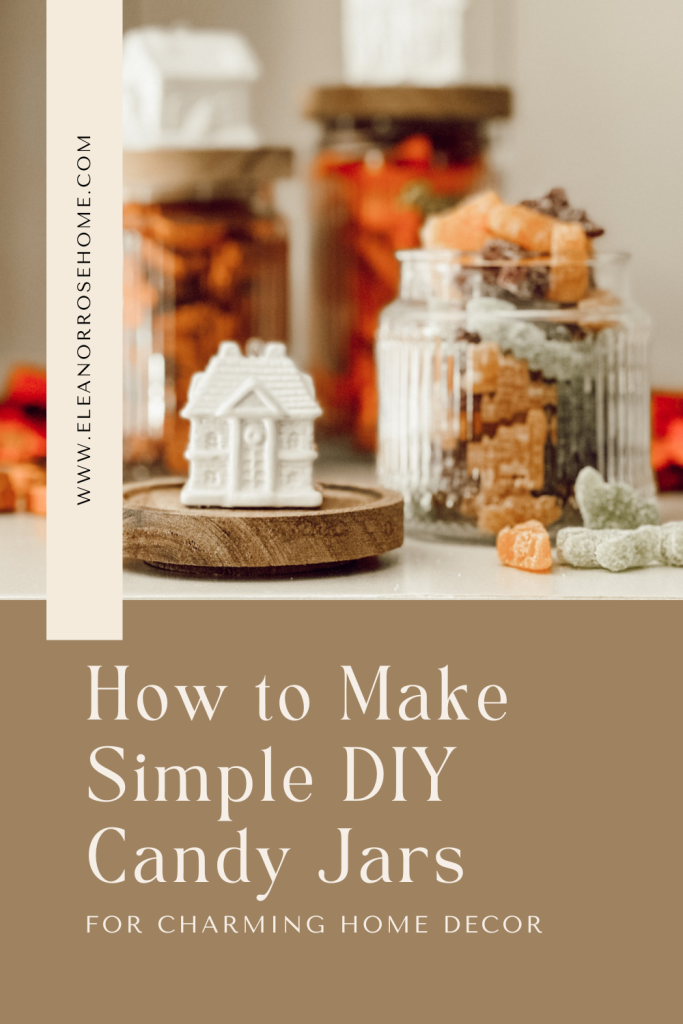
DIY Candy Jar: An Easy Way to Add Charm to Your Home
Create a charming DIY candy jar using thrifted ceramic ornaments and glass jars. It’s an easy way and a fun craft to add character to your home decor.

There’s something so satisfying about giving a thrifted find new life, especially when it adds charm to your home.
You might remember the vintage plates I turned into refrigerator magnets, or the soup tureen I used to make a floral centerpiece, or maybe the tea tins I repurposed into candles.
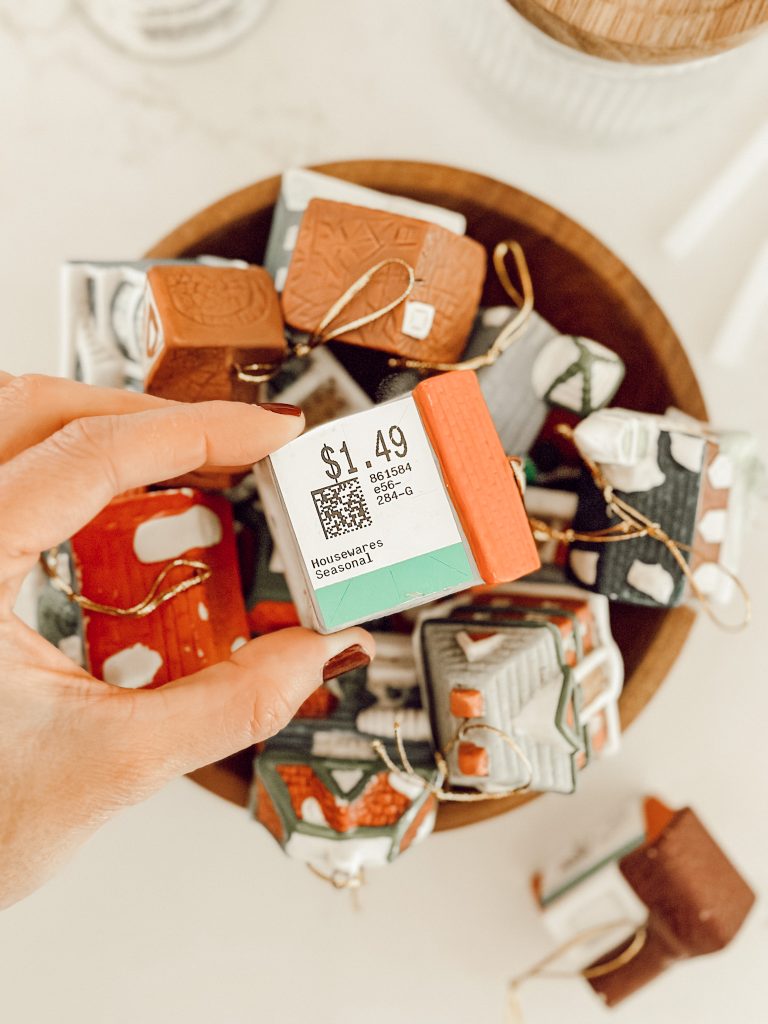
So, when I saw these miniature house ornaments at the thrift store, I knew they’d not only make cute ornaments for the Christmas tree but that I could possibly transform them into something even more.
For only $1.49 each, I grabbed all twelve that were on the shelf, excited about their potential.
Their cozy little details made them perfect candidates for a DIY project, and I quickly envisioned using them as charming toppers for glass jars (similar to these DIY jars I made a few years ago).
In this blog post, I’ll show you how I took thrifted ornaments and transformed them into adorable jar toppers.
These DIY candy jars are not only great for displaying sweets, but they can also be used for organizing small items around your home.
Whether you’re new to thrifting or a seasoned pro, my hope is that this project will inspire you to get creative with secondhand finds!
I’m thrifting with friends!
This post is part of a blog hop with the ladies of Thrifting With Gals!
The thrifting gals are experts at thrift shopping, so be sure to check out their blog posts linked at the end of this post for second-hand shopping tips, ideas, and more.
Why shop secondhand?
Shopping secondhand is a great way to make a positive impact while adding unique and personal touches to your home.
By choosing thrifted items, you’re not only saving money but also contributing to a more sustainable lifestyle. Secondhand shopping helps reduce waste and lessen the environmental footprint that comes with manufacturing new products.
But my favorite reason is that it allows you to use your imagination and creativity.
When you shop secondhand, you’re often faced with great pieces that might need a little love or repurposing.
This opens up a world of possibilities for DIY projects and upcycling, where you can transform ordinary finds into extraordinary, personalized treasures.
Here’s why you should consider shopping thrift stores:
- Unique Finds: You’ll find one-of-a-kind items that can add a distinctive touch to your home.
- Cost Savings: Provides high-quality items at a fraction of the cost of new ones.
- Historical Value: Adds character with items that come with a story or history.
- Encourages Creativity: Inspires DIY projects and upcycling, turning overlooked items into something special.
What you’ll love about this DIY:
What You’ll Need to Make Your Own Charming Treat Jar
Here’s a quick list of everything you’ll need to gather for this simple DIY snack jar project…
SUPPLIES YOU’LL NEED

*If you make a purchase using one of these links, I may receive a small commission. This does not add any cost to you, but helps me to continue to create & share meaningful content. Thank you for supporting my small business!
Simple Step by Step Instructions on How to Make a DIY Candy Container
Follow this easy tutorial to transform your thrifted finds into adorable DIY jars that will add charm to your decor…
One. Find Your Thrifted Treasures
The best part of this project begins with a trip to your local thrift store…who doesn’t love an excuse to go shopping?!
I came across these adorable ceramic house ornaments during one of my thrifting adventure and pretty quickly knew that a couple of them would make the perfect jar toppers.
If you can’t find small ornaments like these, you can also look for other small ceramic figures.
Basically, anything with a flat base will work.
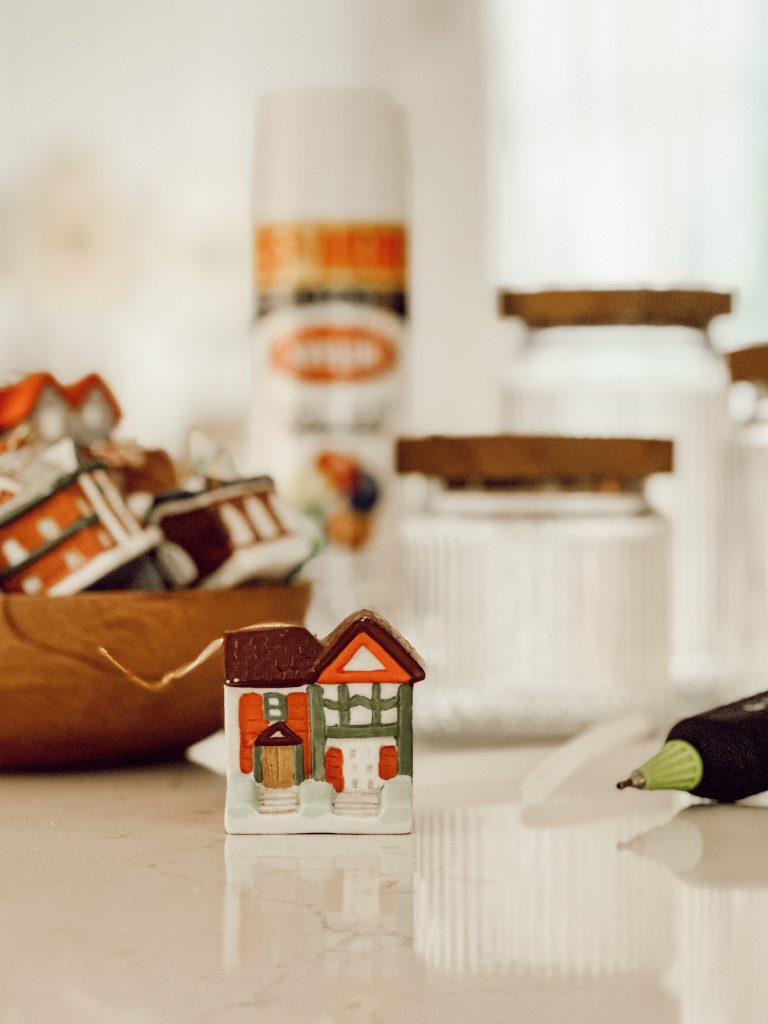
Two. Prep & Paint
Before transforming your thrifted finds, give them a good cleaning to remove any dust or grime.
Once they’re dry, it’s time to spray paint.
I opted for a classic, glossy white to give the houses a crisp, clean look that complements our home decor.
But feel free to use any color spray paint (a metallic gold would be really pretty too) you like that matches your home’s aesthetic.
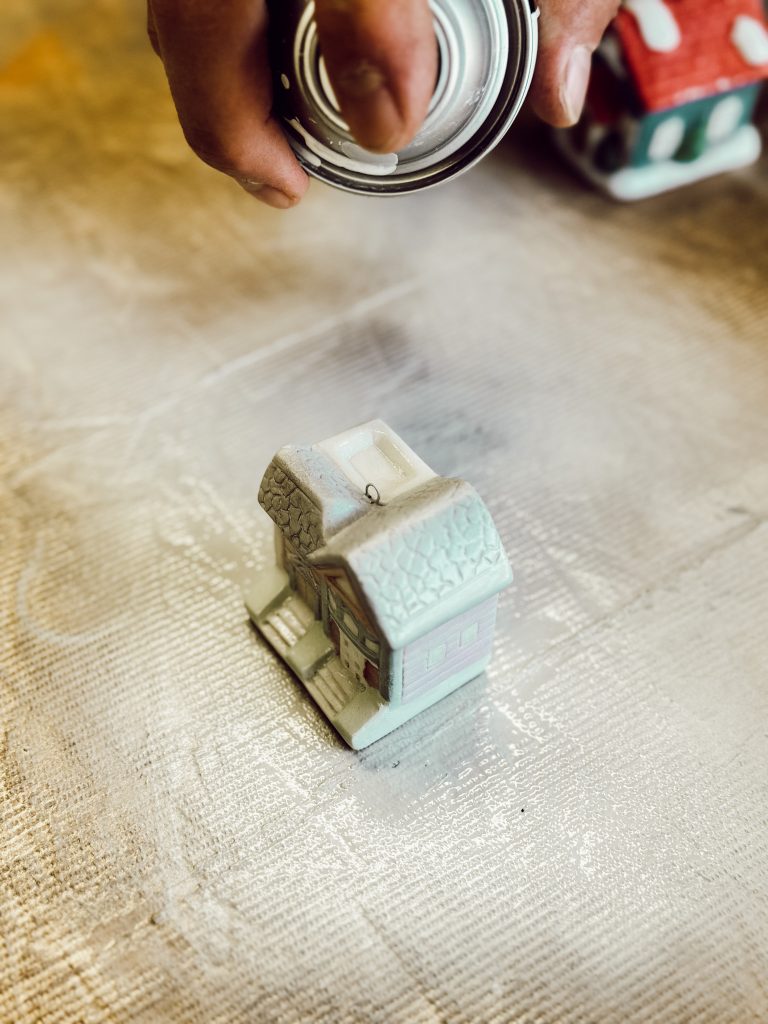
Apply light, even coats of paint, allowing each coat to fully dry before applying the next.
This will help achieve a smooth finish without any drips.
Download Our Free Cozy Magazine
Three. Gather Lidded Glass Jars
While your painted pieces are drying, get your glass canisters ready.
You can thrift glass jars, buy new ones, or repurpose old ones from your pantry.
Just make sure they have lids that are flat without any embellishments or pulls already on them.
I found the glass jars I used for this DIY at Micheal’s.
The ribbed glass gave me all the vintage vibes, and I thought the flat wooden tops were the perfect base for the white house toppers.

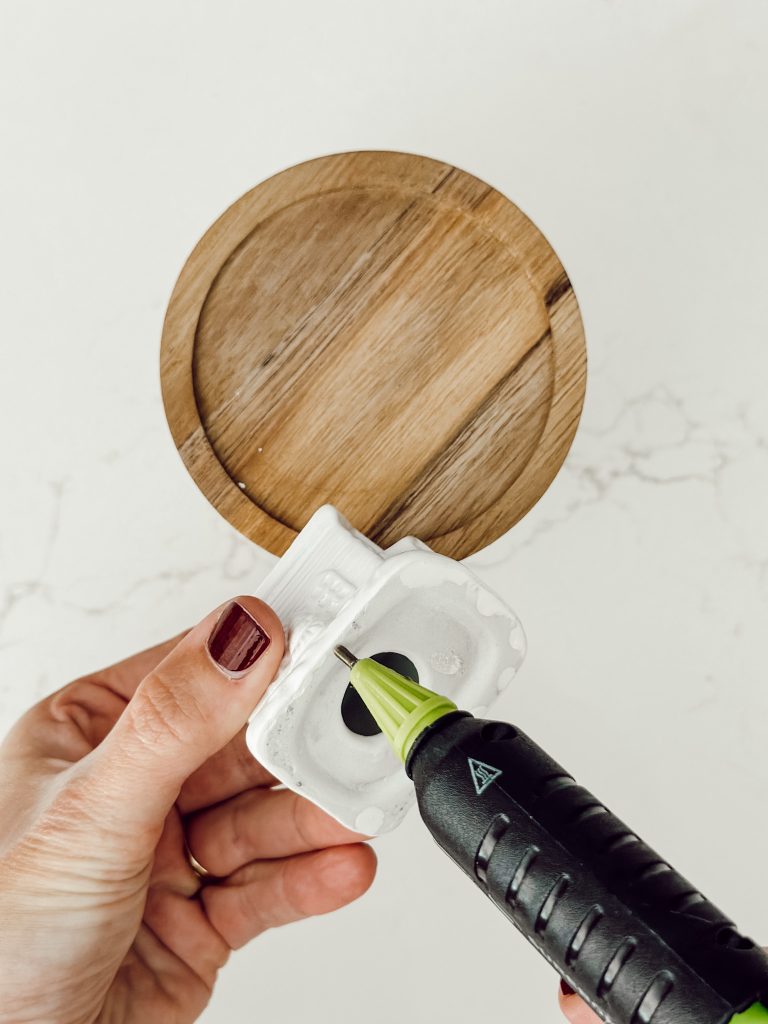
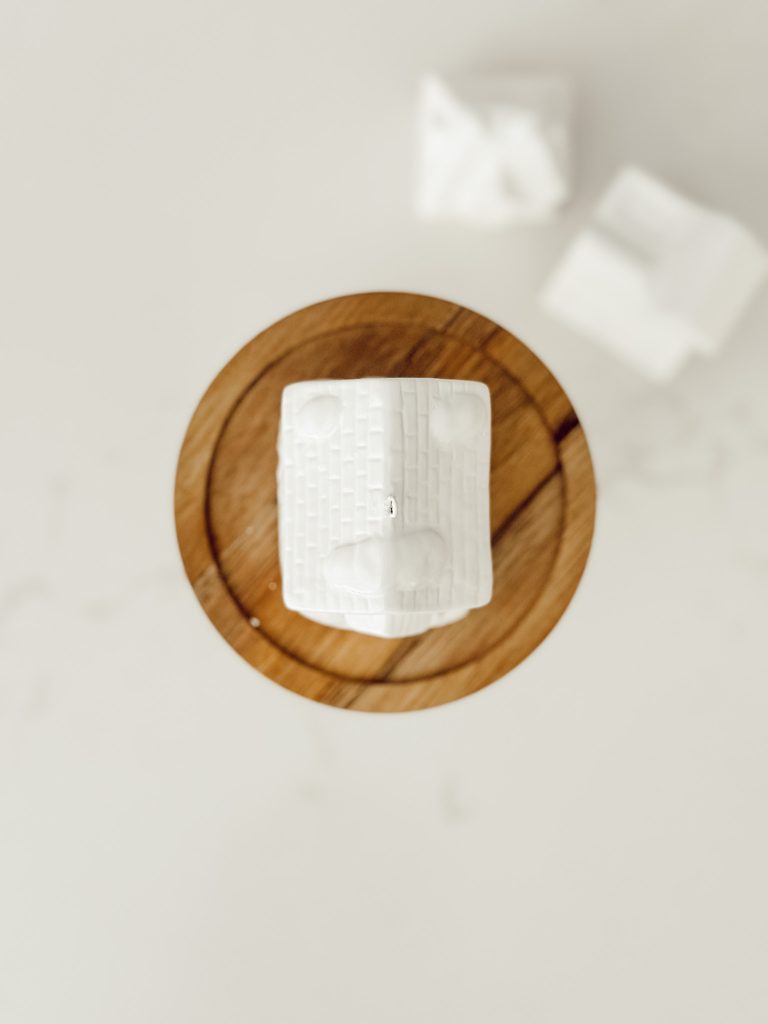
Four. Attach the Toppers
Once your ceramic pieces are fully dry, it’s time to bring everything together.
Using a hot glue gun, carefully apply glue to the bottom of each ceramic house and attach it to the top of the jar lid.
Hold the piece in place for a few seconds to make sure there’s a secure bond.
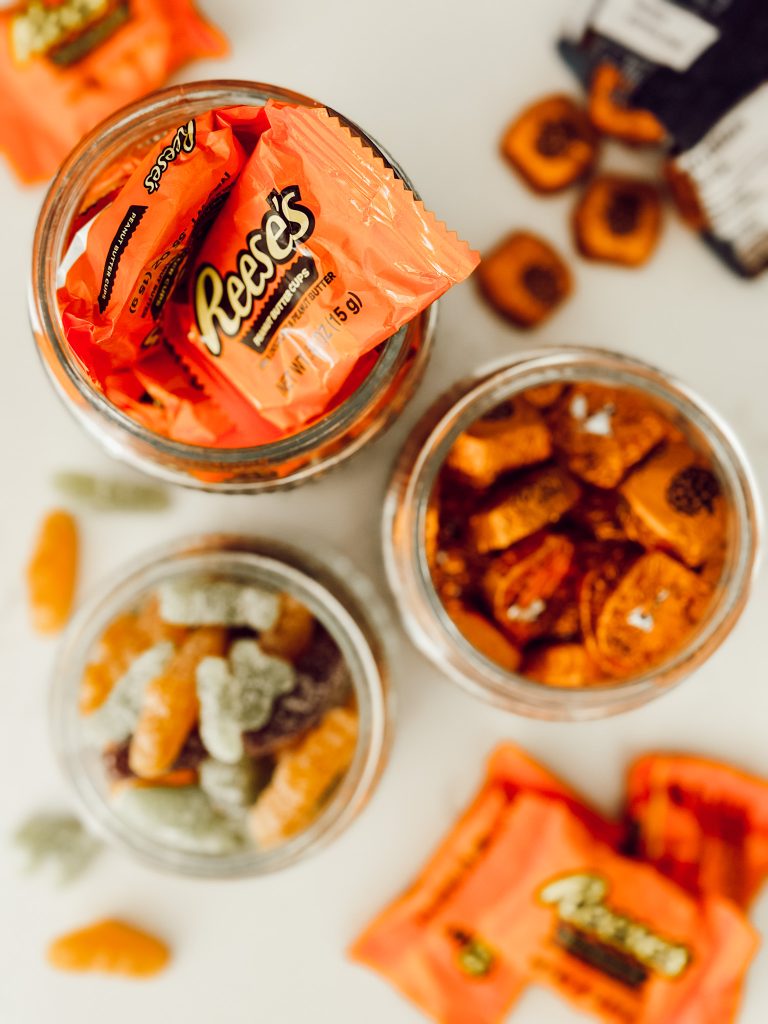
Five. Fill With Candy
Once your vessels are assembled, you can fill them with candy!
I chose our favorite Halloween candies to fill the canisters since that is widely available in the grocery stores right now, however you could also fill them with jelly beans, mints, or chocolates.
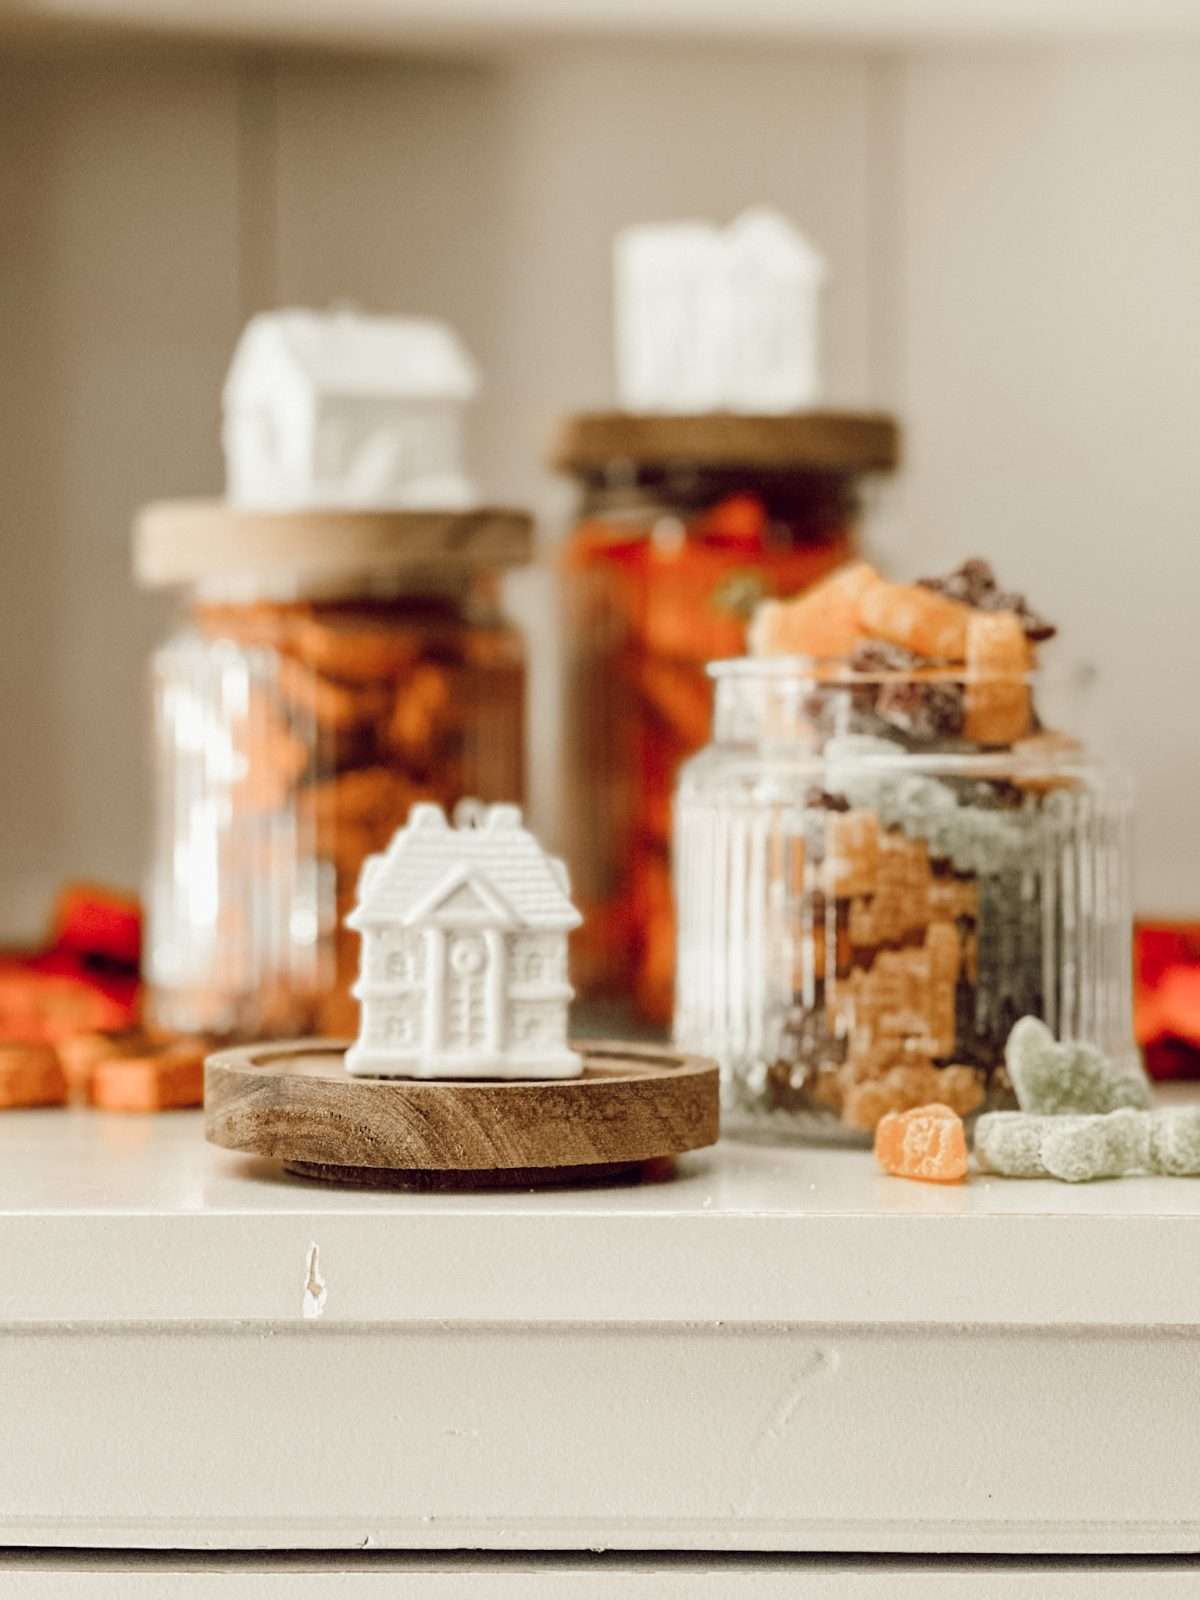
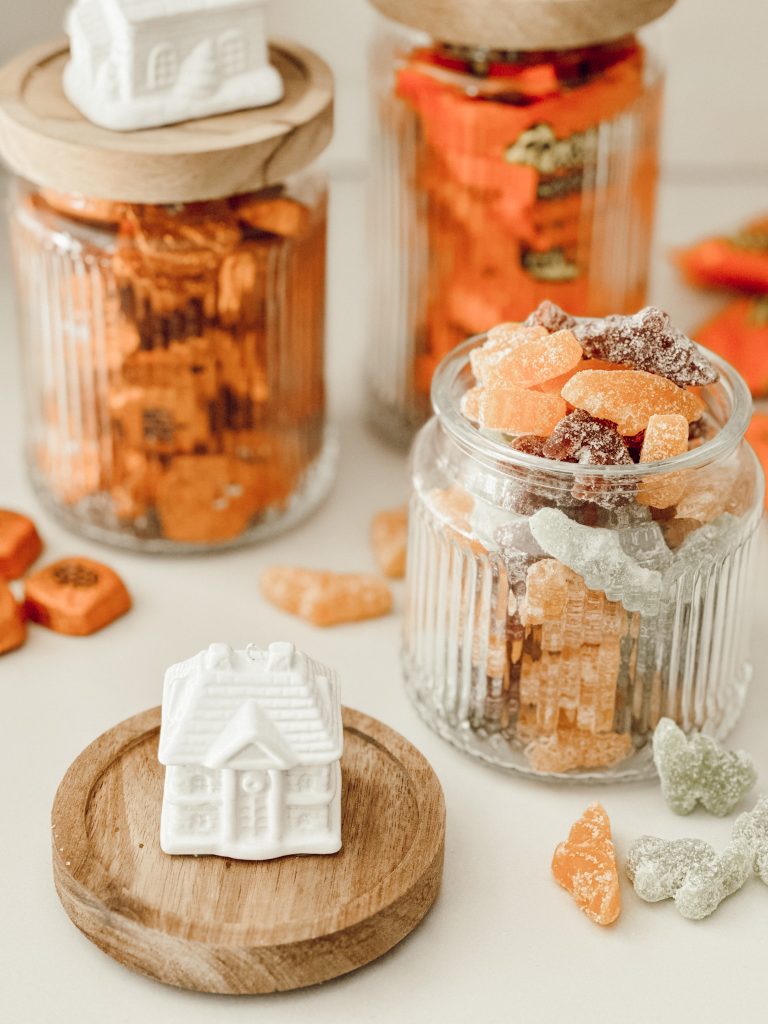
Six. Display
Place your DIY candy jars on a kitchen shelf, on your coffee table, or even as part of a seasonal vignette.
These jars are a charming, functional addition to any space, and they’re easy to customize depending on what you find at the thrift store.

Tips
- Choose ceramic ornaments or figurines to prevent the jar lid from becoming too top heavy.
- You can use different paint finishes like matte, satin, or gloss for a customized look that matches your decor style.
- Test hot glue placement before attaching the embellishment to make sure it sits evenly on the lid.
- Switch up the candy seasonally for a fun and festive touch throughout the year.
What size jars work best?
Literally, any size jar will work as long as it has a flat lid.
Choose smaller jars for quick treats or larger ones for a more impactful display.
Can I use other types of decorative toppers besides the ceramic house ornaments?
The beauty of this DIY is that you can use any small, decorative thrifted items like figurines, miniatures, or even toy animals.
You just want to make sure they have a flat base for easy attachment.
Hey friend! What can I help you find?
Search our entire site!
What type of spray paint works best for this project?
A multipurpose spray paint designed for ceramics and glass works the best.
Apply thin, even coats for a smooth finish.
Can I use something other than hot glue to attach the toppers?
Yes, you can also use a strong adhesive like Gorilla Glue or E6000 for an extra durable bond, but hot glue works well for quick assembly.
How do I clean the candy jar once it’s assembled?
To clean the jar, remove the lid and hand wash the glass.
Wipe the decorative lid with a paper towel or damp cloth. Avoid submerging the painted toppers in water to prevent damage.
Can I use these DIY canisters for other things besides candy?
Absolutely! These containers are versatile and can be used for so many purposes other than just holding candy.
Here’s a few ideas…
- Bathroom Accessories: Use them to store bath salts, cotton balls, or swabs.
- Office Supplies: Keep paper clips, push pins, or rubber bands organized.
- Craft Supplies: Store buttons, beads, or small tools in a neat way.
- Kitchen Storage: Use them for spices, loose tea, or baking ingredients.
The possibilities of what you can use these jars for are truly endless.
Get creative, use your imagination, and find new ways to use these charming jars throughout your entire home!
You might also
Enjoy These Popular DIY’s
Shop My Favorite Products
Shop my favorite home decor & lifestyle products, my LTK sources, and my Amazon Storefront.
By making a purchase with one of my affiliate links, I earn a small commission which helps me continue to create meaningful content for you!
I look forward to sharing more of my home with you and inspiring you to have a well loved home!
Follow me on Facebook, Instagram, Pinterest, and LIKEtoKNOW.it.
xoxo, heidi
Thrifting With Gals Blog Hop
How to Create a Stunning Fall Tablescape | Fall Dough Bowl Decor Ideas | Vintage Dish Storage Solutions | Recent Thrifted Vintage Finds
Don’t forget to pin this for later…
shop the post


Love that Sandy! Enjoy your time with your grandchildren, they grow up so fast!
I love this idea. My grandkids haven’t been coming over as much as I want them to, so I went full-on crazy grandma on my home. I decided to remodel an entire room in my home into a playroom. In order to get this done quickly, I had a dumpster rental delivered to my house and I hired a team who came in and remodeled the room. It looks great, but no playroom is complete without a jar of candy, right? My grandkids are coming over this weekend. I really hope they enjoy their time with me and that we get to hangout more often moving forward.
Thank you Lora!
These are so cute, Heidi! I’ve seen little house ornaments like those while out thrifting, too. Great repurposing idea to use them this way. I especially love them on the wooden topped cannisters for Autumn. So cute with candy corn and other Fall candy. Thanks for joining us this month!
Thank you Rachel! Thank you for having me!
Thank you Ann! Happy fall!
Thank you!
Thank you Robyn!
These are absolutely adorable, Heidi! I love this idea, it’s so fun and the perfect touch for fall! So glad you got to do this with us!!
Now that’s super creative! I love finding thrifted collections and finding new uses for them.
Thanks for sharing your creativity with us today!
Oh my goodness, are these adorable and so easy to make! It gave me so many more ideas, too. Thanks for joining us today, Heidi! Happy Fall!
These turned out so cute Heidi! Such a clever use of thrifted finds. So glad you could join us this month.