
DIY Fall Garland: A Fun and Easy Craft With Acorns
Create the perfect blend of rustic elegance in your autumn home decor with this step by step tutorial on how to make a DIY fall garland using collected acorns, natural twine, and green cardstock. It’s easy to make and the perfect way to embrace the beauty of the season!

I’m not entirely sure why the oak trees around our home have been dropping acorns like crazy this year, maybe it has something to do with the weather we’ve had or the winter we’re going to have. I’m hoping it’s the former. Either way, I’ve had so much fun (oh how times change the older you get) the past couple of weeks searching for acorns.
It’s become sort of an afternoon ritual lately. Eleanor and I head outside for an afternoon break, and while she sniffs every blade of grass, I forage for acorns.
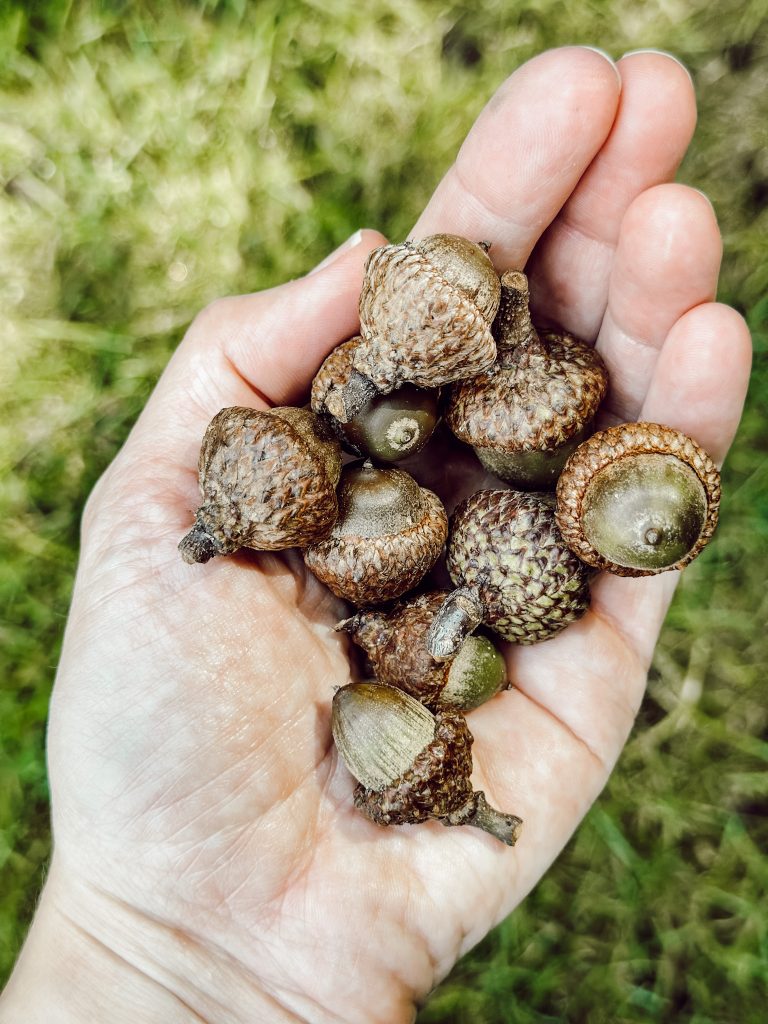
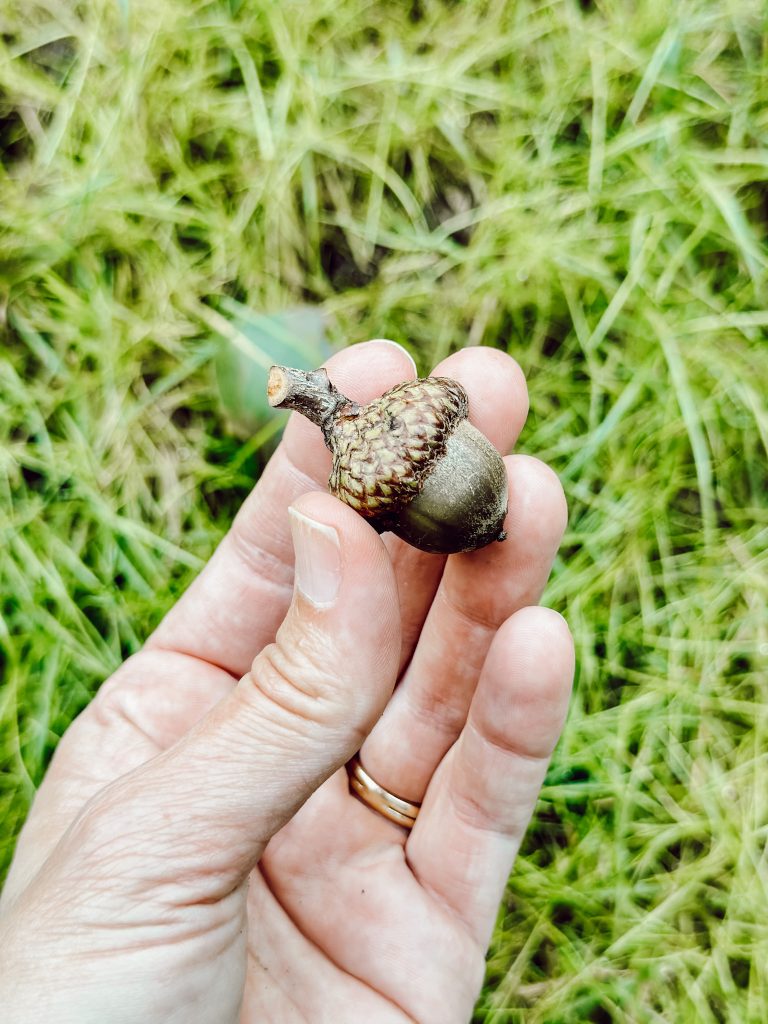
And of course there are certain acorns I search for. They have to have their cap attached, the larger the better, and acorns attached as pairs…well that’s the ultimate find!
I’m hoping the squirrels don’t mind that I’ve been stealing some of their winter food supplies. Luckily, I think there is plenty of acorns to go around for both the squirrels and I.
Now, you may be wondering, “What do you do with these acorns when you find and collect them?”
That’s where this blog post comes in! I’m going to show you how easy it is to use collected acorns to create a handmade fall garland for your home that exudes rustic elegance.
I’m joining a group of bloggers today to bring you unique fall decor ideas. Continue reading to the end of this post for all the seasonal home decor inspiration.
Ok, let’s get crafting!
Why You’ll Want to Make This Acorn & Twine Garland
Crafting your own fall garland is an opportunity to decorate your home with the spirit of autumn, while also remaining budget friendly and environmentally conscious.
By using natural elements like real acorns, you’re able to utilize the natural beauty around you and bring it indoors.

It’s a budget savvy way to decorate your home, since you can collect acorns for free during fall walks or hiking trips.
But the best part of crafting your own fall garland is that it allows you to add your own personal touch to your home decorations!
What you’ll love about this fall DIY:
Tips & Tricks for Using Real Acorns in Fall Decor
Using real acorns is such a great way to infuse authenticity and natural charm into your seasonal decor. However, working with these little treasures from nature does require some care and attention.
Here are some tips and tricks when it comes to selecting and utilizing acorns as decorations.
Materials for DIY Fall Garland
The amount of acorns, twine, and cardstock oak leaves you will need will depend on the length of the garland you want to make. My garland was about 6-7′ long and I used 13 acorns and 23 paper leaves.
- Real Acorns: Gather these during your autumn walks or hikes. If you’re not able to forage for acorns, these faux acorns could be used as well.
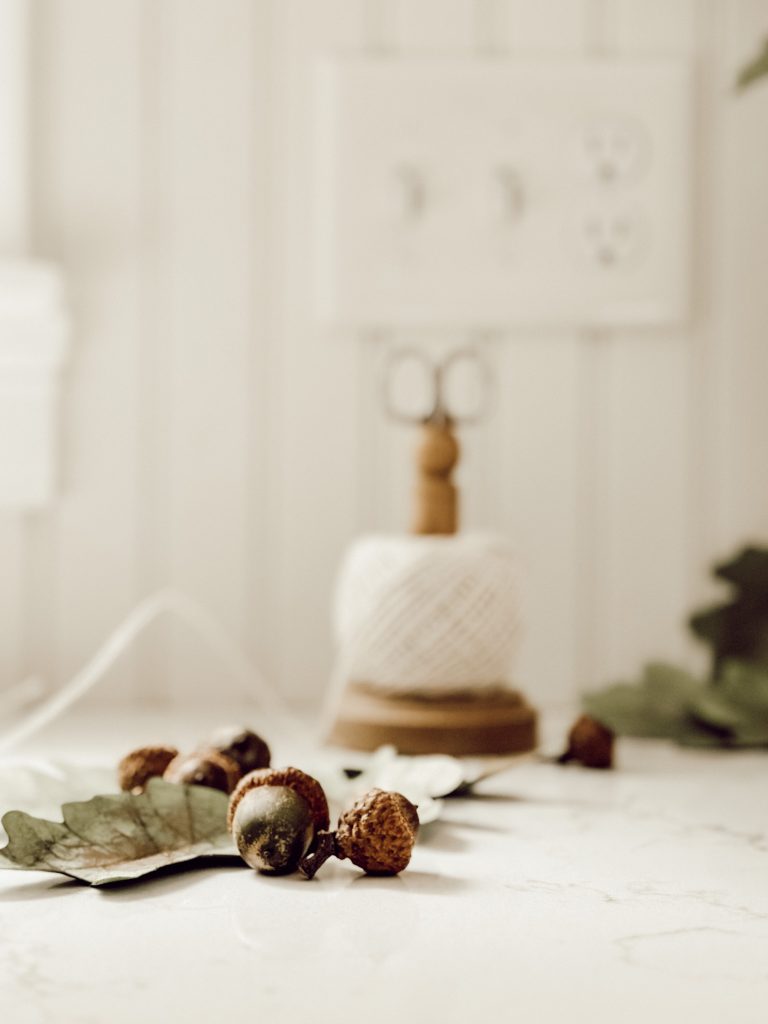
- Kitchen Twine or Jute String: A natural looking kitchen twine or jute string is perfect for this rustic garland while also providing a sturdy base.
- Cardstock: I used this green cardstock to create the oak leaves for this DIY fall garland, but you could also choose cardstock in warm, earthy colors like deep red, burnt orange, and golden brown.
- Leaf Templates: Gather a few different sized oak leaves while collecting acorns to create your own leaf template. You could also draw the leaves freehand if you’re better at drawing than me!
- Pencil: For tracing the leaves onto the cardstock.
- Scissors: A good pair of sharp scissors will make cutting the leaves out much easier.
- Hole Punch: A hole punch will help you create holes in the oak leaves for threading onto the twine.
- European Gold Rub ‘n Buff (optional): This will help add color and dimension to your leaves, but this is an optional step.
TOOLS YOU’LL NEED

Easy Step by Step Tutorial for This Acorn Fall Garland
One of the joys of creating this DIY fall garland is creative freedom.
Embrace the imperfections and quirks of nature as you work on this garland, for it’s in those unique touches that its true beauty lies.

Each acorn and oak leaf may have its own character, and that’s perfectly okay. It adds to the charm and authenticity of this craft.
Allow your creativity to shine through, and don’t strive for perfection!
Hey friend! What can I help you find?
Search our entire site!
Collect & Prep Acorns
Before you start crafting, take a walk through your local park or woods to collect acorns.
Look for ones with intact caps and larger stems, as these will be the way you attach the acorns to the DIY garland.

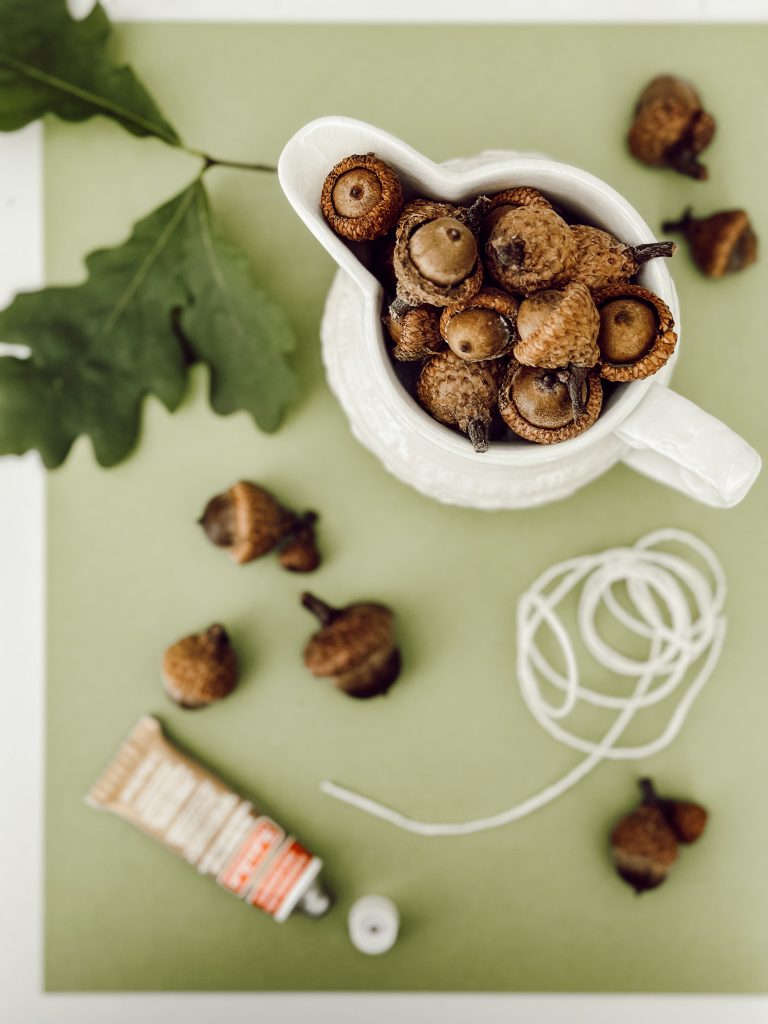
Once you’ve gathered a sufficient quantity, clean them by rinsing in warm, soapy water and allowing them to dry completely. You will want to complete this step to prevent any unwanted bugs in your home.
the best dIY projects
Easy Fall DIY Ideas
Explore our collection of budget-friendly and accessible fall DIY ideas, perfect for turning your living space into an inviting autumn retreat. With these creative projects, you can infuse the warmth and charm of the season into your home without breaking the bank or compromising on style.
Cut Out Oak Leaves
Using your chosen oak leaf template, trace and cut out oak leaves from the cardstock.
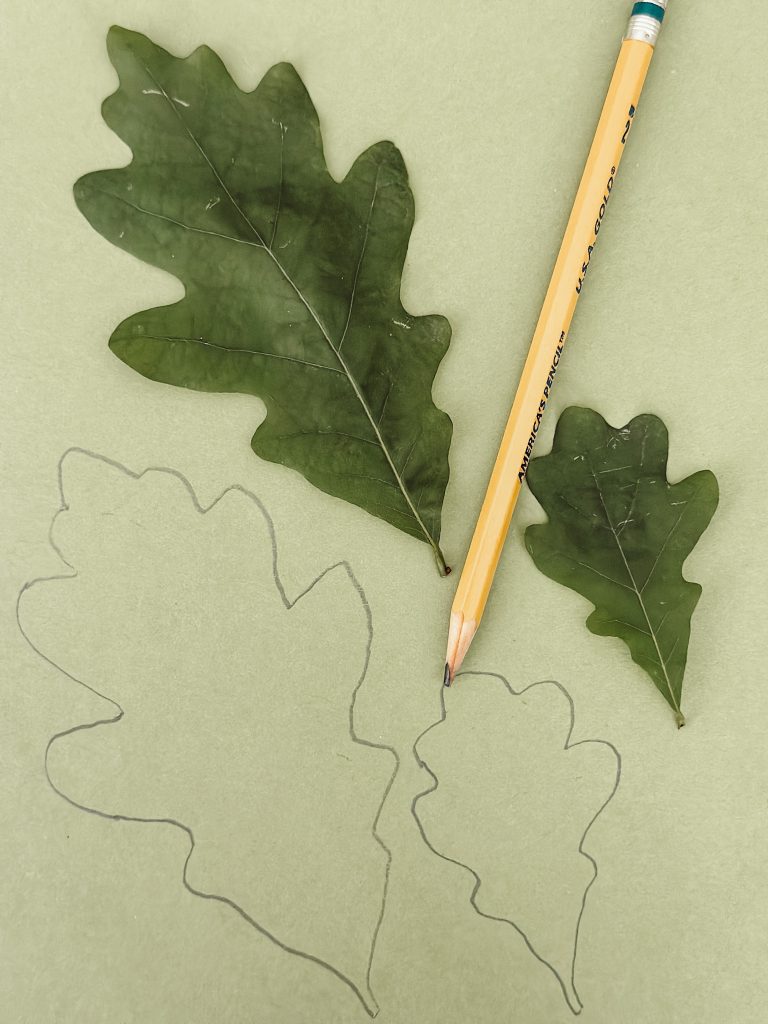
Aim for a variety of sizes to add depth and dimension to your garland.
Once the leaves are cut out, fold and crinkle them to create a more realistic looking fall leaf. Leaves aren’t flat or one dimensional in nature, right?! Crinkling them will also help to create the look of veins on the paper leaves.
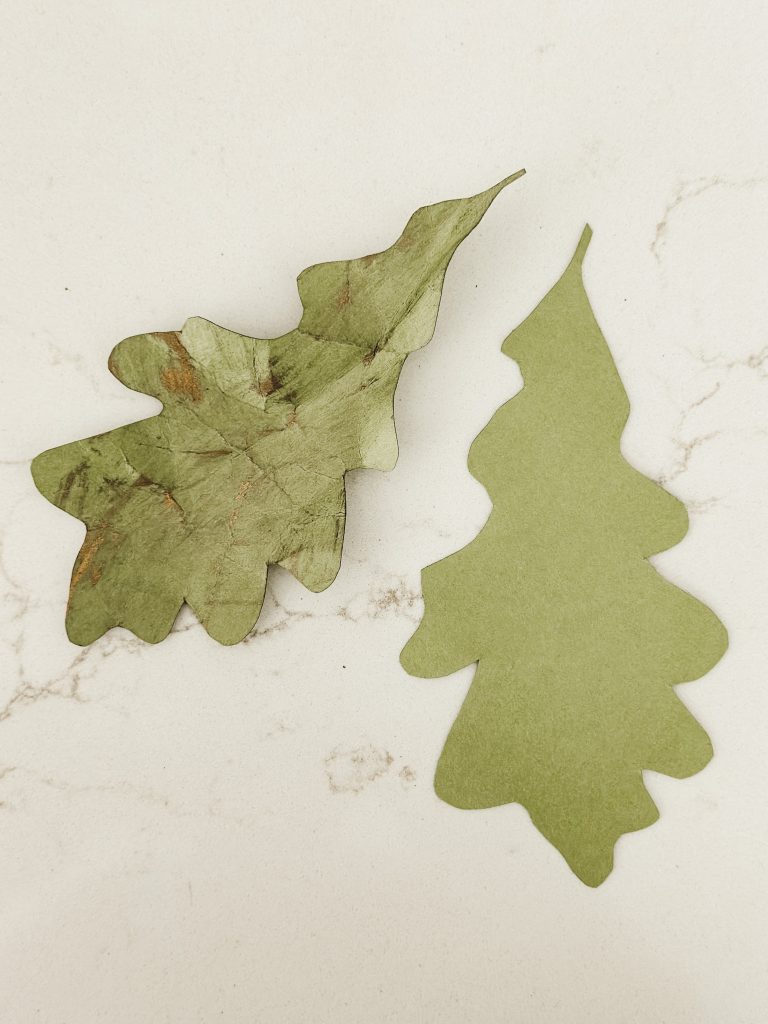
To add a little more character to your leaves, use a Q-tip or or old brush to apply a small amount of gold Rub ‘n Buff to the paper leaves.
Finally, use a hole punch to add a small hole at the top of each leaf for threading onto the twine.
Note: Using card stock for your oak leaves in the fall garland is ideal because it offers the right balance of sturdiness and flexibility. Unlike colored paper, which can be too flimsy and prone to tearing, card stock holds its shape well. This ensures that your oak leaves not only look great but will also stand the test of time.
Thread the Garland
Cut a length of twine or jute string to your desired garland length, leaving some extra on each end for hanging.
Begin threading 1-2 oak leaves onto the twine by passing the twine through the punched hole in each leaf.
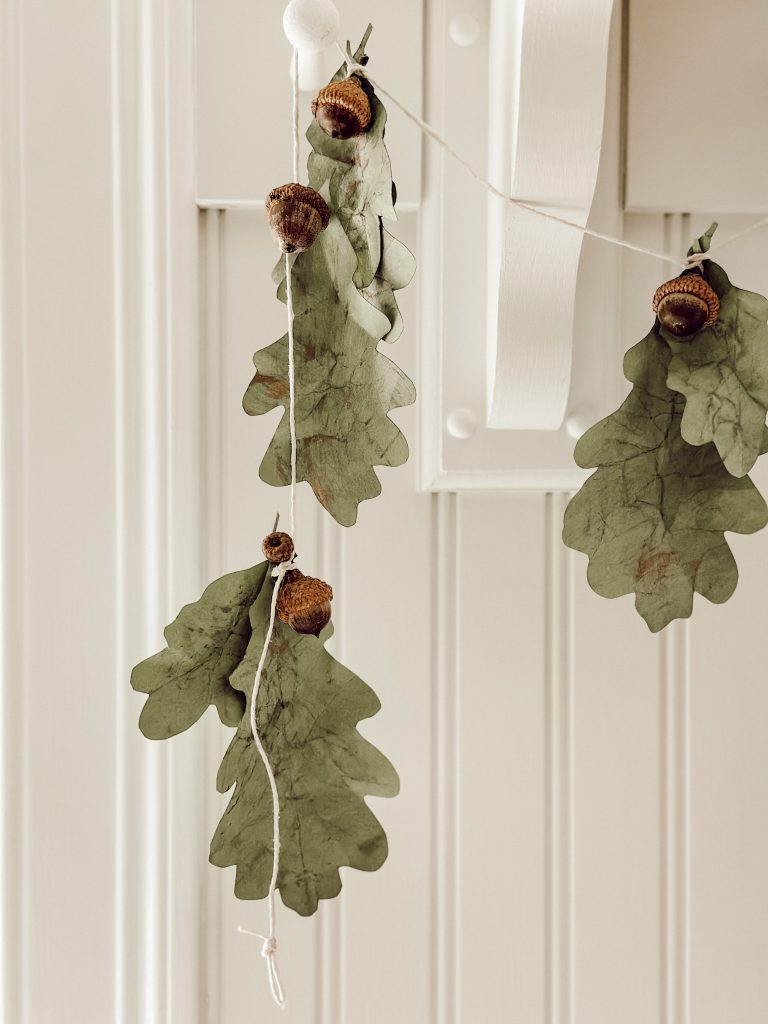
Then, place an acorn on top of the oak leaves and tie the twine around the acorn and leaves securing them into place with a double knot.
Space them evenly along the string. I spaced the oak leaves and acorns about 5 1/2″ apart but you could space them closer or further apart, based on your preference.
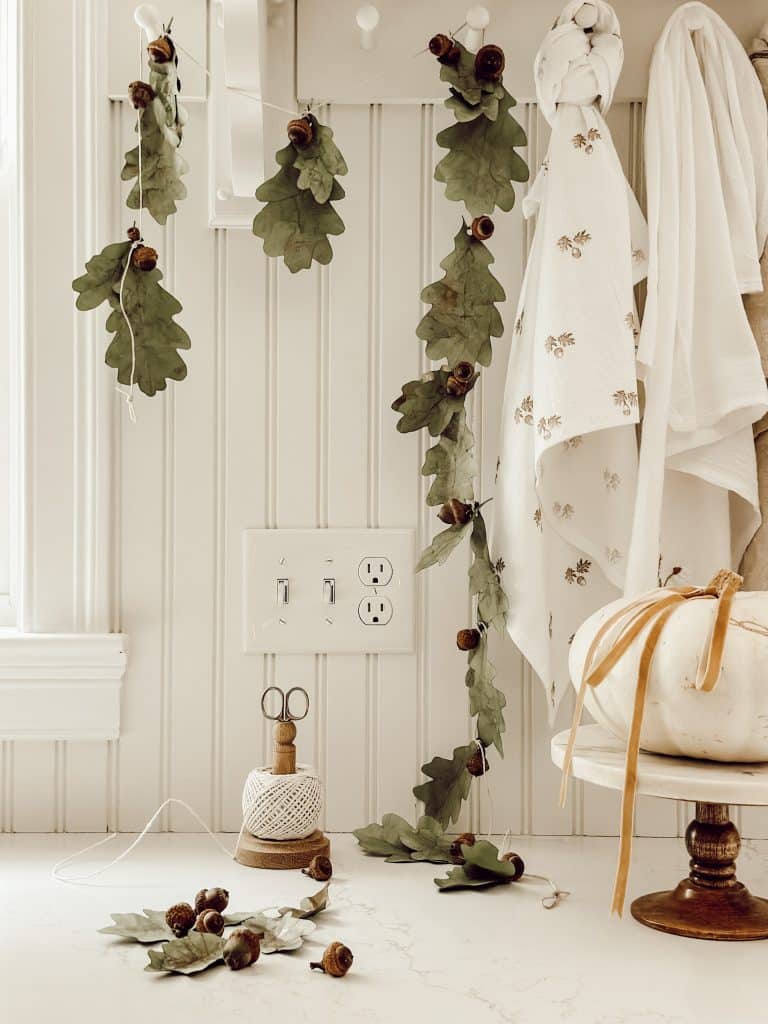
Hang Your DIY Fall Garland
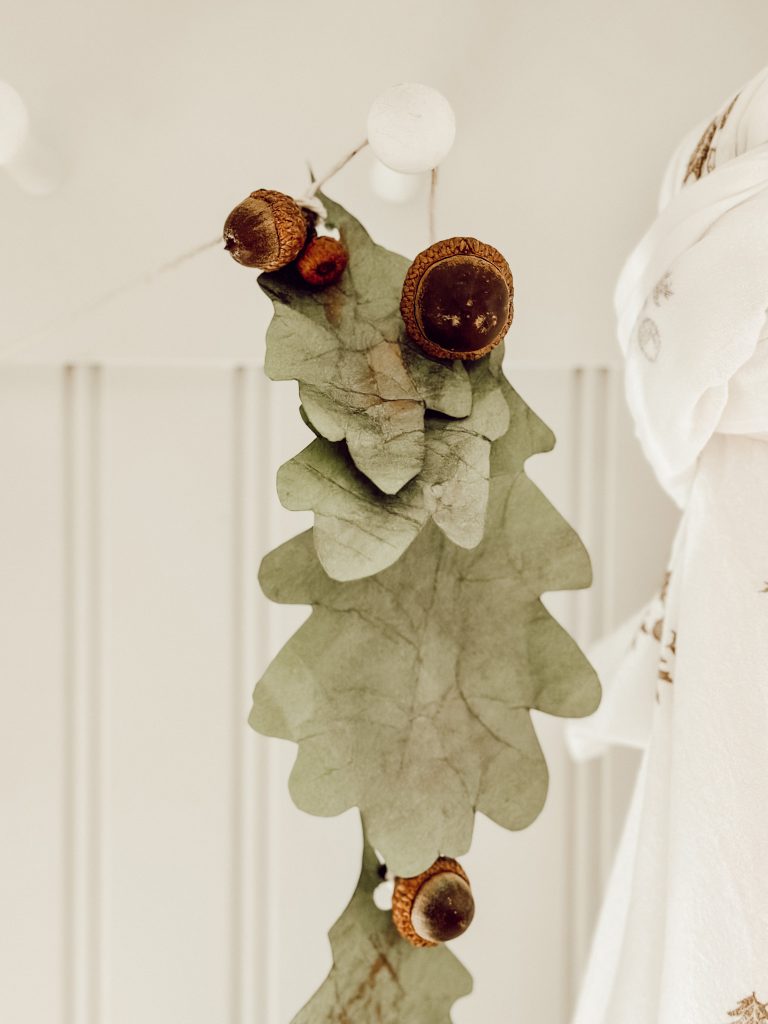
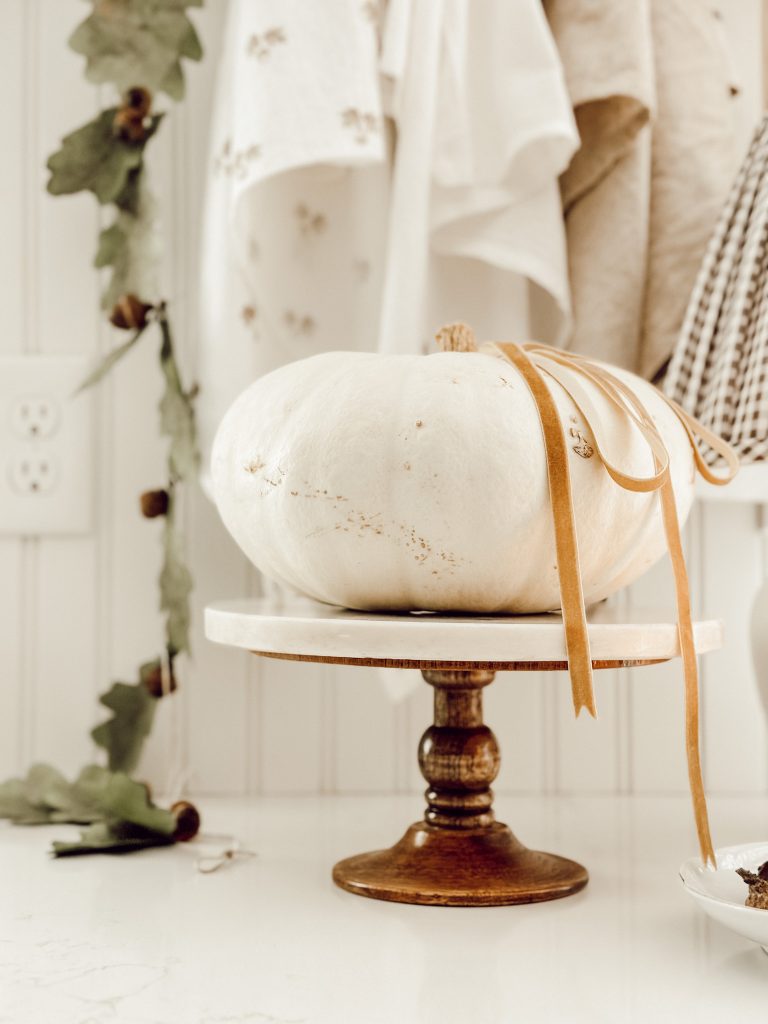
With all your oak leaves and acorns securely in place, find the perfect spot to display your DIY fall garland!
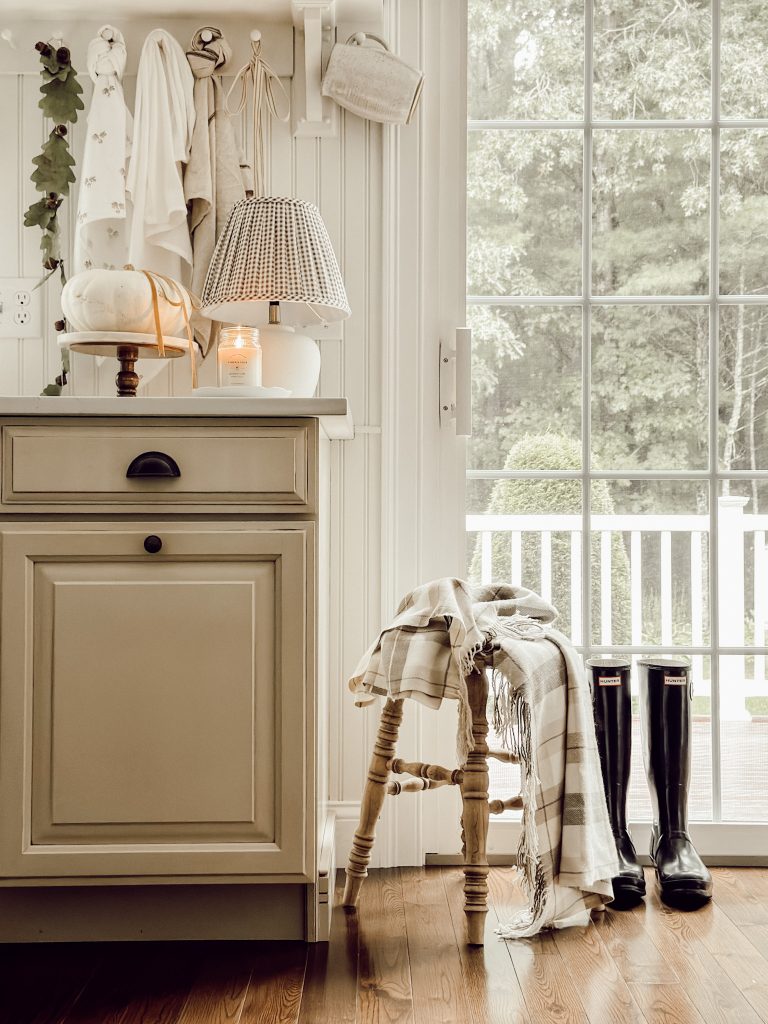
I hung our garland on the pegs in our kitchen, but you could also drape it over a fireplace mantel, across a window, or even along a staircase railing.
I think you’ll love how the warm colors and natural elements will infuse your space with cozy fall vibes!
Here’s a few tips to remember when crafting this nature inspired DIY garland:
Tips
- Collect a surplus of acorns and oak leaves during your nature walks. This way, you’ll have extra materials to choose from, ensuring you can select the best looking acorns and leaves for your garland.
- To create a visually appealing fall garland, mix acorns and oak leaves of different sizes and shapes. This diversity will add texture and interest to your decoration.
- If you have green acorns that you’d like to use, you can speed up the drying process by placing them in a warm, dry area or drying them in the oven. Dried acorns are less likely to mold or spoil.
- Before tying the acorns and leaves to the garland, test their placement to ensure they align with your vision for the garland’s layout.
- Tailor the length of your garland to fit your desired space. You can easily adjust it by adding or removing oak leaves and acorns along the twine.
- Remember that the process of creating your DIY fall garland should be enjoyable. Embrace any imperfections, and let your creativity flow freely. It’s the unique and handmade quality that makes this decoration special!
Can I use artificial acorns instead of real ones on this garland?
Yes, you can certainly use artificial ones if you prefer or can’t find real acorns.
They often require less maintenance and won’t change in appearance over time, making them a durable option for seasonal decor.
How long will this DIY acorn garland last?
With proper care and storage in a dry place, your garland can last for several seasons. However, keep in mind that real acorns may change in color and texture over time, which I actually think adds to their charm.

Can I add other decorative elements to this autumn garland?
Absolutely!
The great thing about homemade crafts is the ability to use your creativity and imagination to make something unique & one of a kind.

Other seasonal elements like dried berries, pine cones, wooden beads, cinnamon sticks, or small decorative pumpkins can be used to enhance your DIY fall garland’s visual appeal.
More Fall DIY Ideas
Looking for more fall DIY home decorating ideas? Here are a few of my favorites!
- Easy No Sew DIY Kitchen Towels
- DIY Pumpkin Wreath
- How to Make Dried Apples for Fall Decor
- DIY Pumpkin Floral Arrangement
You might also
Enjoy These Posts
Shop My Favorite Products
Shop my favorite home decor & lifestyle products here, my LTK sources here, and my Amazon Storefront here. By making a purchase with one of my links, I earn a small commission which helps me continue to create meaningful content for you!
I look forward to sharing more of my home with you and inspiring you to have a well loved home! Follow me on Facebook, Instagram, Pinterest, and LIKEtoKNOW.it.
xoxo, heidi
Bloggers’ Best Fall Decor Ideas
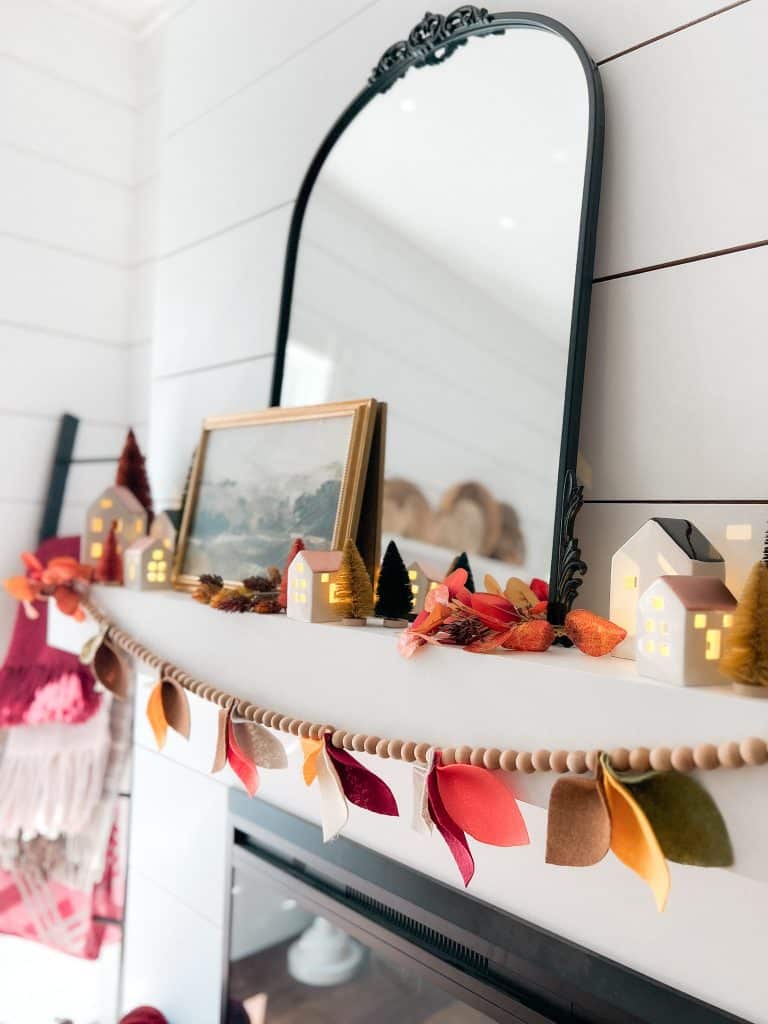
DIY Fall Felt Leaves Beaded Garland | Tatertots and Jello
Creating this easy Fall Felt Leaves Garland is a great way to add a touch of seasonal charm and warmth to your home decor. It’s an easy project that allows you to customize the colors and design, making it a delightful addition to your fall decorations. There is also a free template you can print out to make creating the leaves very easy!
DIY Fall Garland: A Fun and Easy Craft With Acorns | Eleanor Rose Home
Create the perfect blend of rustic elegance in your autumn home decor with this step by step tutorial on how to make a DIY fall garland using collected acorns, natural twine, and green cardstock. It’s easy to make and the perfect way to embrace the beauty of the season!
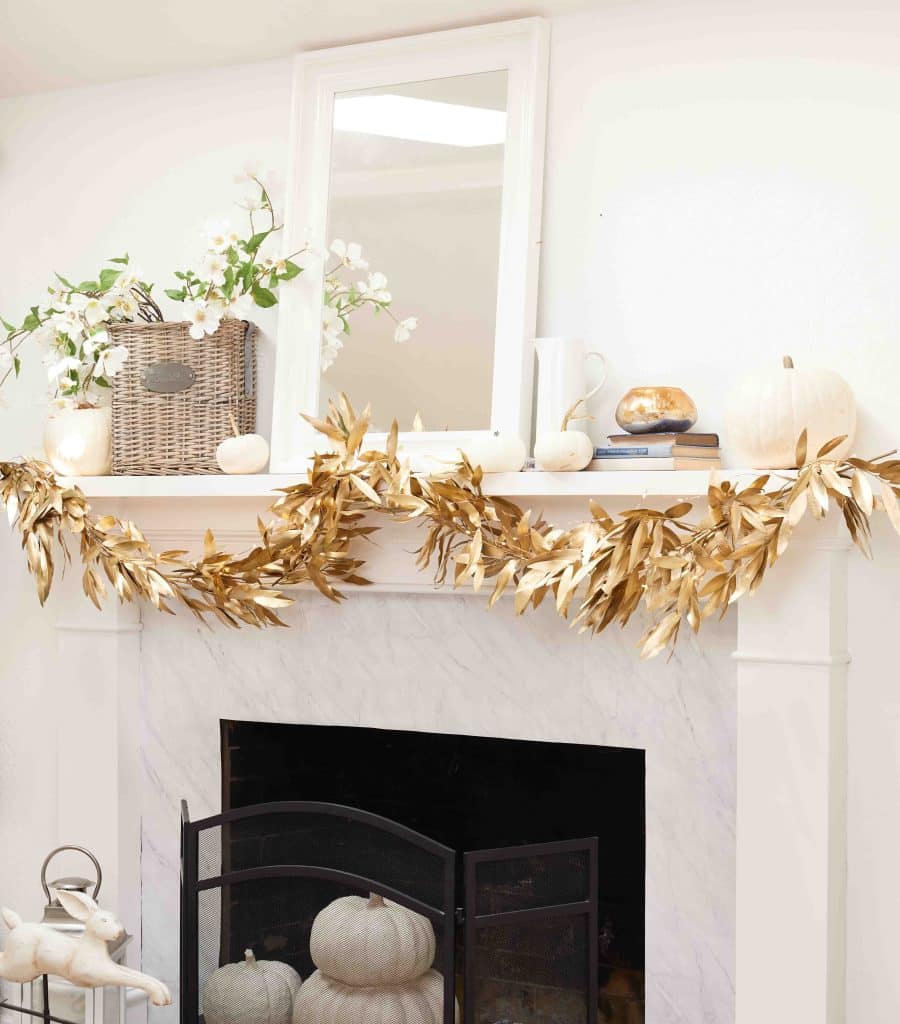
DIY Fall Garland (Gold Bay Leaf) | Happy Happy Nester
Create your own budget-friendly DIY Fall Garland with this simple project. You can easily whip up this fall gold leaf garland at home using real bay leaf branches jazzed up with a touch of gold spray paint.
DIY Fall Leaf Plate Chargers | My 100 Year Old Home
Fall is a beautiful time of year, and I made some wood leaf plate chargers for my fall table with my new xTool M1 laser cutting machine.These chargers are easy to cut from wood and they’re a great way to add a touch of fall to your tablescape.
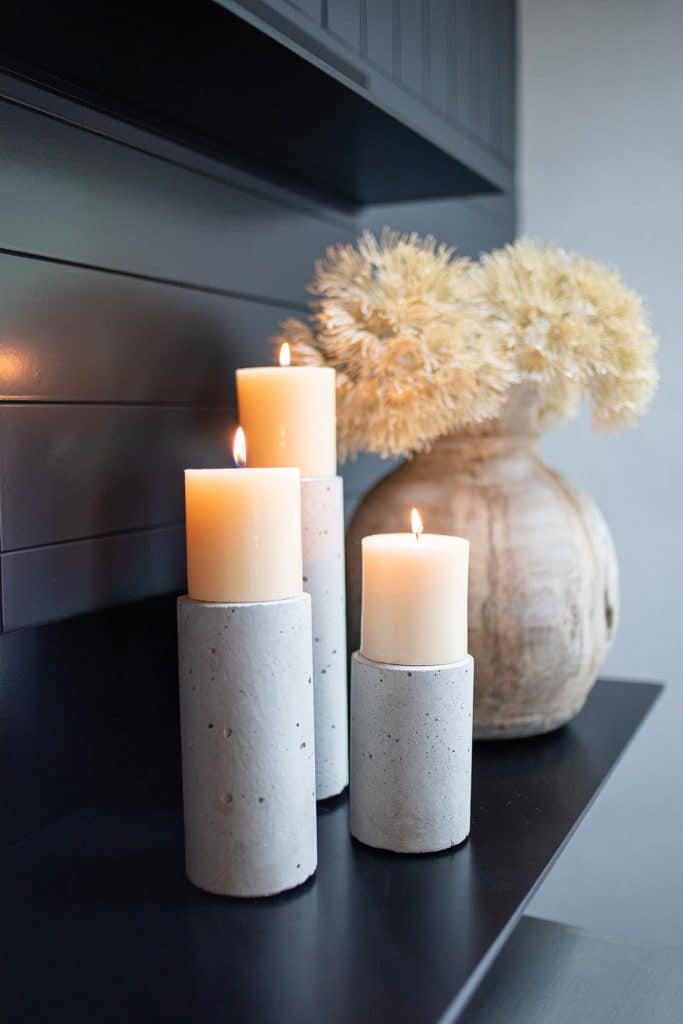
DIY Easy Concrete Candle Holders | My Sweet Savannah
You’d never believe what I used to make these DIY concrete candle holders. No messy concrete mix, and the form is that just might suprise you! One of the easiest DIY projects I have ever made.
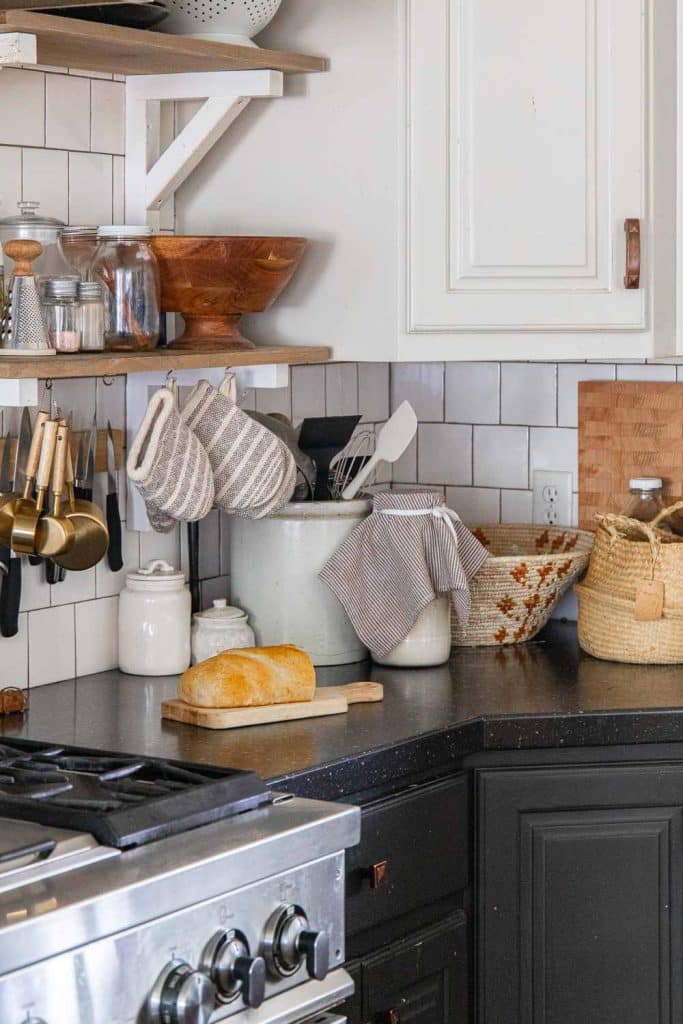
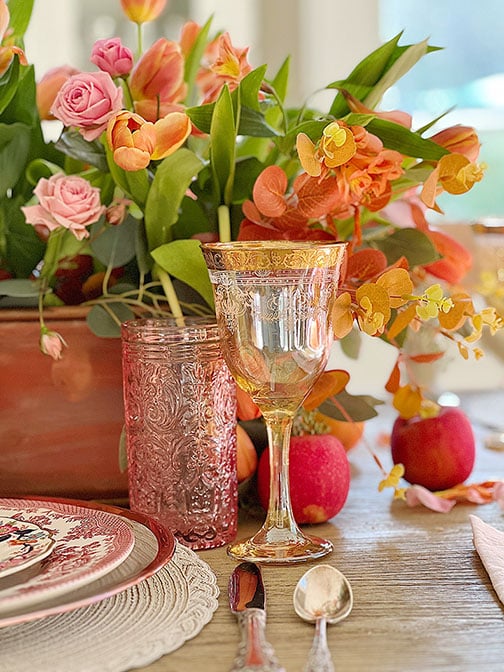
Simple Fall Decor Ideas for the Kitchen and Dining Room | Twelve on Main
Find simple ways to add fall touches to your kitchen and dining spaces without overwhelm. It is easy to add simple fall decor to these spaces and create a coszy fall look.
Don’t forget to pin this for later…
shop the post


Thank you Jen!
Thank you Melaine!
OMG so beautiful, Heidi! I love how organic it looks! Pinned 🙂
xoox
love collecting acorns and your garland is so great!
Thank you Renae!
This is the cutest garland ever! I need to start harvesting acorns.