
DIY Ribbon Christmas Tree: Easy & Charming Holiday Decor
I’ll show you how to make a beautiful and charming DIY ribbon Christmas tree with this easy tutorial! You can customize it with your favorite ribbons for festive, budget-friendly holiday decor.

I think I can confidently say that I am obsessed with two things this holiday season…the color burgundy and ribbon.
Now the ribbon doesn’t come as a shock to me.
After all, it’s a holiday staple that I reach for year after year.
It’s versatile, elegant, and easy to work with whether it’s tied on the branches of the Christmas tree or wrapped around presents, ribbon has this magical way of making everything feel more elevated and special.
But as for burgundy, I have to admit that this neutral loving gal, can’t get enough of it!
There’s something about its deep, rich color that feels timeless and festive.
It brings the perfect balance of sophistication and coziness, and I’ve found myself incorporating it anywhere and everywhere throughout our holiday decor.
So naturally, when the idea for this DIY Christmas tree made out of ribbon came to me, it felt like the perfect way to combine two of my holiday obsessions.
If you love effortless elegance and handmade touches, then I think you’re going to enjoy creating this festive decoration with me!
What you’ll love about this diy:
Materials You’ll Need for This Holiday DIY
Gather these supplies before you begin…
SUPPLIES YOU’LL NEED

*If you make a purchase using one of these links, I may receive a small commission. This does not add any cost to you, but helps me to continue to create & share meaningful content. Thank you for supporting my small business!
How to Make a DIY Simple Ribbon Christmas Tree
This holiday craft is easy to make and perfect for adding handmade charm to your Christmas decor.
Follow these steps to create an elegant DIY ribbon tree using just ribbon, pins, and a styrofoam cone.
eleanor rose home for the holidays
Christmas Decor, DIY’s, Recipes, & More!
Find everything you need for the most wonderful time of the year.
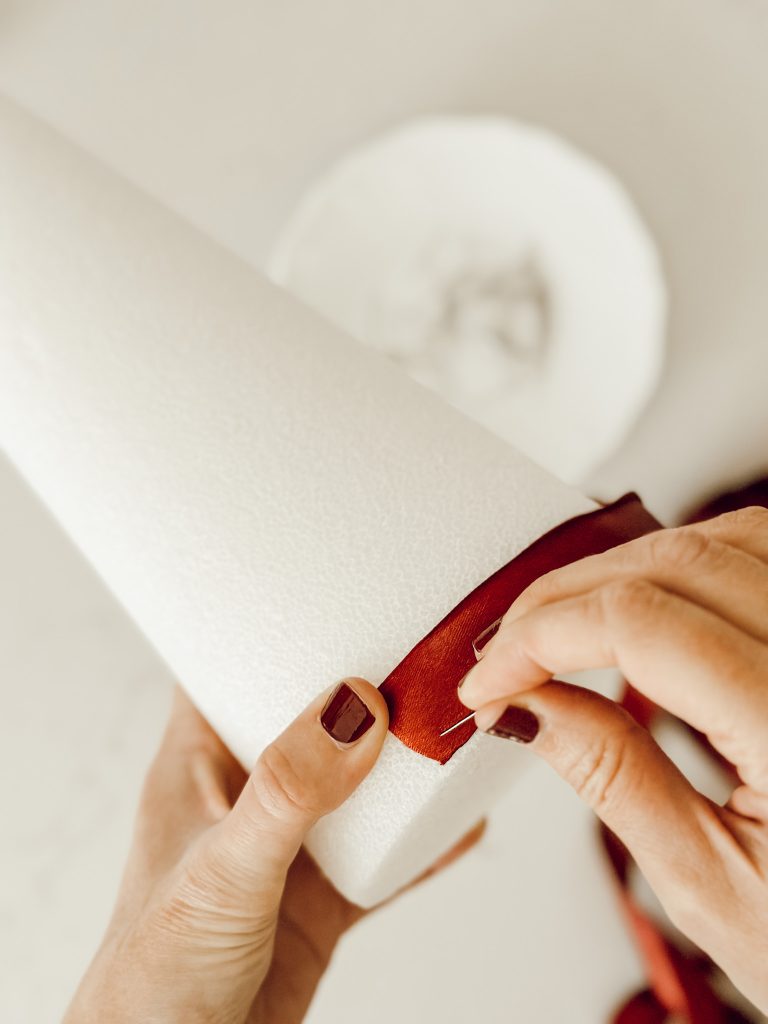
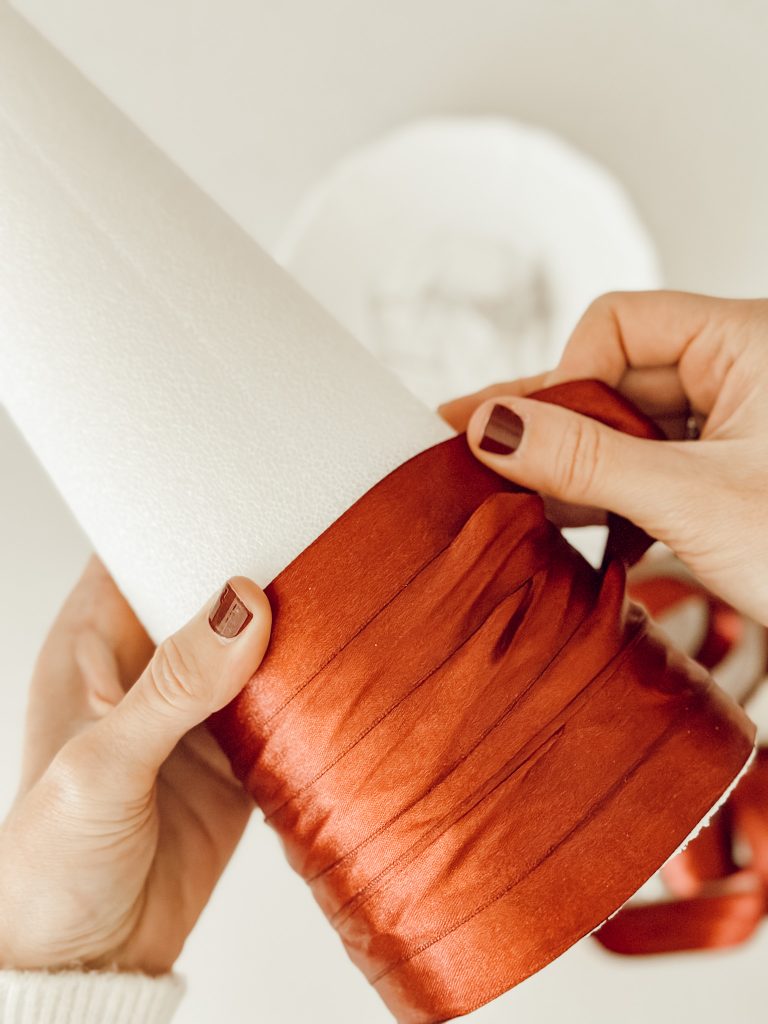
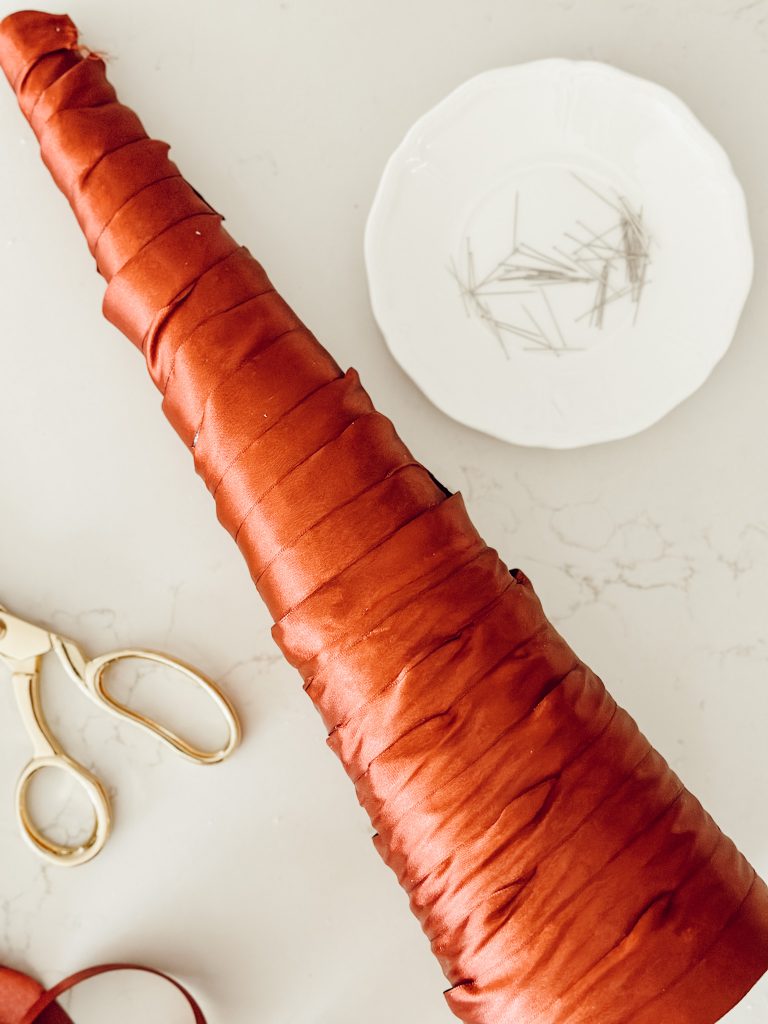
Step One. Prepare the Styrofoam Cone
Start by wrapping the styrofoam cone with the 1″ satin ribbon.
If you’re using a white or cream ribbon, you could probably skip this step.
However, if you’re using a darker ribbon like burgundy, this step hides the styrofoam and creates a polished background for your bows.
Pin the ribbon at the top and bottom to secure it tightly to the cone. Don’t worry about wrapping the cone perfectly, it will be covered with bows when you’re done.
pro Tip
- If you prefer a more eco-friendly option, swap the styrofoam cone for a paper mache one. These are just as easy to work with and provide a smooth surface for wrapping the ribbon. Instead of using pins to attach the ribbon, you could use hot glue instead.
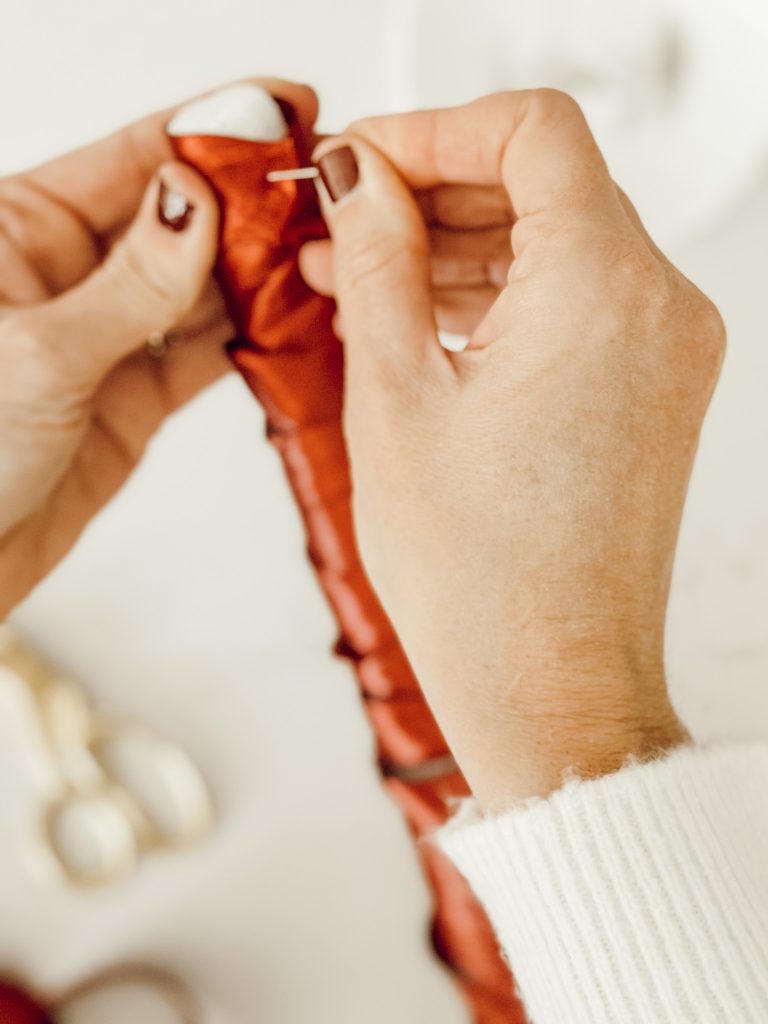
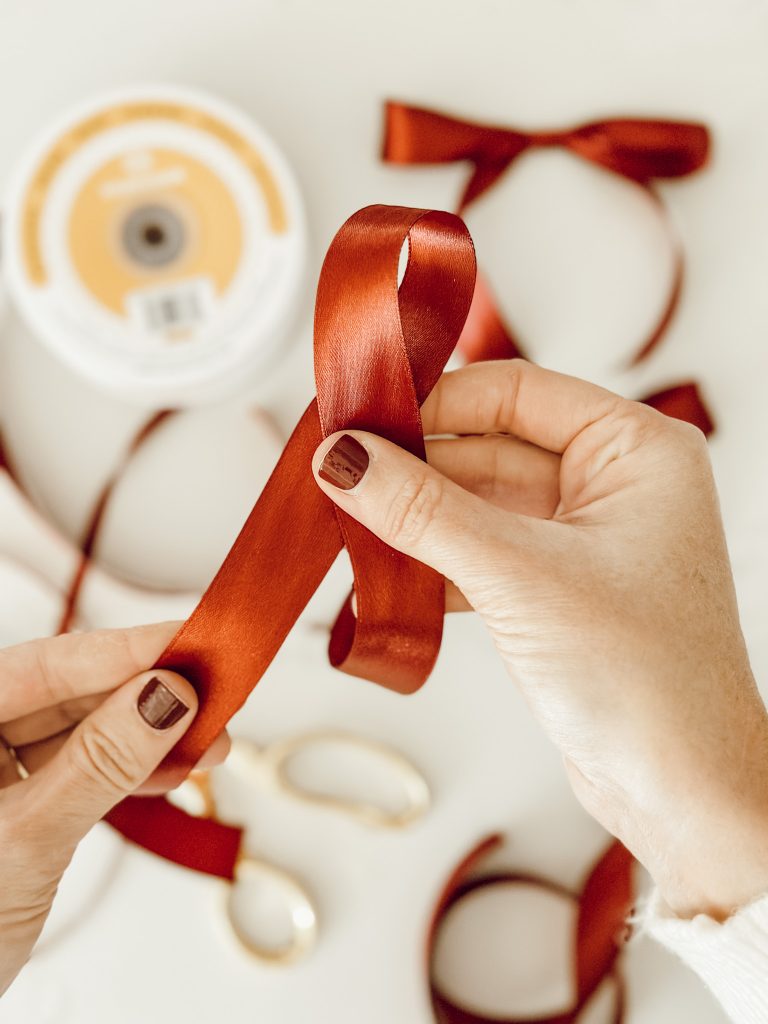
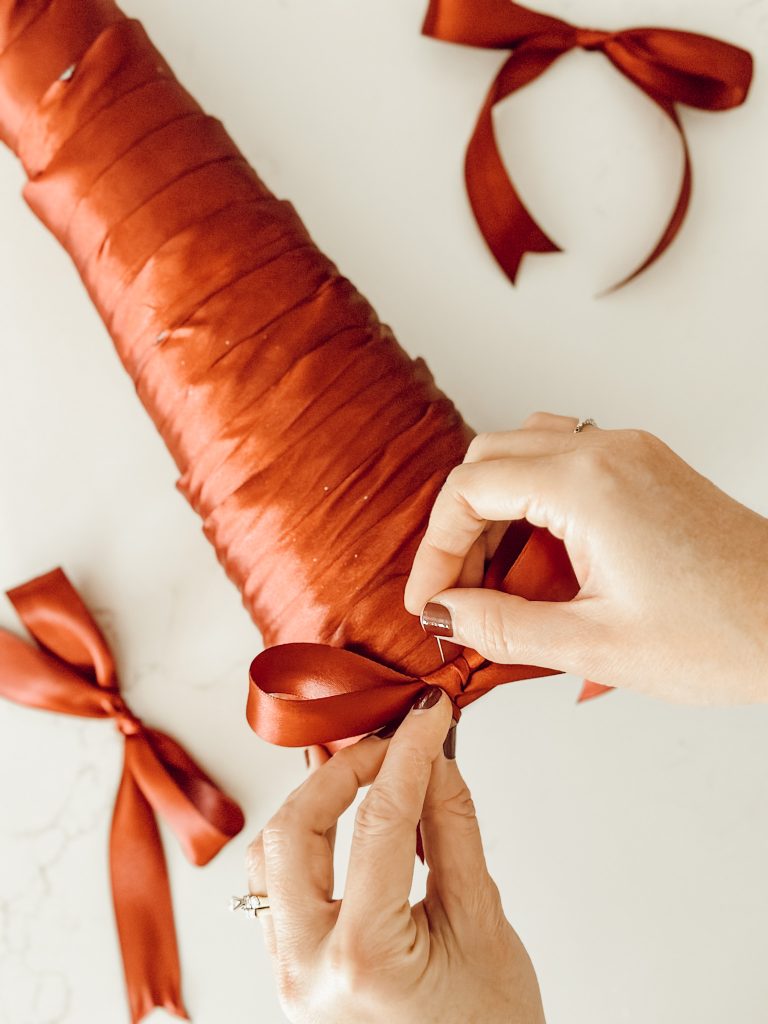
Step Two. Make the Ribbon Bows
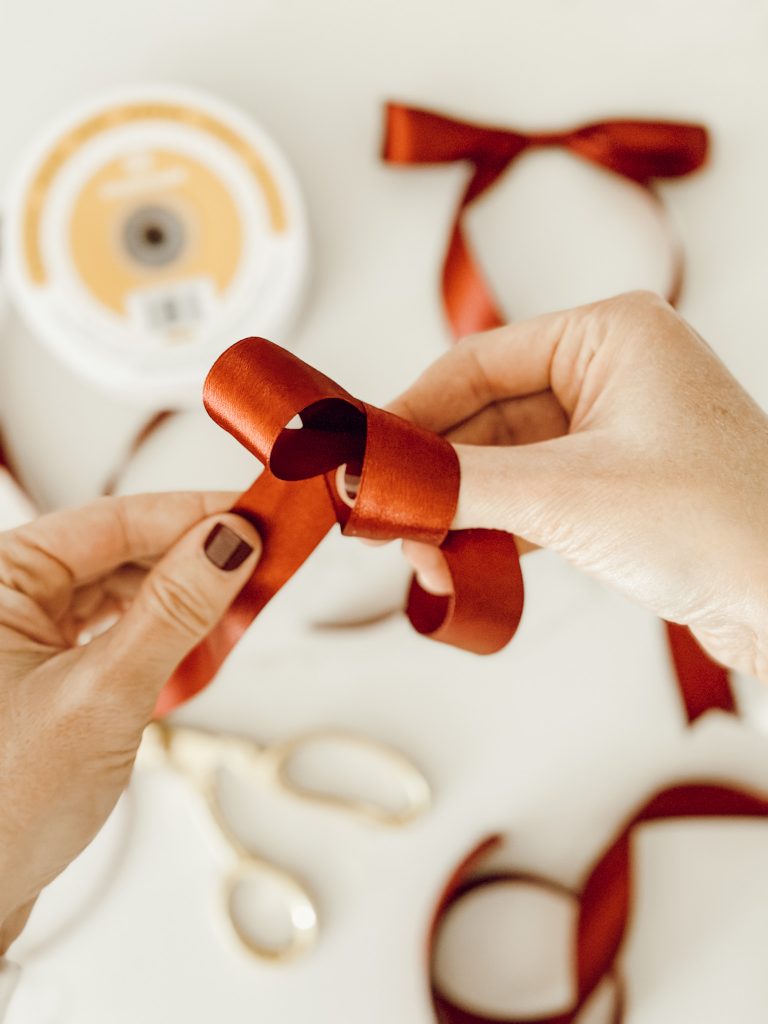
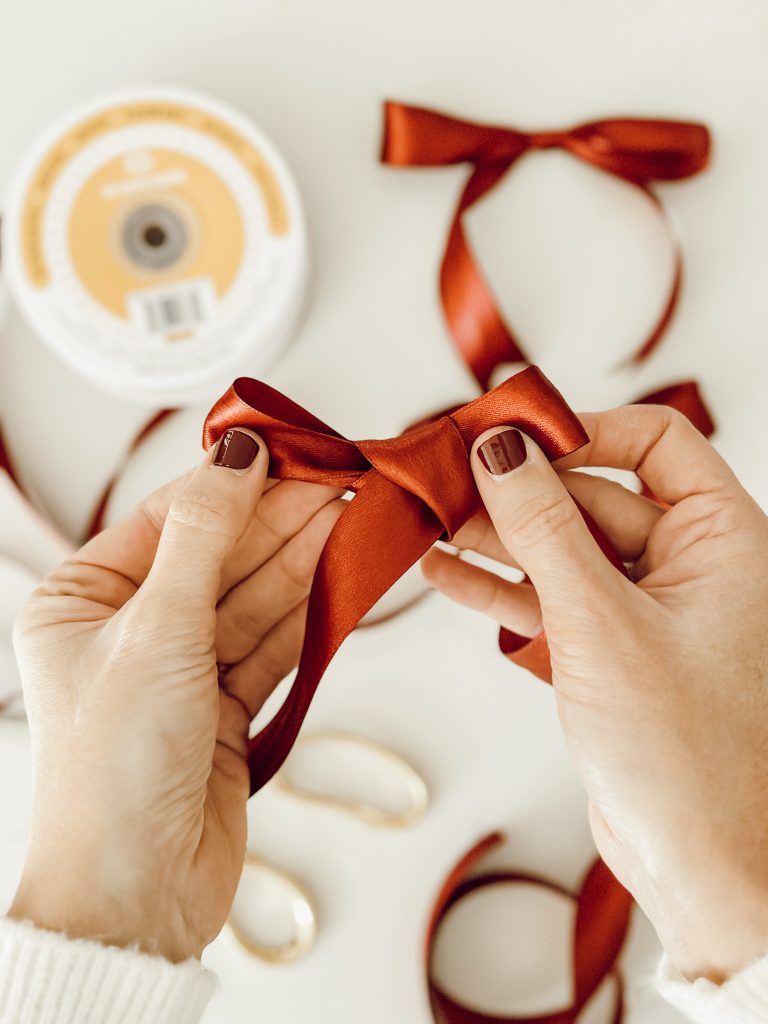
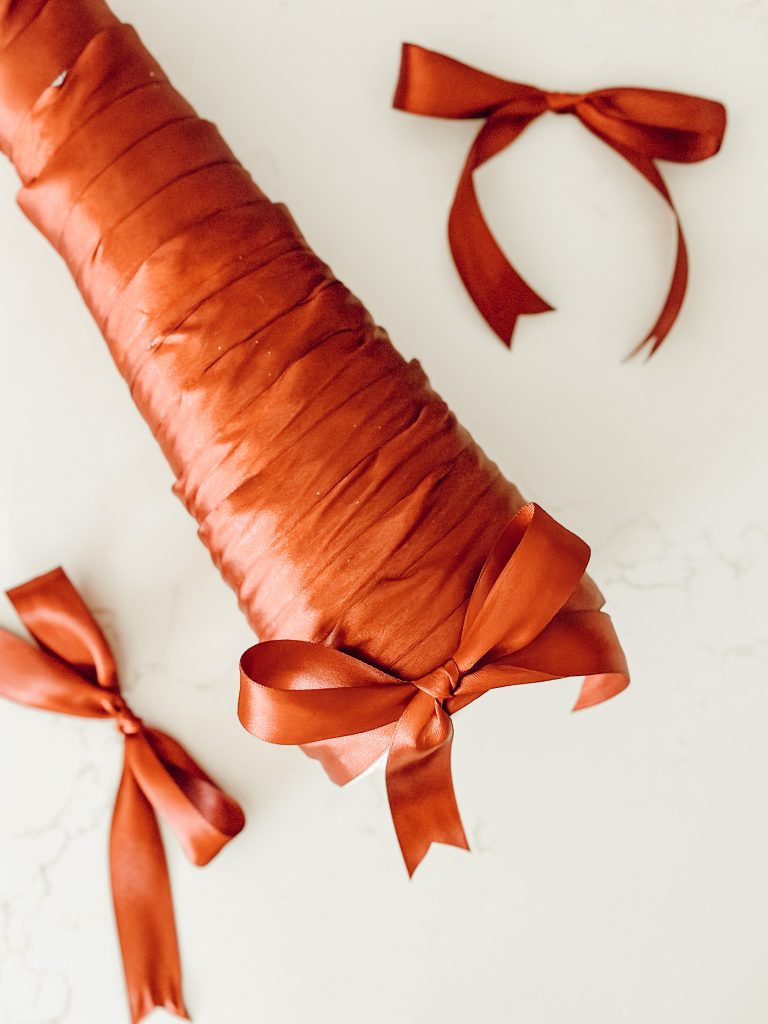
For larger bows, cut strips of the 1″ ribbon about 24″ inches long each. Tie into a bow just like you would a shoelace, making sure to adjust the loops for a neat, symmetrical look.
For the smaller bows, repeat the same process with the 1/4″ ribbon. These thinner bows will serve more as accent pieces, adding texture and dimension to your tree.
The total number of bows you’ll need depends on the size of your cone and how closely you place the bows together.
I wanted a really full looking Christmas tree, so I overlapped them slightly as I attached them.
Download Our Free Cozy Magazine
Make sure to keep a few extra bows on hand for last minute adjustments.
Remember you’re not going for perfection here! The charm of this project lies in its handmade feel.
Slightly uneven bows or varied angles will add character and give your ribbon tree a more natural, whimsical appearance.
Embrace the imperfections, they will make your tree unique and one of a kind!


Step Three. Pin the Bows to the Cone
Starting at the base of the cone, pin the larger bows in a horizontal row.
For each bow, use two pins for extra stability:
- Place one pin at the top of the knot to secure it.
- Place the second pin at the bottom of the knot, ensuring the bow stays in place and doesn’t shift.
Overlap the bows slightly to make sure the styrofoam doesn’t peek through.
Continue doing this all the way up the cone.
Once the cone is filled with the larger bows, go back and add the thinner bows in between.


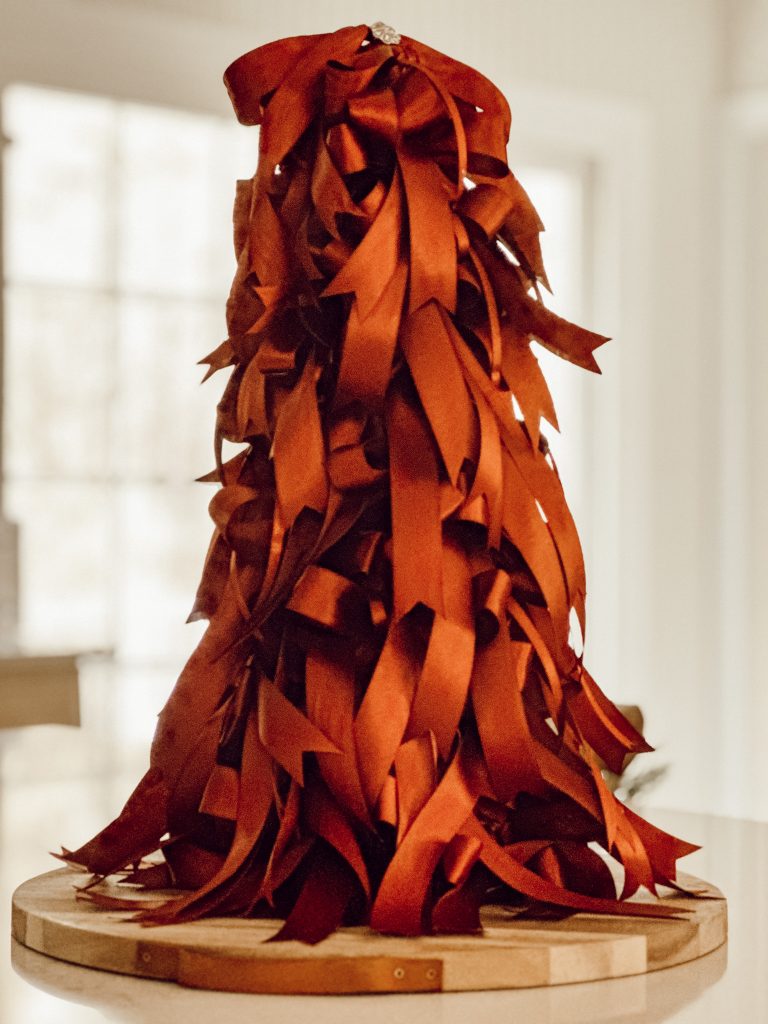
Step Four. Finish the Ribbon Tree
Top off your ribbon tree with a beautiful bow.
Create a bow using the 1″ ribbon, tying it slightly bigger than the others to make it stand out.
Secure the bow at the very top of the cone using pins.
I think it would look super cute to add a little tree topper to the top of the tree.
I simply added a couple of jeweled buttons to the top for a little sparkle that I just secured with a dab of hot glue.
Tips
- Pre-cut all your ribbon strips before you start tying bows to make the process a little easier.
- You can use any size or shape of cone for this DIY project. Larger cones create a dramatic centerpiece, while smaller ones are perfect for grouping in a vignette or using on a mantel.
- Don’t feel limited to burgundy satin ribbon. Use whatever ribbon matches your holiday decor!
- Feel free to enhance your tree by pinning small embellishments between the bows, such as pearls, mini ornaments, pine cones, or tiny bells.
- Use decorative pins to match or contrast with your ribbon. Pins with pearl or jeweled heads can double as embellishments.
How many bows will I need for this DIY Christmas tree?
The number of bows you’ll need will depend on the size of your cone and how closely you place them.
I lost count of the amount of bows I made, but I’d say for 17″ cone, you’ll probably need about 30-40 larger bows and maybe 10–15 smaller ones.
Hey friend! What can I help you find?
Search our entire site!
How long does this project take to make?
Depending on the size of your cone and the number of bows, you can expect to spend about 1–2 hours on this DIY.
Cutting your ribbon beforehand will save you time.
I tied the ribbon into bows while watching Christmas movies, so it definitely made the time go by faster!
FAQs: Ribbon Christmas Tree
Where to Place Your Holiday Ribbon Tree
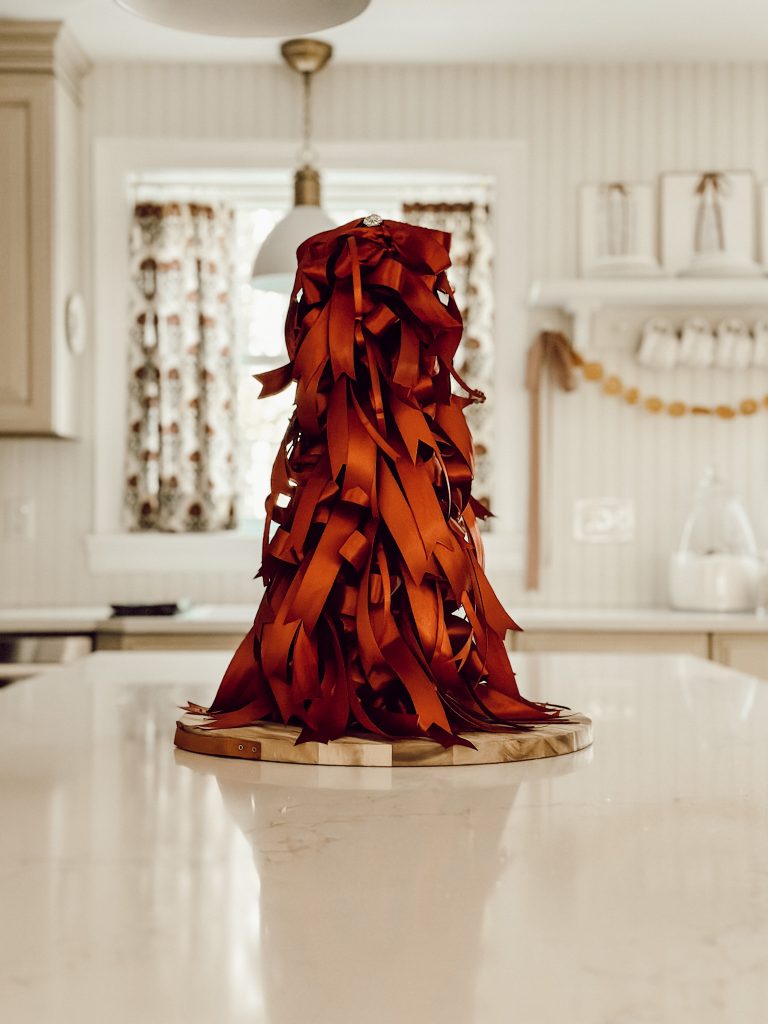
I’m still deciding where our ribbon Christmas tree will make its permanent home, but I’m absolutely loving how it looks on our kitchen island right now.
Another idea I’ve been toying with is moving it to our primary bedroom, where the burgundy ribbon would complement our floral wallpaper.
Here’s a few other ideas for you…
- Table Centerpiece: Group your ribbon tree with candles, greenery, or ornaments to create a festive centerpiece for your dining room table.
- Mantel Decor: Place the tree on your fireplace mantel.
- Entryway Table: This DIY tree would look so cute greeting guests when they walk in the door.
- Bookshelf or Open Shelving: Tuck a ribbon tree into an empty spot on a bookshelf or open shelving in your living room or kitchen.
you might also
Enjoy These Holiday DIY’s
Shop My Favorite Products
Shop my favorite home decor & lifestyle products, my LTK sources, and my Amazon Storefront.
By making a purchase with one of my affiliate links, I earn a small commission which helps me continue to create meaningful content for you!
I look forward to sharing more of my home with you and inspiring you to have a well loved home!
Follow me on Facebook, Instagram, Pinterest, and LIKEtoKNOW.it.
xoxo, heidi
Don’t forget to pin this for later…
shop the post


